

Curly hair routines
Less fuss with your hair diffuser
Check the attachment, separate heat from airflow and follow a comfortable route through curls or waves without constantly rearranging them.
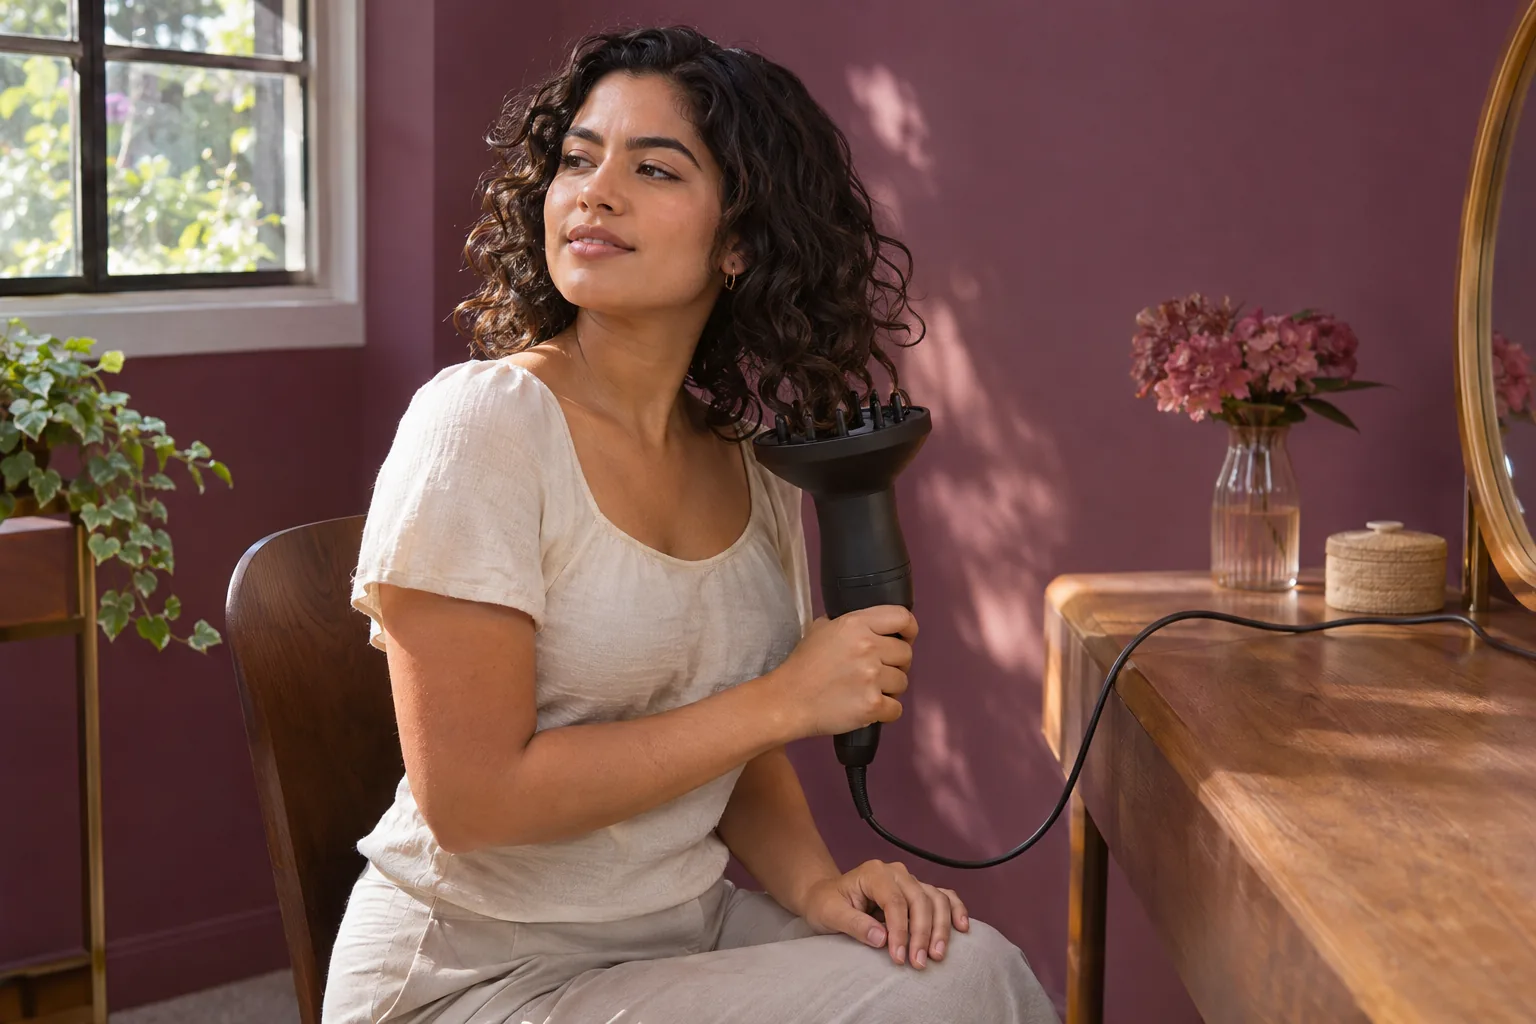
A hair diffuser can make drying curls feel calmer, but only if the routine stops chasing every strand. If the bowl keeps lifting, shaking and rearranging your hair, the attachment may be spreading the air while your hands undo the groups you wanted to keep. Start with a smaller aim: dry comfortably, leave the shape alone where possible and notice which parts actually need attention.
This guide is for an ordinary wash day with a compatible dryer and diffuser, not a promise of identical curls or zero frizz. Your haircut, texture, products and starting moisture still affect the result. You can build a useful routine with the equipment you already own, provided it is suitable and working properly. There is no need to buy a particular brand or a complete new product collection.
Check the hair diffuser before the hair
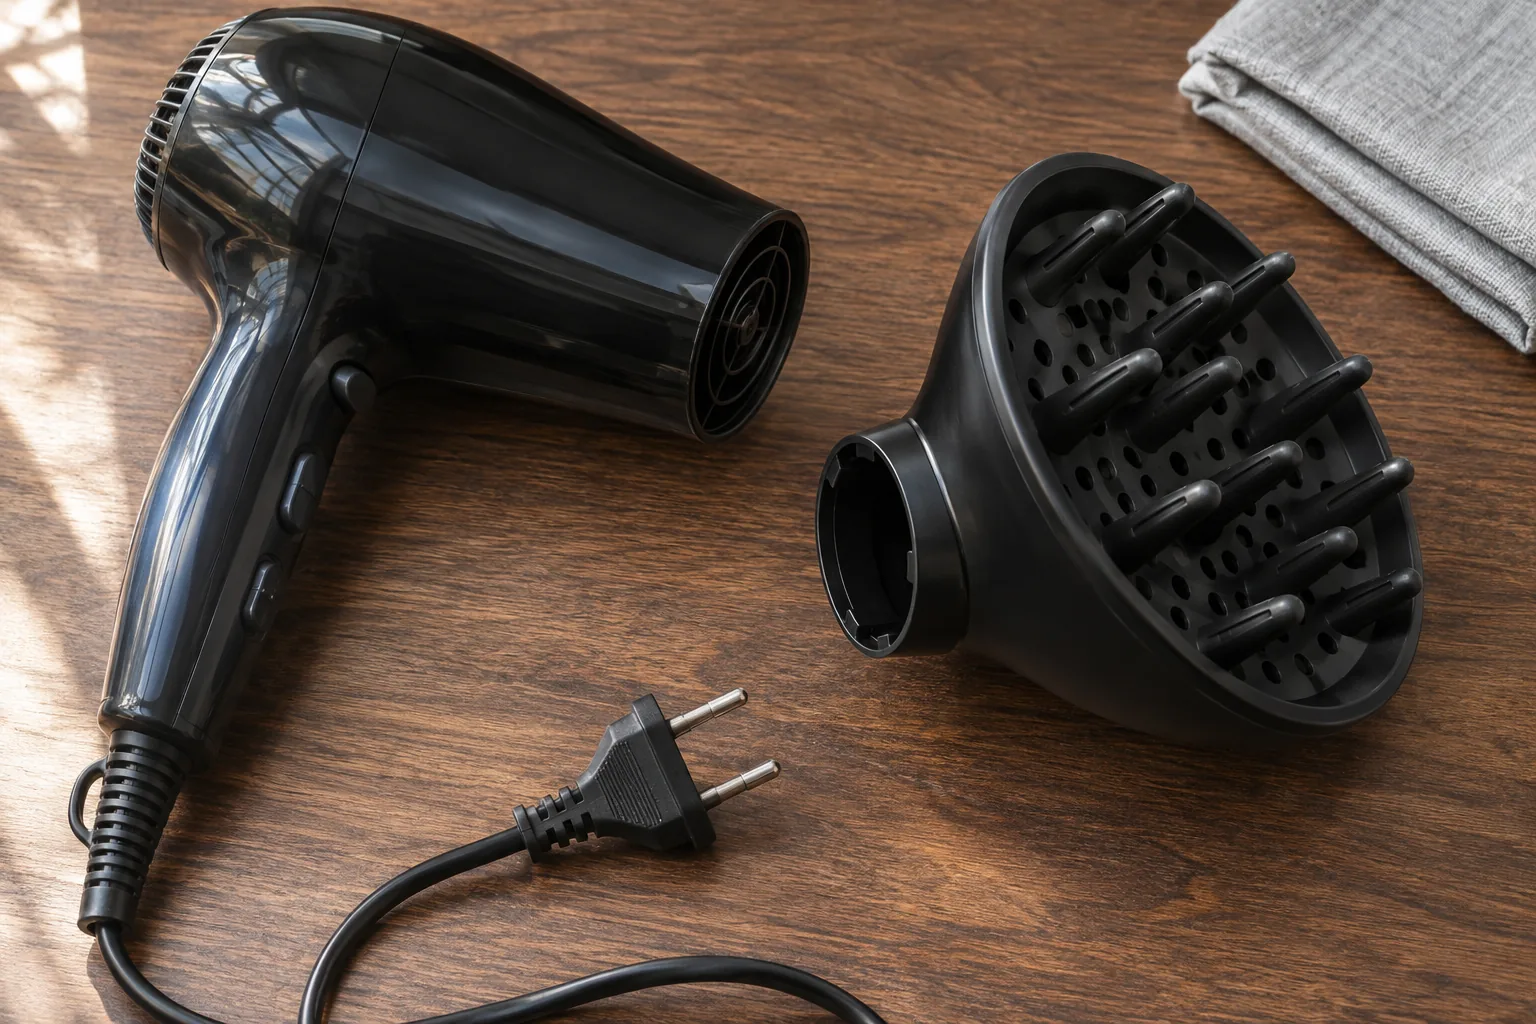
Read the instructions for the exact dryer and attachment together. A diffuser that seems to fit the opening is not automatically approved for that appliance. Check the model reference, connection and permitted settings rather than forcing a loose accessory into place. Do this with the dryer switched off, unplugged and cool. Do not tape an unsuitable attachment onto it or cover the air intake.
Manufacturer instructions are specific. Philips, for example, describes placing sections over its volume diffuser and using the attachment near the roots for certain models. That is an example of a particular design, not an instruction to press every diffuser against your scalp. Follow your own manual for contact, distance and movement. A photograph of someone else's bowl cannot settle those questions.
Set yourself up in a dry area, away from baths and sinks, with dry hands and a clear place to put the tool down as its instructions require. Keep the cord clear of your chair and leave the intake unobstructed. If the fitting, cable or appliance is damaged, stop and resolve that before styling. A technique change cannot repair equipment.
Remove excess water without repeatedly reshaping
Finish the detangling and parting you normally need before drying begins. Then look at the groups your hair is already forming. The point is not to make every curl equal; it is to avoid restarting the arrangement with every squeeze. If a section needs separating, do that deliberately rather than continually raking your fingers through the whole head.
The American Academy of Dermatology advises absorbing water with a towel instead of rubbing the hair dry. Use a soft cloth you can handle gently and lift it away without a twisting motion. Aim to manage dripping water before bringing an electrical tool near the hair. Do not treat a set number of minutes in a wrap as a requirement for every texture or product.
If you use plopping, decide whether the wrap actually leaves your roots and ends where you want them. A short blot may be easier for a fringe or a shorter cut. Our separate wrap-or-blot guide explains that preparation choice. Once it is made, release the hair and let the diffuser routine begin from that arrangement instead of repeatedly wrapping and unwrapping it.

Keep the product routine familiar
Use a styling product you already understand, following its instructions for application and heat styling. Check whether a product is actually labelled for heat protection rather than assuming every cream, oil or leave-in performs that job. More layers of product do not automatically make a diffuser session gentler, quicker or more defined.
For a first comparison, keep your usual wash and product amount broadly consistent. If the roots look coated before drying, adding another mousse to solve a later flat patch makes it harder to understand the cause. If mousse is part of your routine, the separate application guide can help with distribution and amount without turning this session into a product experiment.
Give each product a clear job. You might want hold from one and heat protection from another, if their directions support that combination. You do not need a long checklist merely because an online demonstration uses one. Keep products, the wet towel and the electrical appliance in separate safe places, and finish applying products before handling the dryer again.
Adjust heat and airflow as separate choices
Find the heat and speed controls while the dryer is off. They may be separate buttons, combined settings or an attachment-specific mode. A low fan setting does not necessarily mean low heat. The AAD recommends using the lowest heat setting and reducing heat exposure when possible. Check how that advice fits the settings permitted by your own appliance instructions.
Start gently within those instructions. Watch what happens to a small area: are whole sections being blown across your face, or is the air reaching them without a lot of movement? If the hair is scattering, stop and reconsider the airflow and position. Increasing heat to compensate for an awkward setup is not the first useful adjustment.
Comfort is a reason to stop, not a timing challenge. Move away and switch off if your scalp feels hot or uncomfortable. Never hold the tool in one place simply to finish a countdown from a video. Hair thickness, the attachment and its distance all vary. A routine that needs constant endurance is not one to preserve in the name of definition.
Work through a small, repeatable route
Choose an easy starting area you can see and reach without straining your neck. You can remain upright and tilt slightly if that helps. Hanging your head upside down is not compulsory. Clear glasses, jewellery and loose clothing from the working area, and keep hair away from the back intake as well as the outlet.
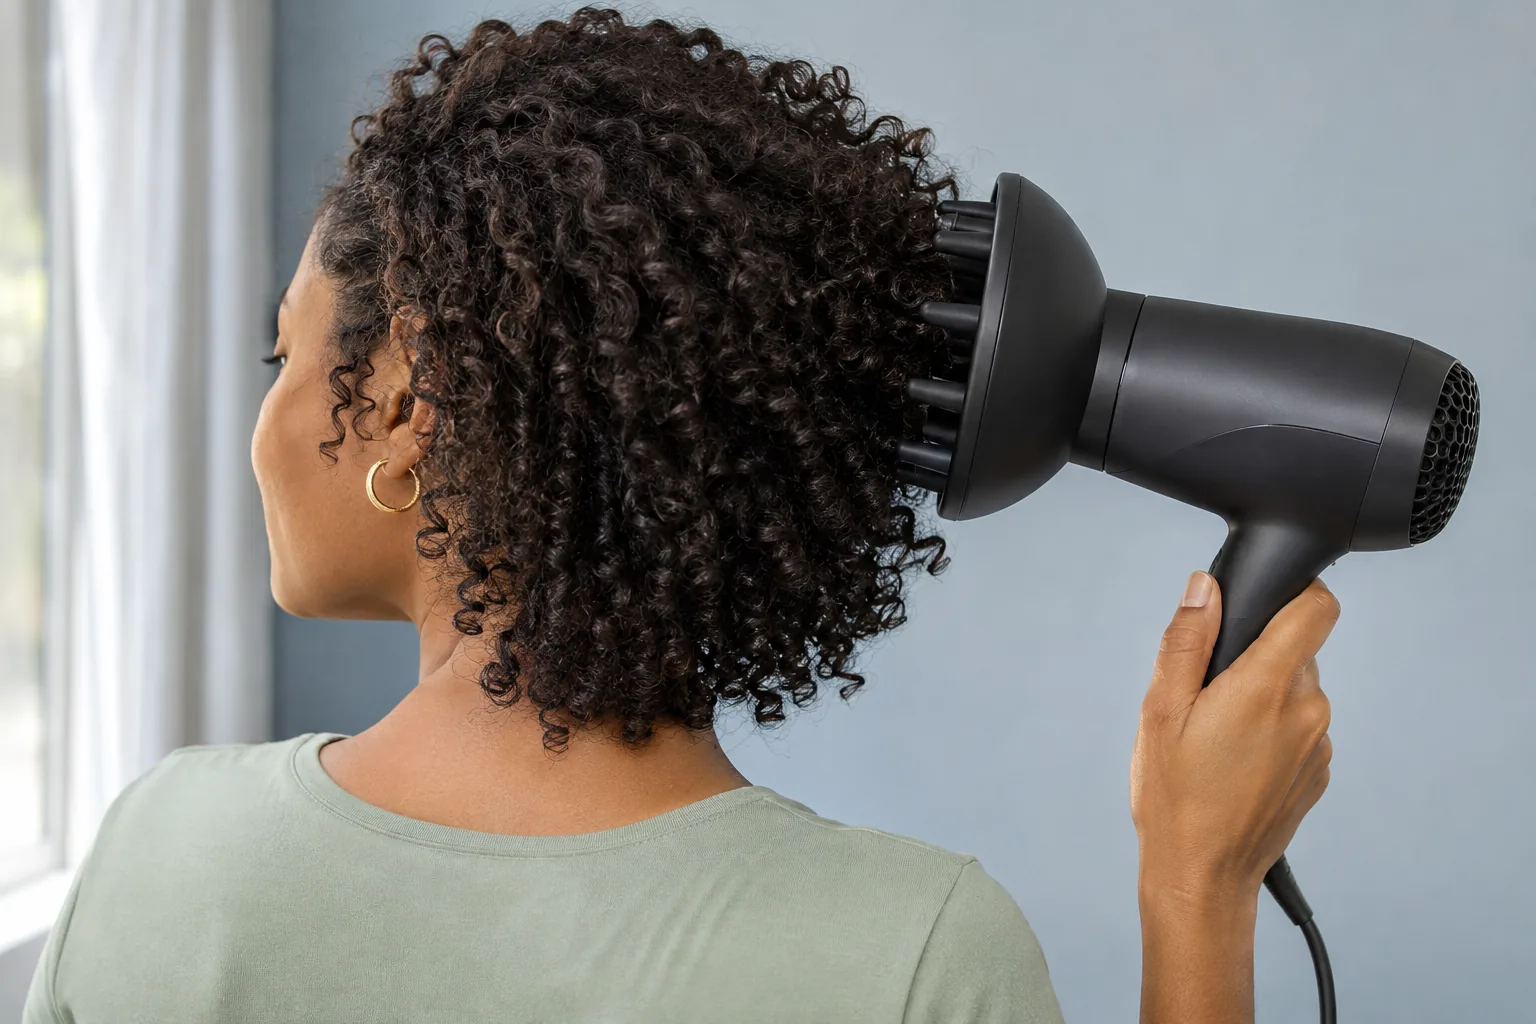
Where your manual allows it, begin by directing air around the section without repeatedly scooping it up. If the design supports resting ends in the bowl, place a manageable amount there without packing it tightly or pressing the tool into the scalp. Switch off before repositioning if that gives you better control. Release the hair without dragging the prongs through it.
Move through a simple route, such as one side, the back and then the other side. The order is a memory aid, not a rule about how curls must dry. Revisit areas that remain damp instead of reheating already dry ends. If your arm gets tired, switch off and take a break. You can finish by air-drying when practical.
Change the placement for your actual length
With loose waves, notice whether lifting a large amount into the bowl folds the ends into a shape you dislike. You may prefer less lifting and more space around the hair. That is a placement decision, not evidence that the texture is unsuitable for a diffuser. Compare the resulting outline once the hair has settled rather than judging it while compressed.
With dense curls or coils, the surface and inner areas may not feel equally dry. Divide your attention between accessible areas without pulling the curl groups apart to expose every root. Check a small inner area after switching off and letting it cool. A dry-looking outside is not a reliable reason to keep heating every visible strand.
For short hair or a fringe, a large bowl may be difficult to position without touching the face. Use only an approved attachment and the positions its instructions allow. Do not improvise a smaller outlet with fabric or other household objects. There is also no obligation to diffuse every part: you can leave a comfortable front section to dry naturally.
Stop the dryer before assessing the finish
Turn it off, put it down safely and allow the hair to cool before deciding what remains damp. Feel a small accessible area gently rather than shaking the whole head to inspect it. Roots, the nape and thicker groups can need a different amount of attention from exposed ends. Return only to the area that needs it.
Avoid chasing an exact drying percentage. Without measuring it, a number such as eighty or ninety percent is only a rough description. The useful question is whether you can comfortably leave the remaining moisture to air-dry in the time and setting available. Do not keep heating hair that already feels dry just because a demonstration lasted longer.
If a gel has formed a firm cast, do not confuse that shell with wet hair or automatically add more heat. Wait until the hair is dry before using your usual gentle softening method; our gel-cast guide covers that separate step. Judge the finish after that pause. Some flyaways are compatible with a good result and do not require another complete drying pass.

Make the next wash day easier to repeat
Record the useful details in plain language: which attachment you used, the permitted settings, the starting dampness and the area you kept revisiting. A brief note such as “back still damp, ends already dry” gives you something specific to change. It is more helpful than describing an entire session as a failure.
At the next wash, change one practical variable, such as using less hair in each bowl placement. Keep the rest familiar enough to compare. This is a personal routine check, not a controlled test or a promise that one change will eliminate frizz. If a method feels awkward or uncomfortable, simplify it rather than trying to copy a dramatic demonstration.
- Fit the approved attachment while the appliance is cool and unplugged.
- Prepare the hair and products before starting the dryer.
- Use the manual's permitted settings, with gentle heat and manageable airflow.
- Follow a route, pause when needed and check the remaining damp areas.
- Switch off, let everything cool and store it as instructed.