
A practical curl-drying choice
Wrap or blot? A practical hair plopping guide
A fabric wrap is one option, not a compulsory curl step. Choose the cloth, the hold and the release around the result you actually want.
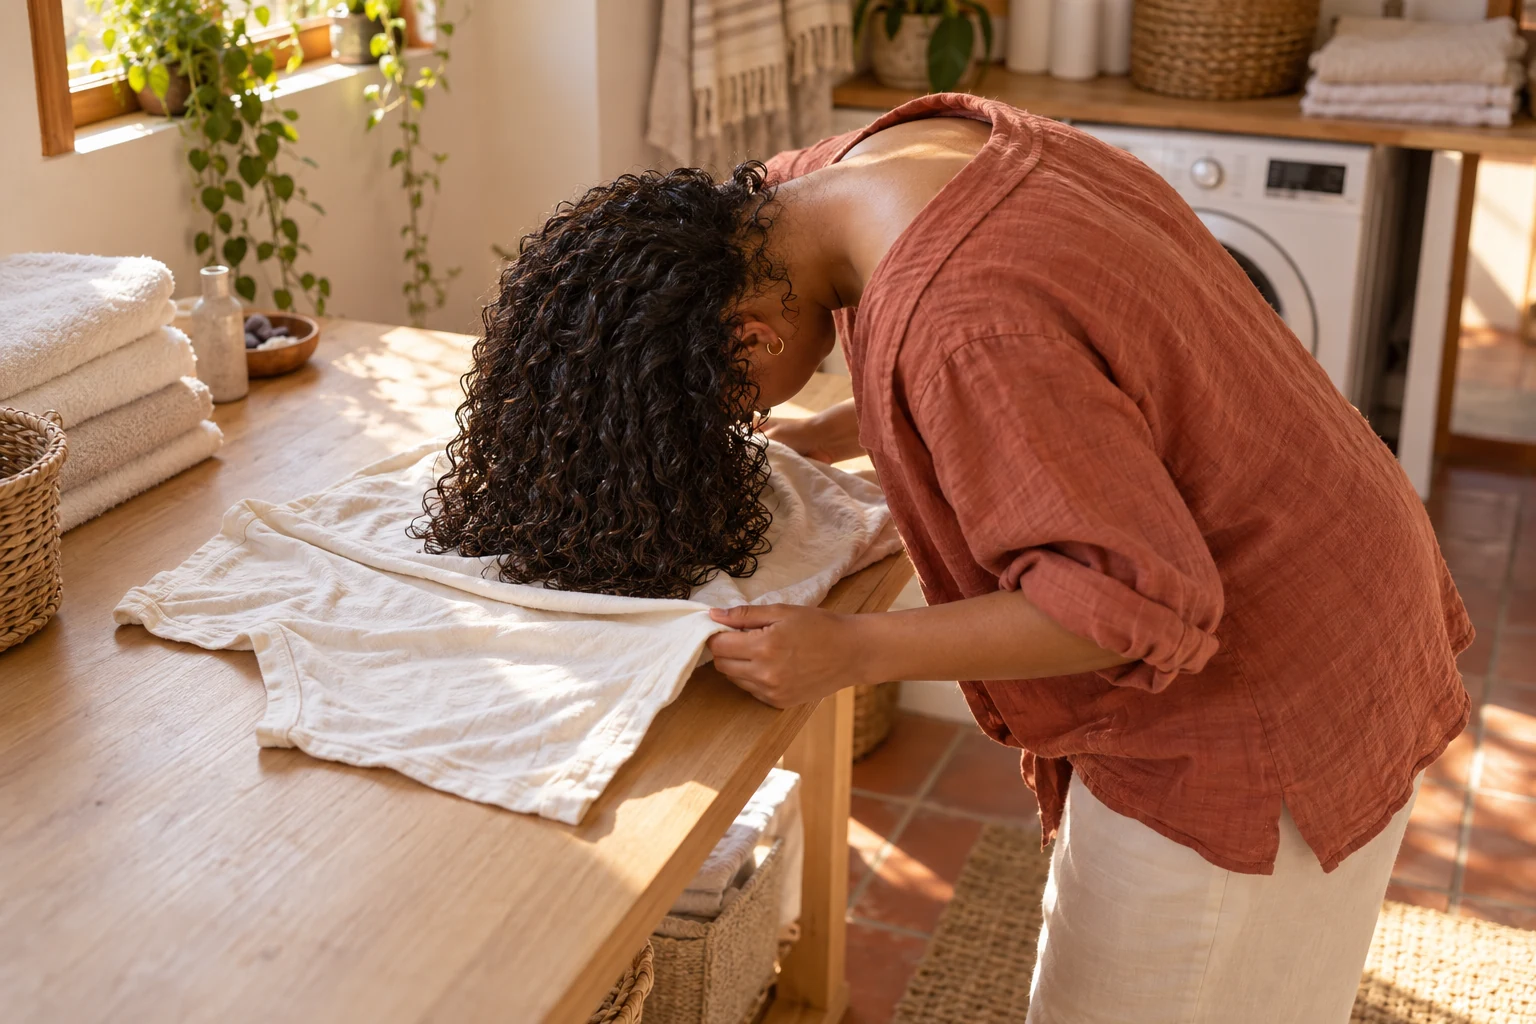
Hair plopping means gathering damp curls into fabric for part of the drying routine, rather than leaving every length hanging down. It can be a useful experiment, but a tightly wrapped head and a long wait are not the goal. The useful question is whether this particular way of supporting your hair leaves you with a dry shape you like and a routine you can repeat comfortably.
Begin with a loose, short, awake trial. If putting all the hair into a wrap flattens the roots, bends the front awkwardly or simply feels inconvenient, you can support small sections with a cloth while staying upright instead. That alternative is often called microplopping. Neither method has to create identical spirals, remove every flyaway or replace the rest of drying. Here is how to choose between them without buying a new collection of products or treating an online timer as a rule for your hair.
What hair plopping changes—and what it does not
Separate the position of the hair from the products already on it. A wrap holds the lengths together in a different arrangement; upright blotting supports one accessible section at a time. Those are practical handling choices, not a promise to turn naturally straight hair into a different curl pattern. Start by deciding what you want to observe: the outline at the ends, less dripping during the next task, or whether your usual curl groups stay recognisable after you release the cloth.
Curlsmith's drying guide distinguishes a loose wrap from using a towel or T-shirt to microplop after styling. That distinction is useful without adopting the page's product recommendations or claims about one drying method being universally better. Do not judge success from the wrapped stage. The cloth conceals the roots and most of the lengths, so a neat-looking bundle tells you little about the eventual shape. Leave the final judgement until the hair has finished drying in its ordinary position.
Keep the familiar parts of wash day familiar
Use a normal wash day rather than repeatedly wetting dry hair just to practise a wrap. Follow your usual rinsing and detangling routine, with the instructions for the products you already use. There is no requirement to add mousse, gel, oil and curl cream together. If a familiar styler belongs on damp hair, follow its own directions; do not invent a new application order because a cloth has entered the routine. Keep the first comparison simple enough to understand afterwards.
The American Academy of Dermatology advises absorbing moisture gently with a towel or T-shirt instead of roughly rubbing hair dry. Keep that limited principle in mind: support and release, rather than scrub. A small amount of ordinary excess water can be blotted before you decide whether to wrap. If mousse is already part of your routine, use your normal labelled method rather than adding more to compensate for an uncertain result. The wrap should not become a reason to keep layering products onto the same wet section.
Pick fabric that opens easily
Choose a clean, soft cloth you can spread flat and lift away without searching for a hidden fastening. A cotton T-shirt gives you a broad central panel and sleeves to arrange around it; a familiar hair towel may have a different shape or closure. Inspect the surface and move a bulky seam or label away from where the curls will rest. You are choosing a workable object, not proving that a particular fibre guarantees a frizz-free finish for every head of hair.
Set it on a stable, clear surface at a comfortable height before moving your hair. Keep clips, jewellery and other small objects away from the central area. Check that there is enough fabric to contain the lengths without stretching the hair to reach a corner. If the cloth is so large that you must twist a heavy tail to hold it up, try a smaller one or choose upright blotting. Being able to undo the arrangement easily matters more than copying the exact knot in a demonstration.
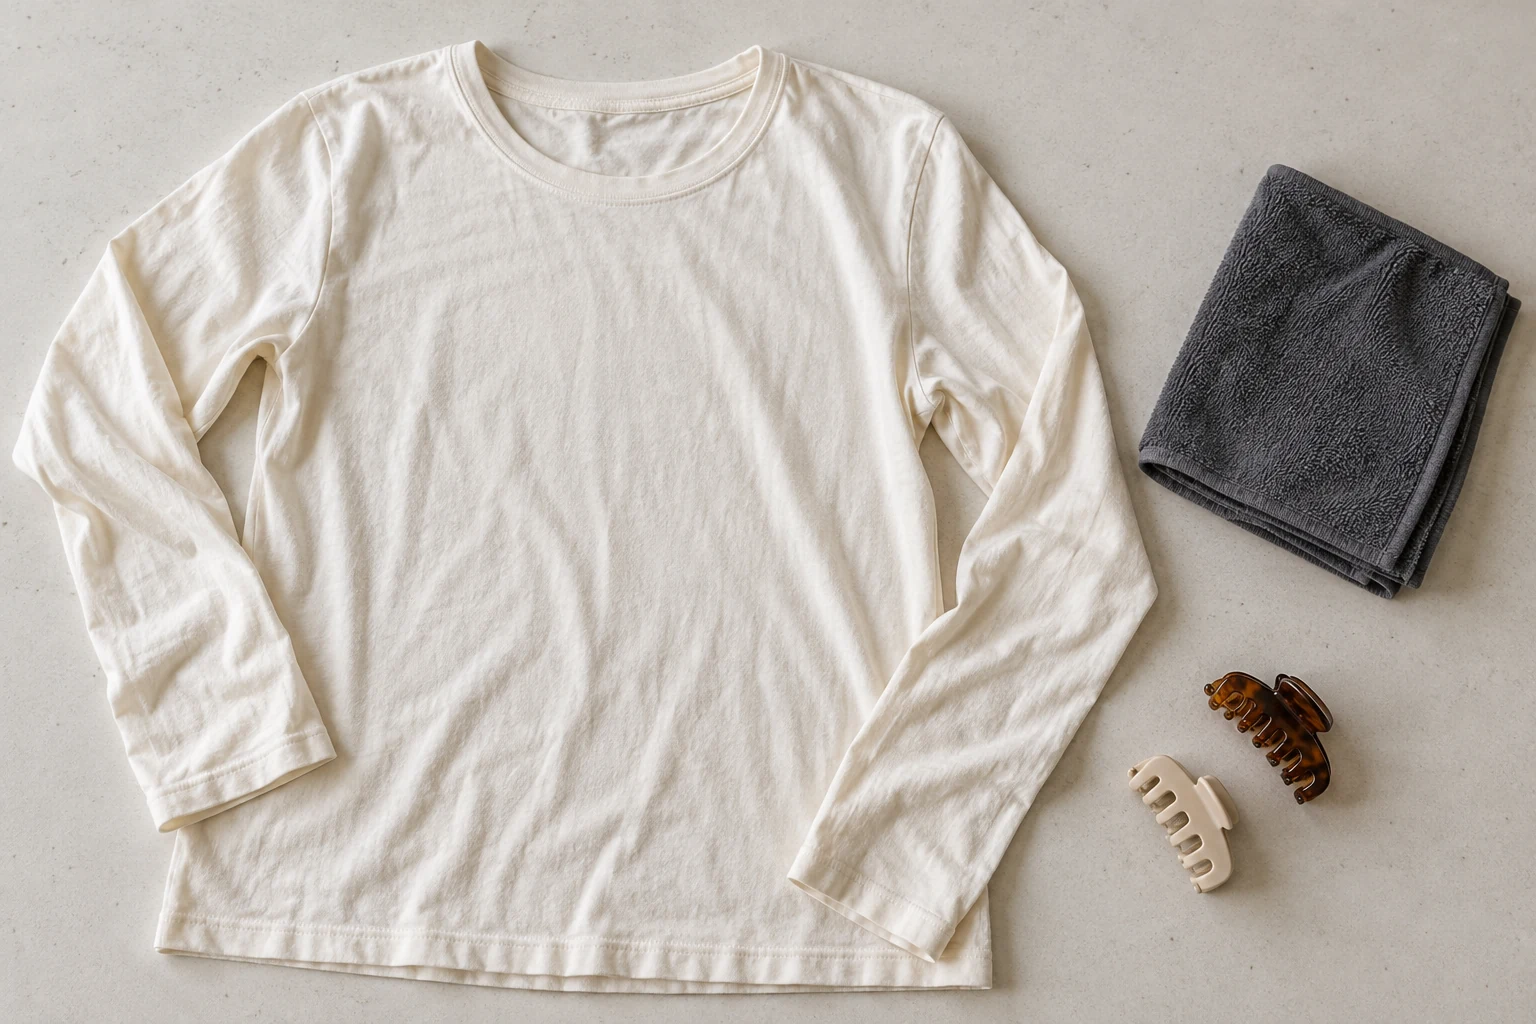
Rest the curls instead of winding them into a rope
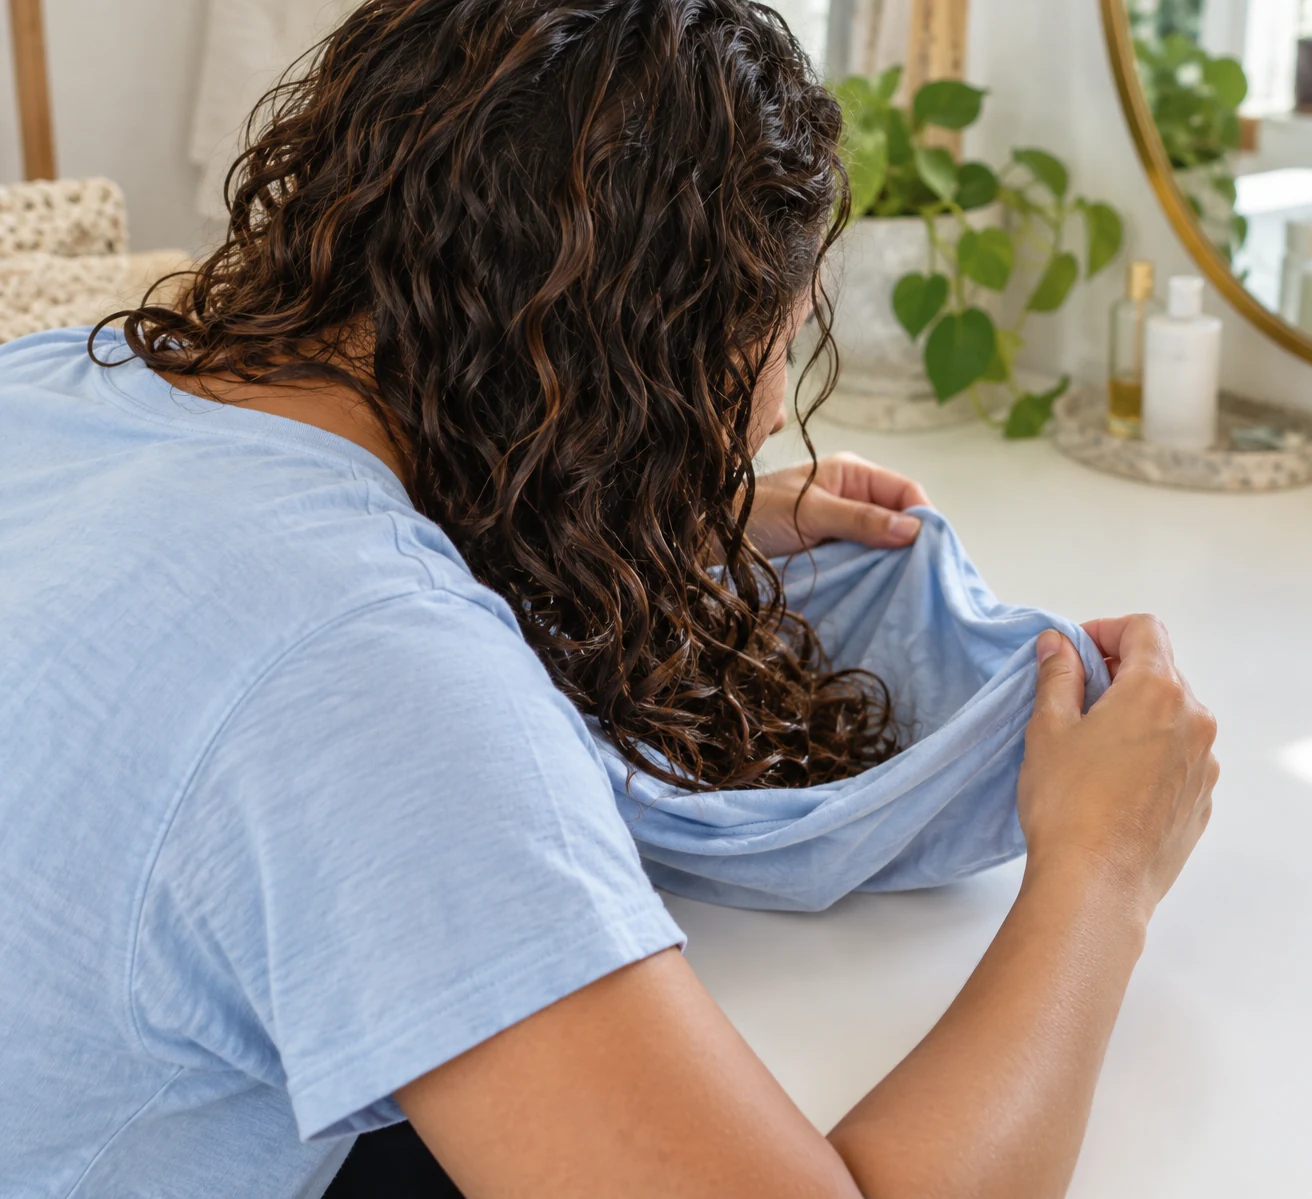
If leaning forward is comfortable for you, bring the lengths towards the middle of the spread cloth and let them settle before bringing fabric around them. Move slowly enough to notice a trapped front piece or a section still hanging outside. You do not need to press your scalp against the table or force your neck into a deeper bend. The surface supports the cloth; it is not a target your head has to reach. Use the upright alternative if this position does not suit you.
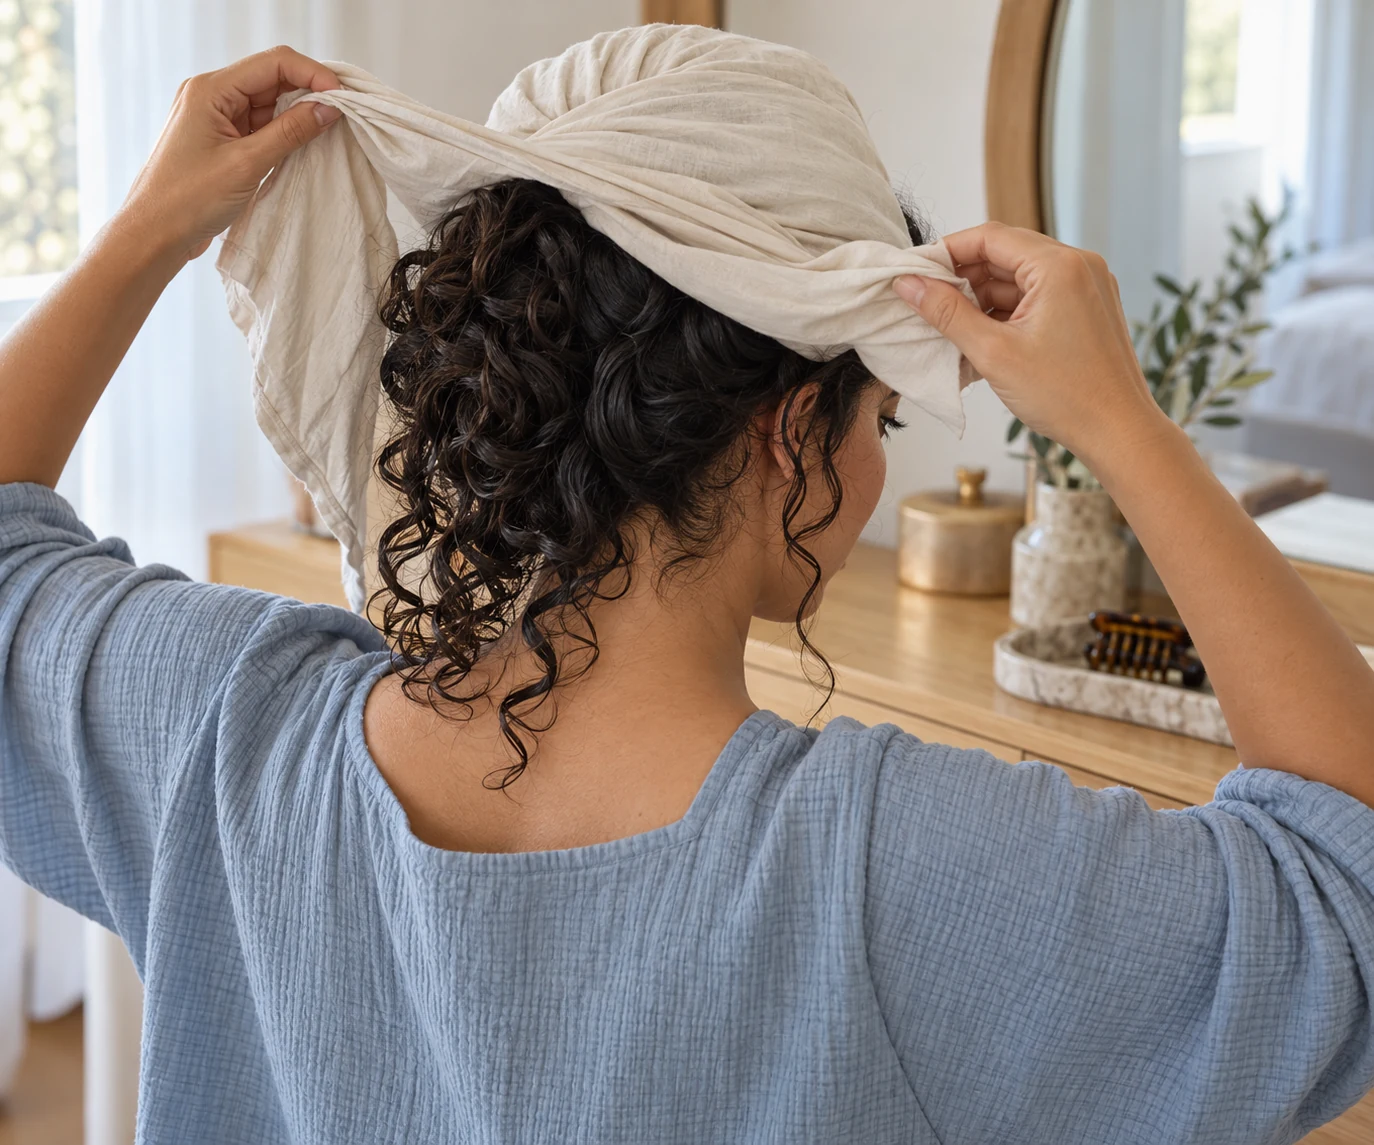
Lift the fabric edges around the resting hair rather than twisting the lengths inside a towel tail. Arrange a loose hold that stays in place without pulling at the temples, ears or nape. Check the whole edge with relaxed hands before standing upright. If it feels tight or slips unless you keep tightening it, undo it and change the arrangement. A comfortable wrap is allowed to look untidy. It is also fine to abandon this attempt and blot the accessible lengths instead of restarting repeatedly.
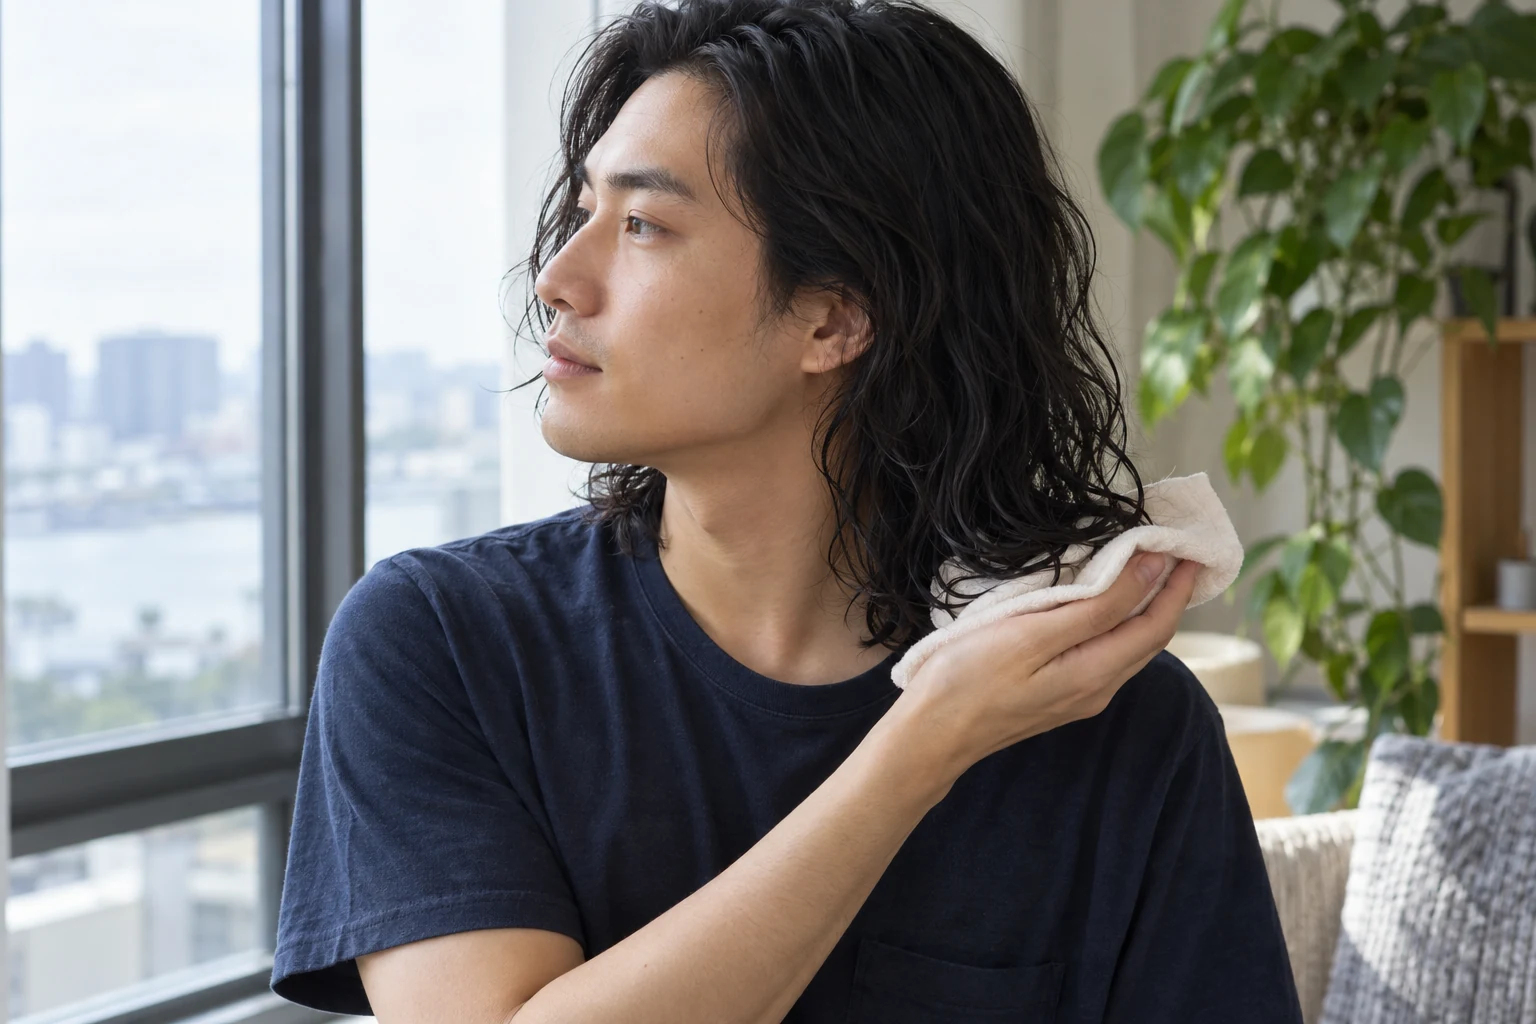
Try upright microplopping when a wrap changes too much
Stay upright and place a small area of cloth across an open palm. Bring an accessible group of ends into that support, lift gently towards the existing bend, and release without sliding the fabric along the whole length. Work where the hair naturally falls rather than hauling a back section over the crown. You can stop after removing the water that would otherwise drip. It is not necessary to keep compressing the same section until every curl has the same diameter.
This option is worth considering when a full wrap catches short front pieces, presses the roots into an unwanted direction or makes your preferred looser outline too compact. If you enjoy the length and space between your waves, preserve those preferences rather than chasing a smaller curl. Shorter hair may be easier to blot locally than to gather into a garment. Equally, someone who likes the supported shape of a loose wrap can keep it. The decision is about your actual handling and result, not passing a curl-type test.
Release by observation, not a universal waiting time
Make the first trial easy to interrupt and remain awake while it is on. There is no single number of minutes that proves the hidden layers are dry. The amount of hair inside, how wet it started and the cloth itself make a copied timer an unreliable finish line. Check comfort early; if the fabric is saturated or the hold becomes bothersome, open it. This guide does not recommend sleeping in a damp wrap or leaving it on simply to achieve a longer duration.
Undo the closure before lifting the cloth away. Support any caught piece with your fingers and free the fabric instead of pulling it through the hair. Let the lengths fall into their normal position, then continue your familiar drying routine with the wrap removed. Do not put a hairdryer into a garment or heat through the wrapped bundle. The outer surface feeling drier is not proof that the nape and inner layers are finished; check them before treating the whole style as dry.
Read the dry result without changing everything at once
Look at the front, the roots and an underneath section once drying is complete. A bent fringe, a root sitting differently or a group you find too compact is useful information, not evidence that your natural hair is wrong. Ask which part of the arrangement could explain the specific result. Next wash day, you might place less hair into the wrap, release it earlier or use upright blotting instead. Choose one change rather than switching the cloth, products and complete styling method together.
Keep a stiff styling finish separate from the fabric decision. If a gel has formed a cast, removing the wrap while the hair is still damp is not the same task as softening that cast after the hair dries. Do not repeatedly rub wet lengths to chase a soft final feel. Our dry-finish guide covers that later step. If you find residue on the cloth, record what you applied and when; do not automatically double the dose. Follow the product's directions and simplify the next trial before deciding you need another purchase.
Keep the method only if it earns its place
Make a short note of the cloth, whether you wrapped or blotted, and what you changed before finishing drying. Add one useful observation about comfort and one about the final shape. For example: the wrap stayed loose, but the front bent towards the forehead; next time, try upright blotting there. A note like that gives you something concrete to repeat. A photograph of the actual dry result can help you remember an outline without turning the experiment into a daily inspection ritual.
Compare routines under reasonably similar ordinary conditions, not one rushed commute with one carefully arranged weekend photograph. Keep the method if you prefer the result and can release it without fuss. Use it only occasionally if it helps on particular wash days. Skip it if a simpler blot-and-dry routine gives you what you want. The outcome is a workable way to handle your own waves or curls—not proof that a technique is compulsory, that every loose strand needs correction, or that a longer wrap produces a better result.