
Curly styling finishes
Scrunch out the crunch: a softer gel finish
Let your curls dry, soften one small section gently, and stop when the finish feels right rather than chasing perfectly identical spirals.

To scrunch out the crunch is to soften the firm finish that some styling gels leave after drying. Start with completely dry hair, support a small group of curl ends in your palm and lift gently before releasing. You are changing how the finished style feels, not trying to squeeze out water, brush through knots or make every curl match. If you like a firmer look, you do not have to remove all of it. The right stopping point is a finish you actually enjoy wearing.
This guide stands on its own: no app, new haircut or shopping list is necessary. It concentrates on the last styling step rather than a complete curl routine. The separate illustrations explain different observations and movements; they are not one person's before-and-after results. Product directions come first, and the appearance of a curl cannot prove how dry its interior is or diagnose its condition. Keep your existing routine familiar while you learn what this finishing step changes.
Scrunch out the crunch, not every sign of texture
A gel cast is the firm, sometimes crisp-feeling coating left as a styling product dries around grouped hair. It is a finish, not automatically evidence that the hair is dirty or damaged. Bouclème's explanation describes waiting for complete drying before gently softening that cast. Treat this as guidance about a styling stage, not a promise that every gel produces the same effect. Your waves may form broad groups while another person's curls make smaller spirals; neither arrangement has to be corrected to resemble a tutorial.
Before touching anything, name the part you dislike. Perhaps the ends feel rigid but the outline looks good, or a section stays in a large group when you want more movement. That gives you a limited task. A firm coating is not the same problem as a knot that catches your fingers, visible residue, or hair that is still damp. Do not use stronger squeezing as a universal answer to those different observations. The goal here is simply a softer dry finish with an amount of definition you choose.
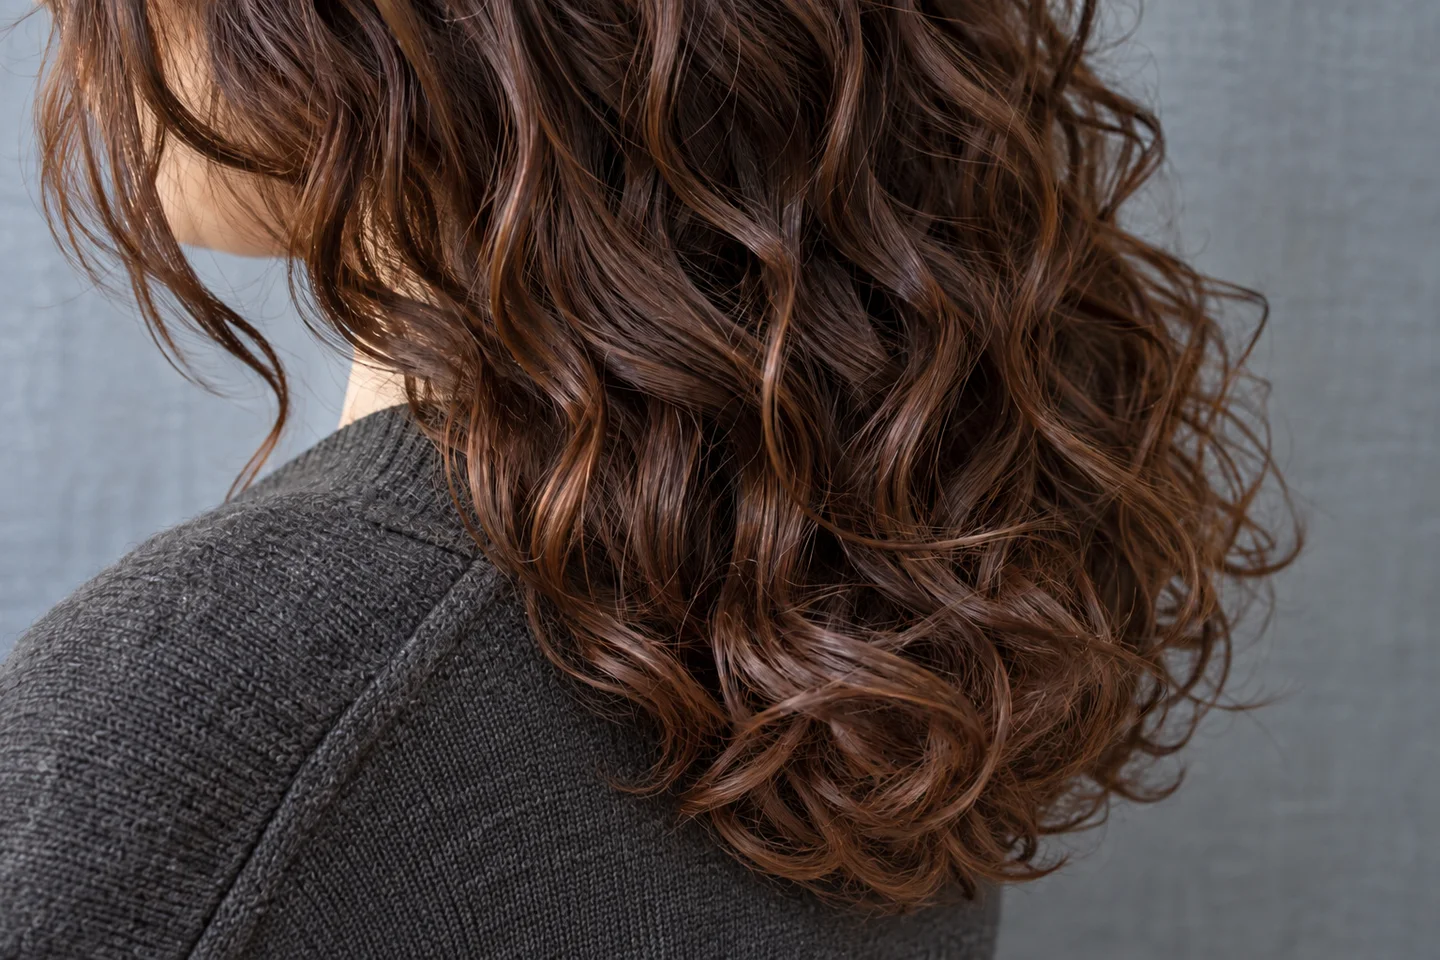
Check the underneath sections before you begin
Do not judge readiness from a glossy surface or the front pieces alone. Gently access a less visible section near the nape or behind an ear without stretching it. If any area still feels damp, leave the finishing step for later. A photograph, a timer or the fact that someone else's hair dries quickly cannot establish readiness for yours. There is no universal number of minutes that makes every length and density ready. Allow room in your routine for a later check instead of repeatedly compressing the same unfinished section.
If you have used a dryer, stop it before assessing the hair and let the immediate warmth settle. Follow its instructions and your usual gentle drying approach; this is not a reason to increase heat to meet a deadline. Our separate drying guide deals with access, sections and air placement. Here, keep the decisions distinct: finish drying first, then decide whether the dry gel coating needs softening. When time is short, leaving a firmer finish is a valid choice. A styling preference does not require completing every optional step before leaving home.
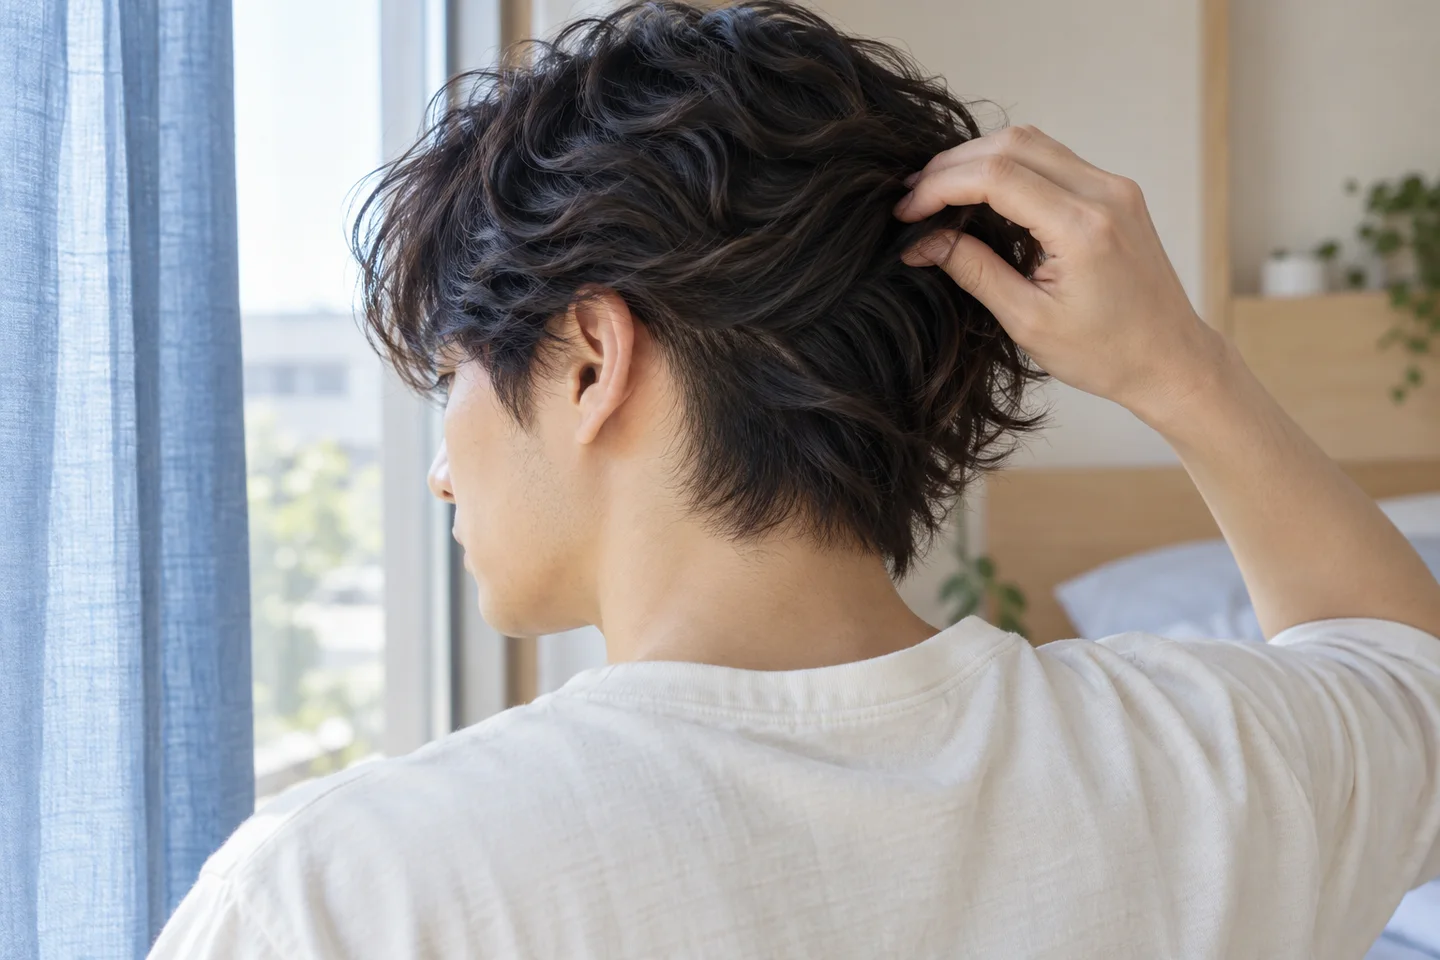
Set up a small, comfortable first attempt
Use clean, dry hands and choose a position that lets your shoulders relax. You can remain upright and bring a reachable section towards your palm; bending upside down is not a requirement. Put rings or accessories that catch strands aside before starting. If you cannot comfortably reach the back, work on the accessible lengths rather than pulling the whole section forward under tension. A small manageable attempt is more informative than a complicated manoeuvre you cannot repeat during an ordinary morning. You do not need a towel, brush and several products beside you.
Pick one dry section near the side, away from an existing tangle. Notice its starting shape and feel without dragging fingers through it. Leave a neighbouring section alone for the moment so you have a simple reference for your own judgement, not a controlled product test. Decide whether you mainly want less stiffness or more separation. Those are different changes, and you can stop after the first. Keeping the task small makes it easier to notice when an extra pass changes the outline more than you wanted.
Support the ends instead of rubbing the length
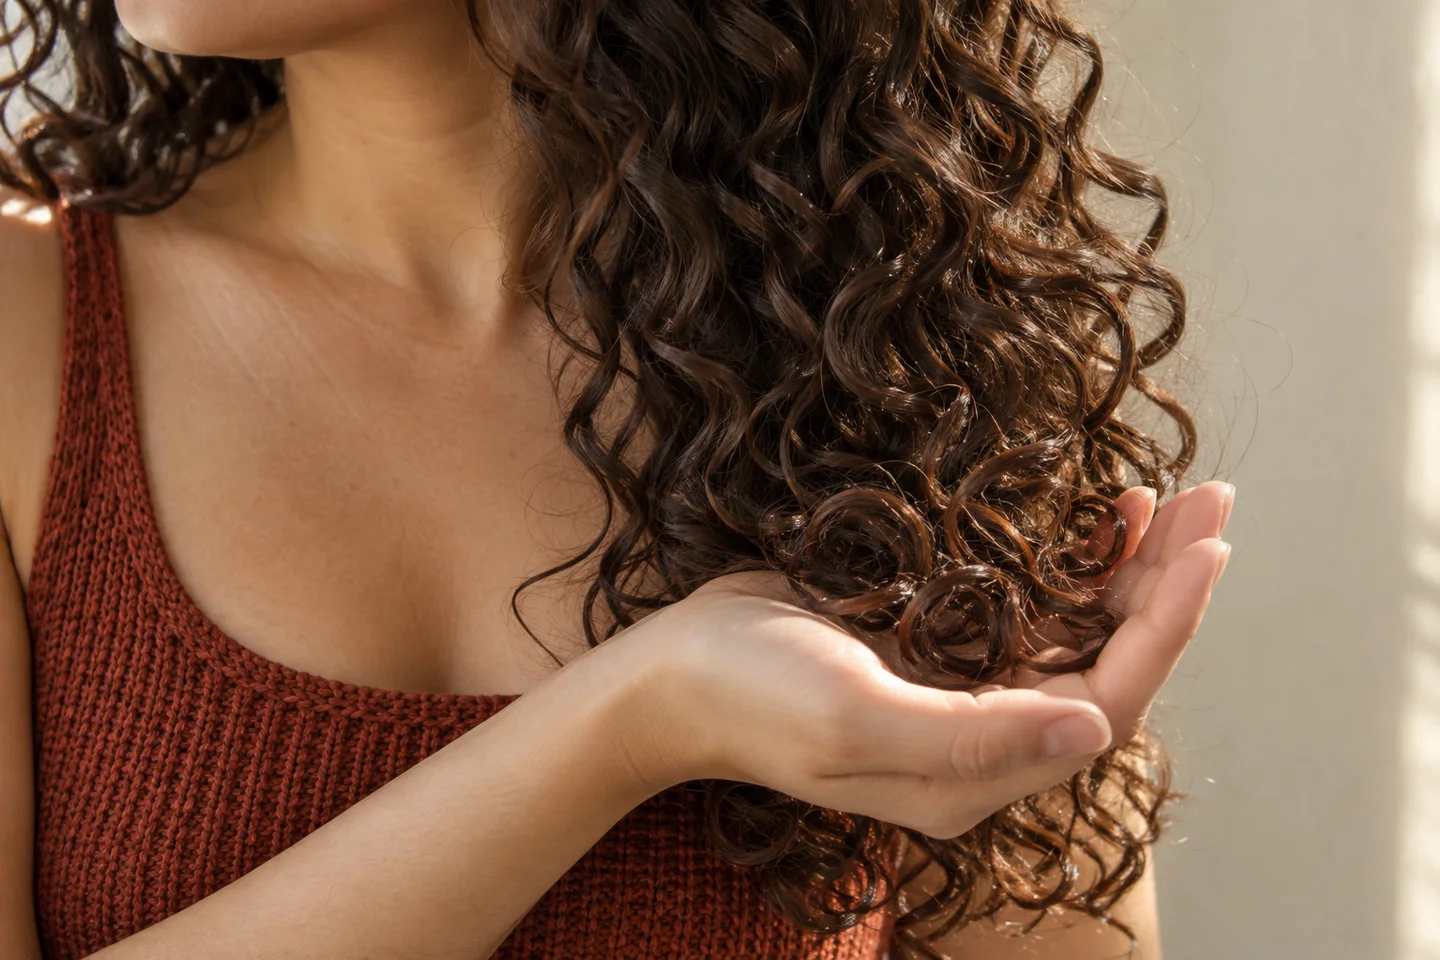
Place the ends of the chosen curl group in your open palm. Let your hand move gently upwards so the group folds into it, then release rather than closing a tight fist. Avoid pulling down from the roots, grinding hair between both palms or dragging fingers through the whole group. There is no required count or strength to achieve. Start with a brief gentle movement, let the hair fall naturally and reassess. If it does not soften as you expected, pause to reconsider the product and dryness rather than automatically applying more force.
Move around the reachable lengths in a simple order, such as one side, the other side and then any accessible back sections. Do not repeatedly return to the same front curl just because it is easiest to see. A section that already feels pleasant needs no extra work to keep pace with the rest. Support shorter pieces where they naturally sit; they may not fit into the same handful as longer ends. Stop any movement that catches or pulls. A knot calls for a separate detangling decision, not a more energetic version of this finishing step.
Oil is an option, not the entry requirement
Start by observing what gentle handling with dry hands does before adding another variable. Curlsmith describes softening a dry cast and discusses an optional oil step. That is not a reason to buy its product or assume every oil suits every head of hair. If you already use a finishing product that is labelled for this purpose, follow its actual instructions and begin cautiously. Keep it away from the eyes and do not treat a hair-length product as a scalp treatment. A tutorial's drop count is not a universal dose.
Adding more can also make your first attempt harder to interpret: did the section soften because of the movement, or did the added product change its feel? Keep those questions separate. If you try a familiar finisher another day, note that change rather than also replacing the gel and drying method. Do not assume an oil removes gel, repairs hair or supplies heat protection unless the specific product makes an appropriate supported claim. None of those functions is needed to decide whether you prefer today's curls with less stiffness.
Separate curls only if that is the result you want
Once a group feels softer, let it settle before deciding whether to split it. Softening a cast does not oblige you to divide every group into smaller pieces. Look at the whole silhouette rather than inspecting each strand close to the mirror. You might like broader waves at the back and smaller curls near the face. Ordinary variation and a few flyaways do not mean the routine failed. If you choose to separate a group, follow an easy natural division and stop if it catches instead of tearing through resistance.
For fine waves, first assess one small section so you can see whether the extra handling is worth it. For denser curls, make access manageable without gathering more hair than the palm supports comfortably. Shorter lengths may need only a small reachable movement at their ends, not the dramatic action shown for long hair. These are ways to organise the attempt, not guarantees for a curl category. Your own dry arrangement is the reference. Finish with hands away from the hair for a moment so you can judge what remains without continuously rearranging it.

Know when more scrunching is the wrong next step
If the section still feels wet or sticky, pause rather than counting extra repetitions. If you see visible flakes or residue, stop rubbing them through the rest of the hair. Review what was applied and the label's removal instructions; do not try to disguise an unwanted buildup with another layer. You cannot identify the cause from a photograph alone. An uncomfortable scalp or skin reaction is not a styling challenge to push through. Stop using a product that is causing irritation and seek appropriate professional advice if the problem persists.
A caught strand or knot also sits outside this task. Hold the finishing step until you can deal with tangles using a suitable approach for your texture; our detangling guide explains that separate decision. Repeated squeezing should not replace washing when washing is needed, nor can it guarantee an exact all-day outline. If the product consistently leaves a finish you dislike, consider changing one element on the next styling day. You are allowed to choose a different hold level instead of working harder to make this one behave like another formula.
Keep one useful note for your next wash day
Note the gel, whether the underneath hair was dry and what happened after the first section. Softer ends, enough definition, no extra oil is a useful summary. A picture in familiar light can record the outline, but comfort matters too. Your observation is not a measured comparison or a promise for someone else's curls.
Choose only one adjustment for the next attempt: wait longer before finishing, handle fewer sections or try the familiar labelled finisher separately. Keep the rest steady where practical. You do not have to chase maximum softness and maximum hold simultaneously. A successful routine may be a small improvement that takes little effort and still looks like your own hair. When the dry finish feels comfortable and the shape suits you, put your hands down. Leaving a good result alone is part of the method, not a missed final trick.