
Everyday hair styling
A gentler way to blow dry hair
Separate drying from shaping, organise the damp sections and let controlled airflow do the work instead of heat, brush tension and repeated passes.
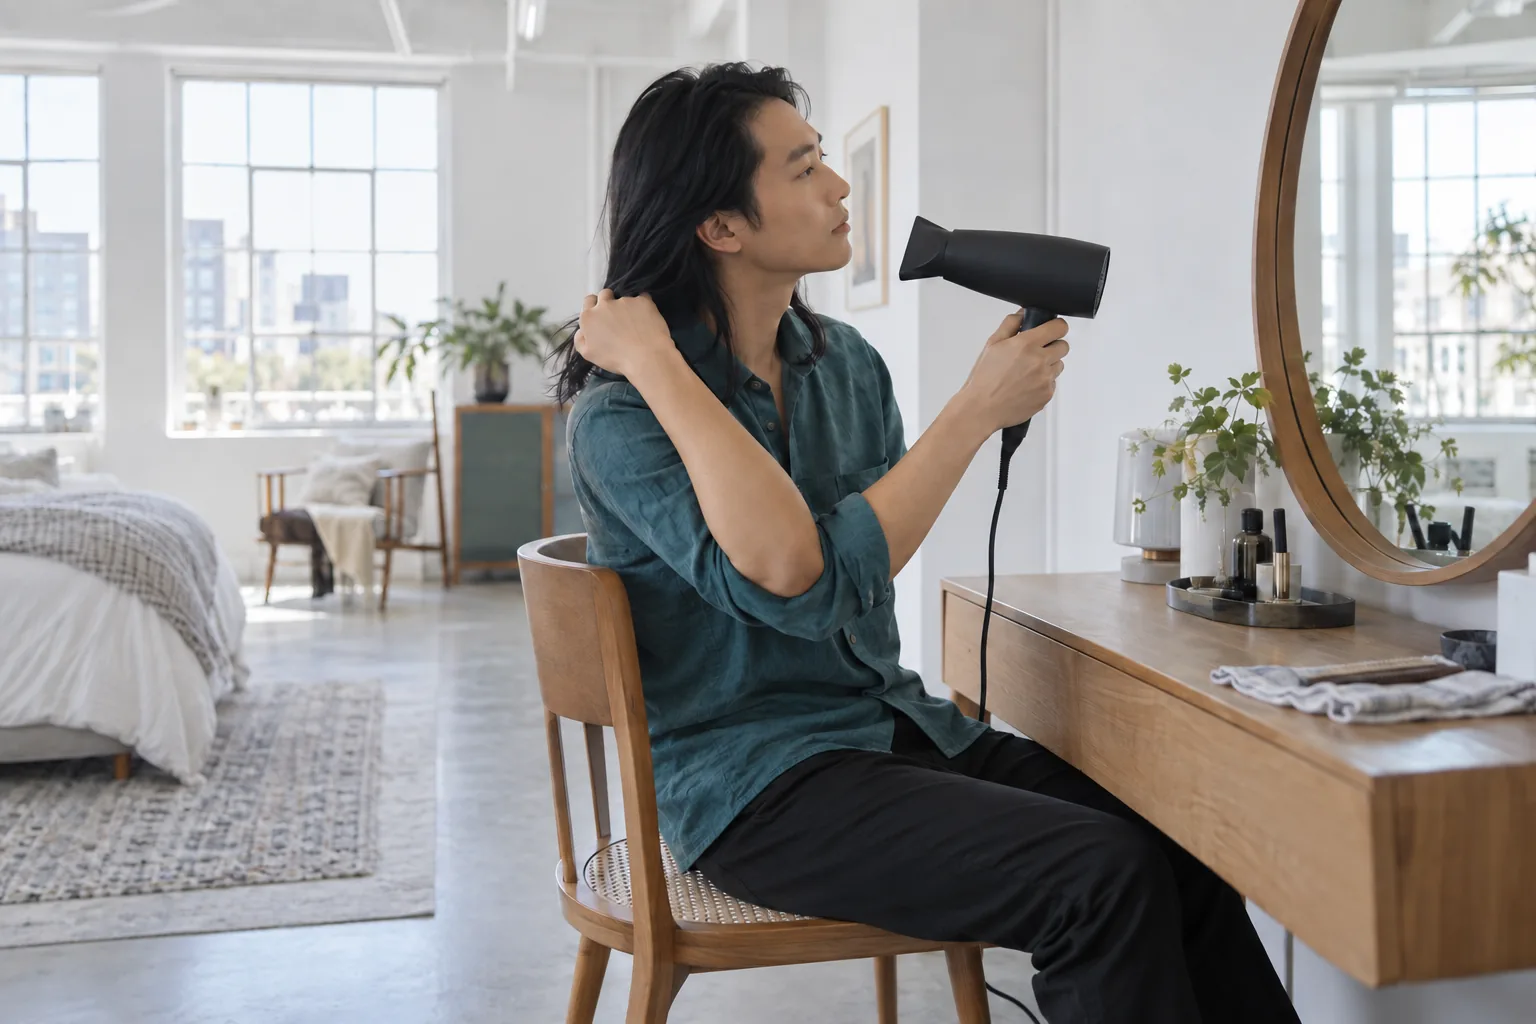
You can blow dry hair without trying to turn every wash into a salon blowout. The useful first goal is simpler: remove moisture comfortably while keeping your usual texture manageable. When the roots remain damp but the ends are already dry, turning up the heat and pulling harder with a brush rarely addresses the unevenness. A more organised route gives you something specific to change, rather than treating the whole head as one stubborn section.
This everyday routine separates drying from optional shaping. It does not promise damage-free styling or treat scalp conditions. No app or new appliance is needed. Start with your dryer’s instructions and a finish you can maintain. The images illustrate individual steps, not a before-and-after test or a guaranteed result.
Blow dry hair for the finish you actually want
Choose the outcome before reaching for the controls. Do you want dry roots with your waves intact, a loose straight finish, or a little direction around the front? These are different tasks. If the aim is simply to leave home with comfortable dry hair, a round brush and a perfectly polished perimeter are optional. Decide which small area genuinely needs shaping and leave the rest alone. This prevents a practical drying session from becoming repeated attempts to correct every strand that does not match an inspiration photograph.
Look at a recent ordinary-day photo, not only a freshly styled reference. Notice whether you like the natural movement once the hair settles. If a haircut only appeals when it is stretched straight every morning, that styling commitment belongs in the cut decision. Our guide to choosing a haircut for an air-drying routine addresses shape and maintenance; this article addresses handling the dryer. Keeping the questions separate makes it easier to tell whether the difficulty comes from the technique or from asking your haircut to behave differently every day.
Prepare the damp hair without making a new tangle
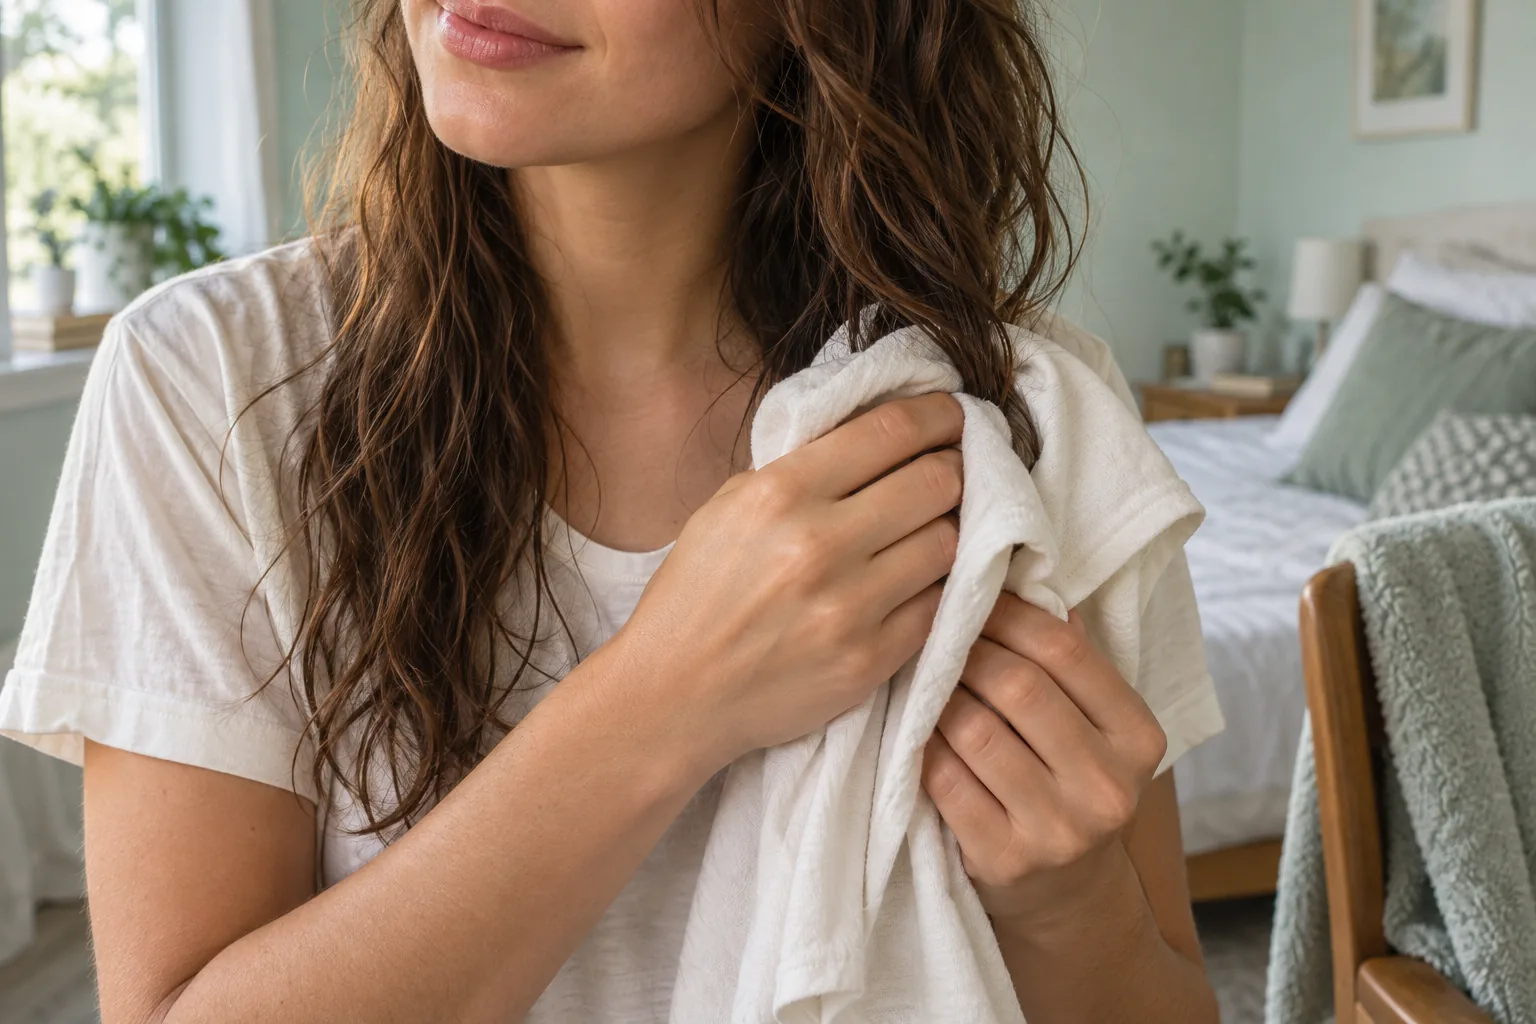
After rinsing, gently press a soft towel or cotton T-shirt around the lengths to take up excess water. Avoid twisting the whole head into a tight rope or scrubbing it as though drying a countertop. The practical checkpoint is hair that is no longer dripping, not an exact percentage of dryness. You can allow a little air-drying time when your schedule permits. If you have curls, preserve the groups you want to keep rather than repeatedly combing them apart simply to make the drying look tidier.
Resolve an ordinary loose knot before combining a brush and dryer over it. Choose the combing stage that suits your texture, and do not pull a knot through with hot air aimed at the same spot. Apply a heat-protection product intended for your hair according to its directions; more is not automatically better, and no product makes unlimited heat harmless. The American Academy of Dermatology recommends gentle moisture absorption and low or medium heat. Those are starting principles, not a guarantee that a particular setting or product will suit every head of hair.
Set up a dry space and understand the controls
Move to a dry dressing area away from water, with dry hands and a clear place to rest the switched-off appliance. Check the cord and housing before use. Keep the intake clear of hair and fabric, and follow the manufacturer’s directions for attachments and cleaning. Stop using a dryer that sparks, smells unusual or has visible damage; contact its manufacturer or retailer instead of experimenting with a repair. Electrical Safety First’s guidance is useful here, while the instructions for your exact appliance remain the reference for its safe operation.
Distinguish heat from airflow. A higher fan setting does not necessarily require the hottest temperature, and the names on a control are not calibrated temperatures shared by every dryer. Begin with a lower heat setting and a controllable flow. If the air tosses a small section into the hair beside it, reduce the fan rather than gripping the section harder. If you must hold your arm at an awkward angle to reach the back, stop and reposition yourself. Comfortable access makes it easier to move the appliance deliberately instead of parking it beside one patch.
Leave an air gap and keep the stream travelling
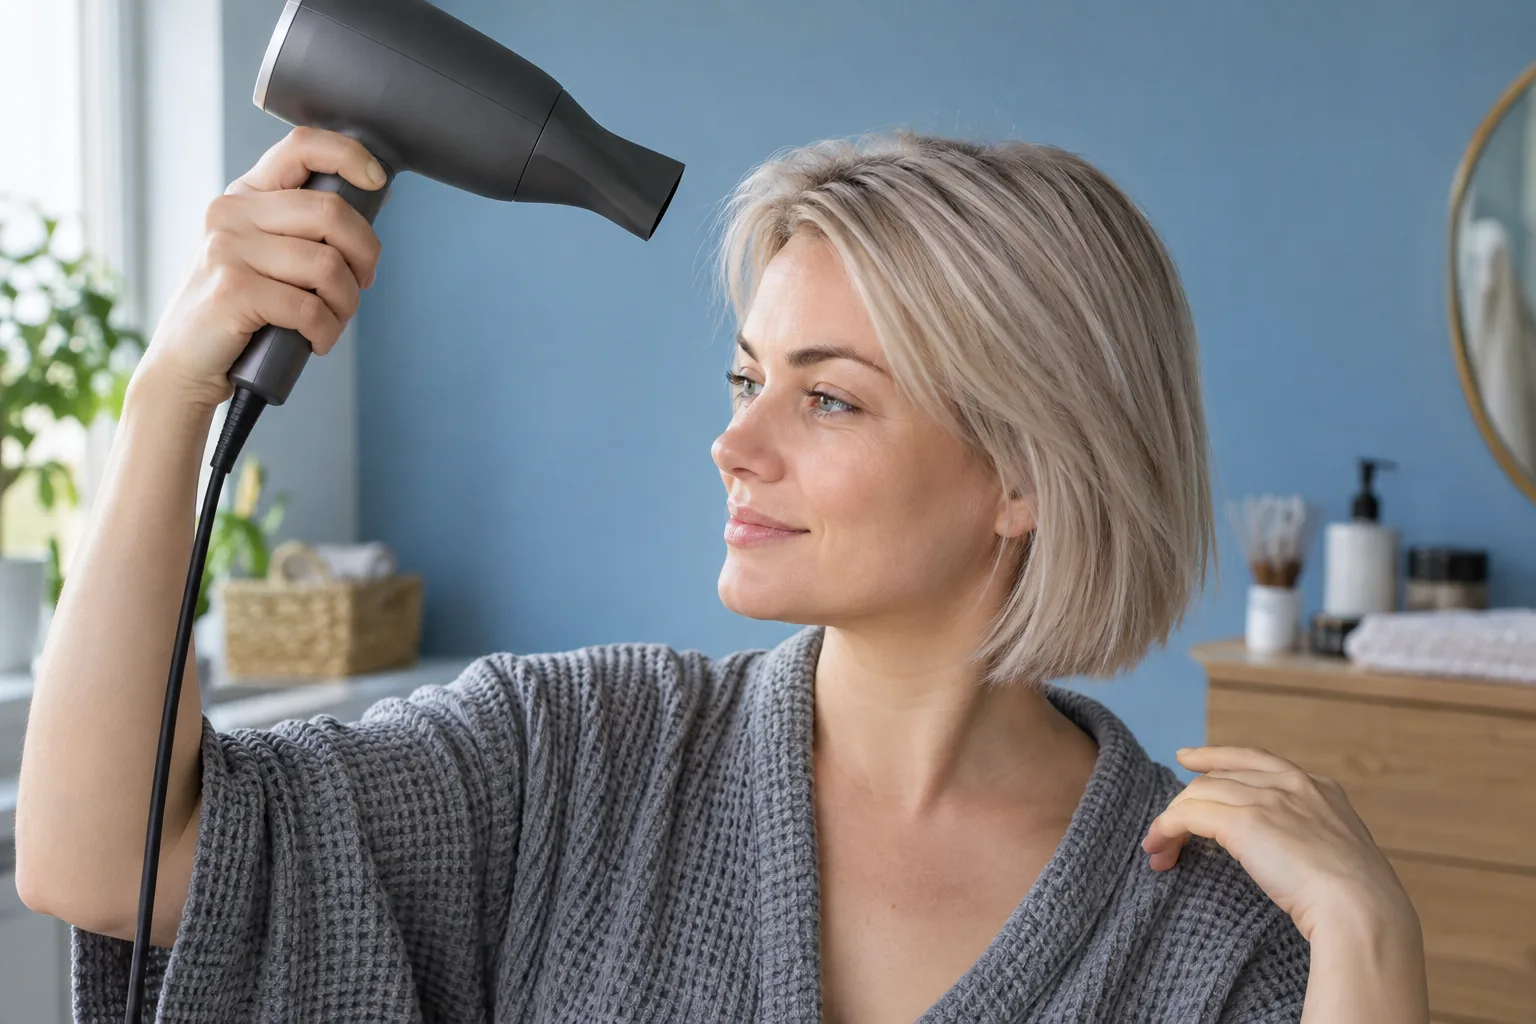
Keep the nozzle away from the hair and scalp, never pressed against either. Use the distance specified by your appliance’s instructions and increase it if the air feels uncomfortably warm. There is no universal number that makes every device safe: attachments, temperature, airflow and exposure time differ. Guide the air along a section in moving passes rather than fixing it on a single spot. For a loose straight finish, aim broadly along the strand direction instead of blasting across the lengths from all sides and then brushing out the resulting disorder.
Separate progress from comfort. Hair still feeling damp does not justify tolerating a hot scalp. Turn the dryer away while changing hands, moving clips or checking the section. Do not rest a hot nozzle against the brush to hurry things along. If there is pain, stop rather than completing the look. When you notice yourself moving closer as your arm tires, put the appliance down safely and take a short break. An unfinished style can be adjusted later; an uncomfortable technique should not become the normal price of getting ready.
Use sections to reach moisture, not to stretch harder
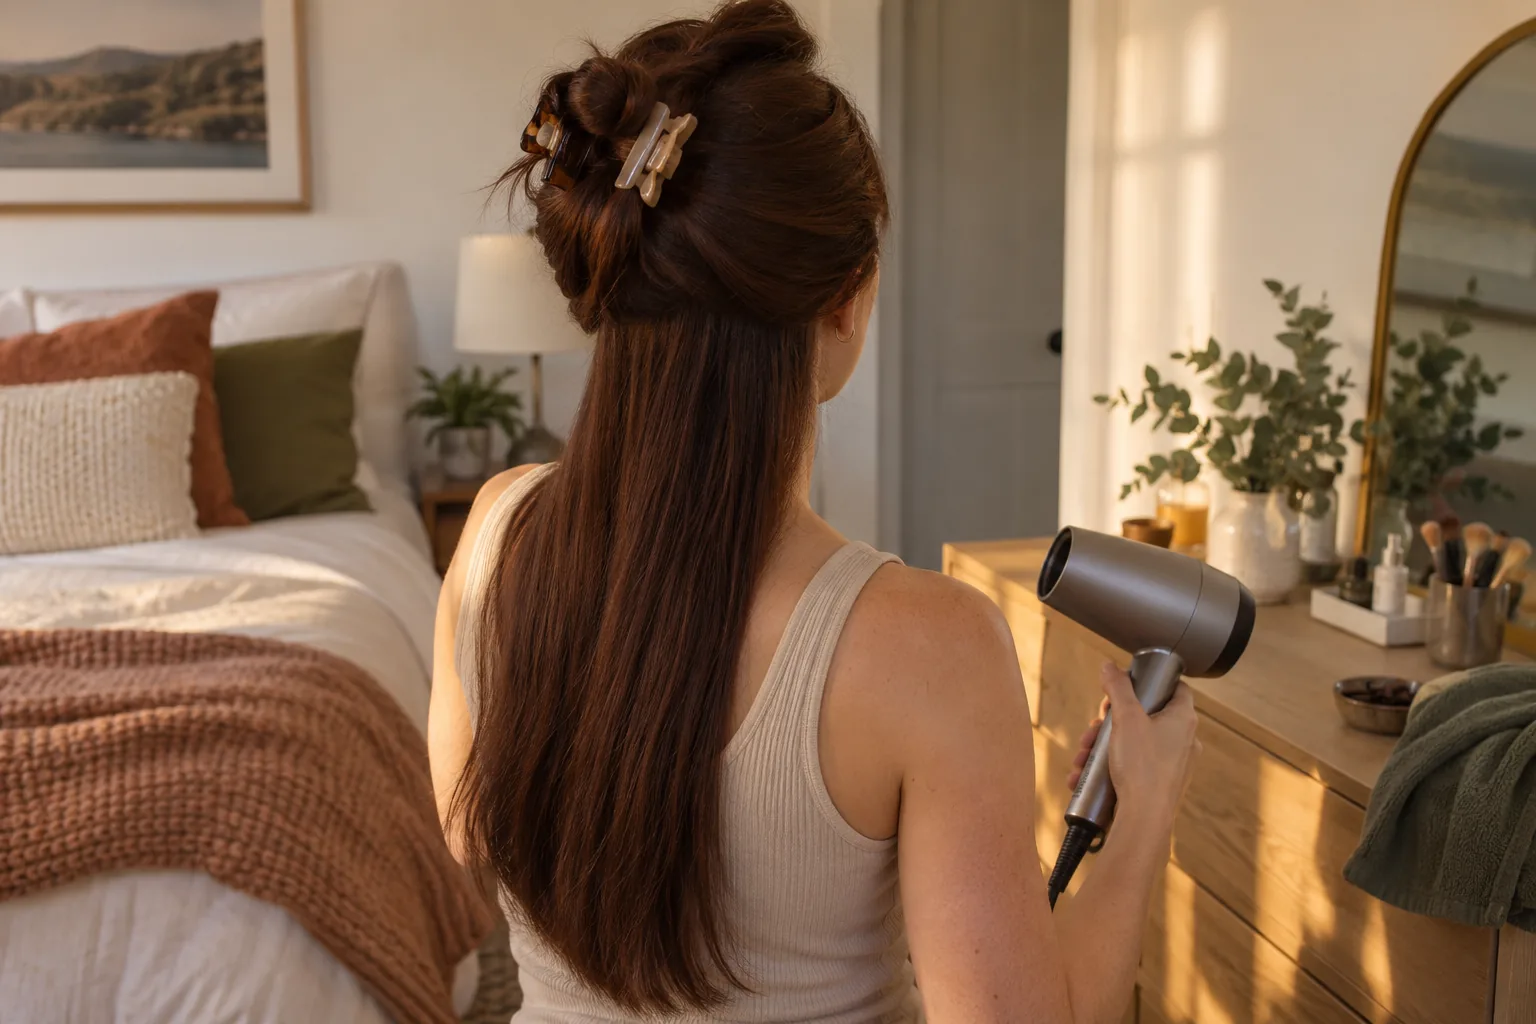
For dense or long hair, divide it into a few accessible sections with comfortable clips. Leave one lower layer free while the others sit loosely out of the airflow. You do not need a salon-perfect grid. Choose sections small enough that the air can reach the inside without sweeping already dry ends again and again. Release another section only when you can manage it calmly. On short hair, moving between a few areas may be enough; unnecessary clips can add handling without making the session easier.
Dry first, then decide whether a brief shaping pass is worth doing. If you use a brush, keep the tension comfortable and stop when it catches. Unplugged, try the arm movement once so you know where the nozzle and brush will travel. Avoid winding an entire long section tightly around a small barrel. You can practise a simple front direction before attempting elaborate curls. A little unevenness at the back is a cue to inspect the hidden layer, not proof that you need more heat everywhere. Aim for access and control, not the largest possible section.
Adapt the airflow when keeping waves or curls
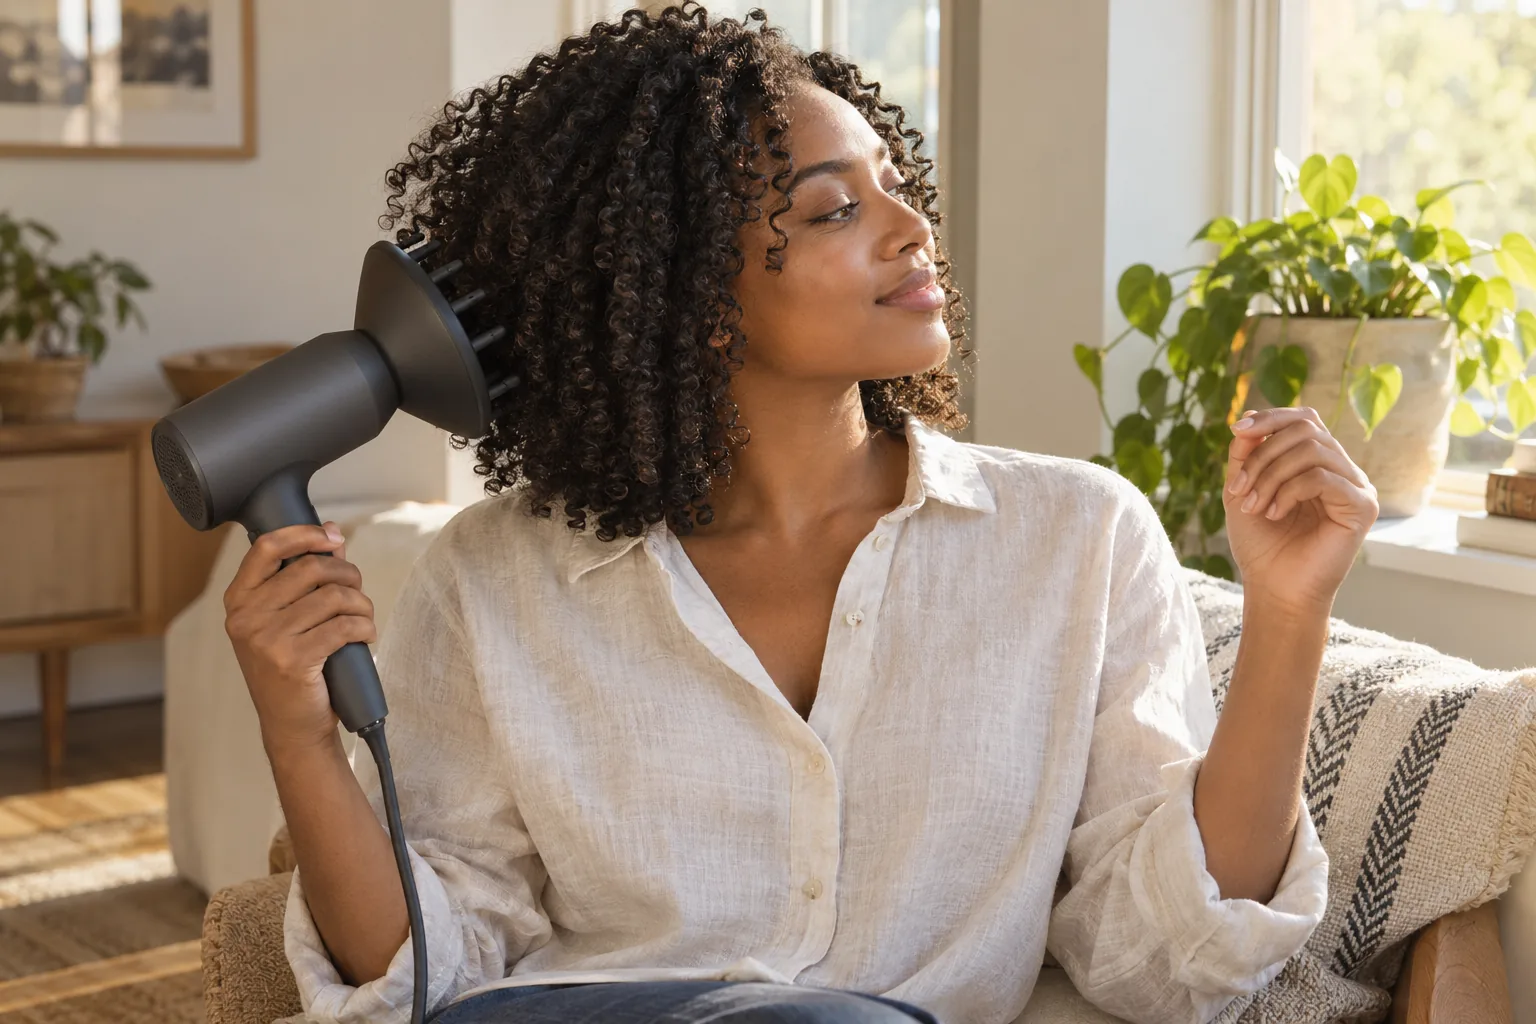
If you want to keep your curl pattern, do not use the drying stage as an accidental straightening session. A compatible diffuser spreads the stream over a broader area; it does not remove the need to control warmth or follow the dryer’s instructions. Start with a gentler flow and observe whether the curl groups stay together. You can direct the diffuser near a region without pressing its prongs against the scalp. Move on or pause instead of heating one area continuously. Keep your neck comfortable; turning your head upside down is not a requirement.
Avoid repeatedly scrunching, stretching and separating the same half-dry curls while trying to judge the final shape. Choose a simple route around the head and check the denser underneath areas, not only the visible surface. Different textures may prefer different amounts of handling, so change one element next time rather than adding several new products immediately. A larger dry silhouette is not automatically frizz or damage. If the real question is where the finished curls should sit after a cut, evaluate that on dry hair separately from the drying method.
Make the next session easier with one small observation
After switching off and unplugging the dryer, let it cool on a suitable surface before storage. Note the one part of the routine that felt awkward: a damp lower layer, tangled ends, an overly strong fan or a front section that required too many passes. Choose a single adjustment for the next wash. That might mean a smaller lower section, a gentler fan or less ambitious shaping. Compare similar wash days before judging the change; a rushed morning and a carefully prepared evening are not a fair test of two heat settings.
If repeated styling is becoming necessary merely to disguise ragged ends, consider a professional assessment of the cut instead of hotter finishing. The trim-timing guide helps distinguish a shape preference from visible wear. Seek medical advice for ongoing scalp pain, burns, unexplained hair loss or a sudden change; this routine is not a diagnosis or treatment. A useful outcome may simply be fewer passes and a natural finish you like. You can keep that result without upgrading the device, adding another tool or turning your mornings into a daily performance.