Braided hairstyles
A French braid that works with your layers
Choose a starting point, gather short layers comfortably and compare a full or partial French braid before you style it.
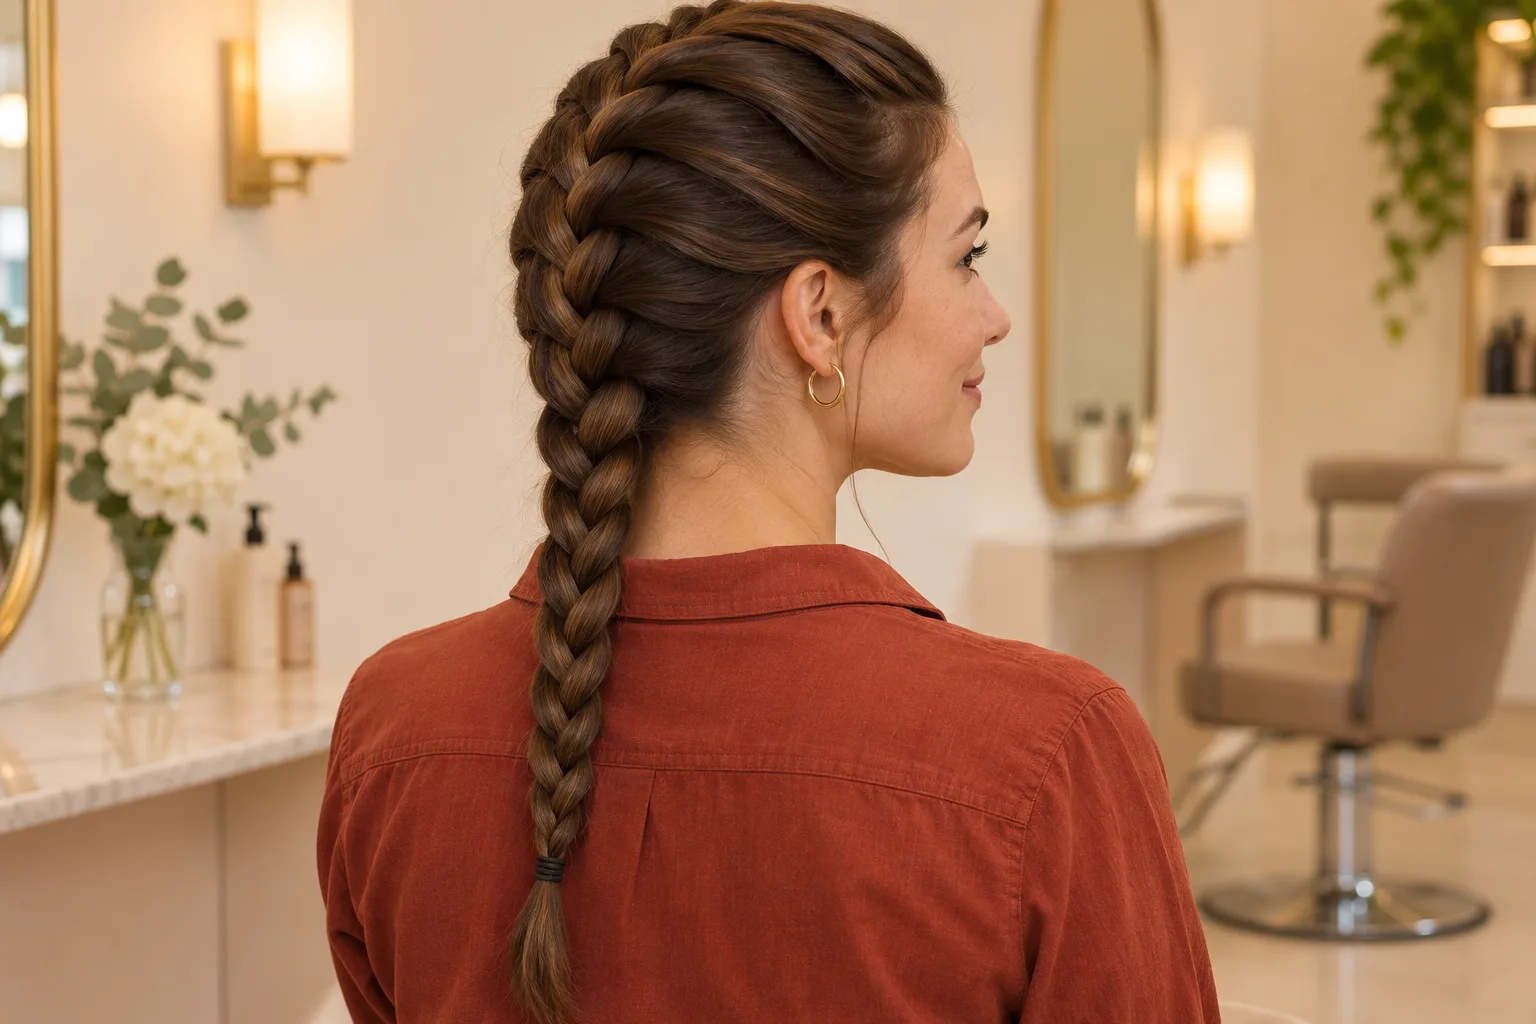
A French braid can look easy in a reference photo and still fall apart at your temples before you reach the nape. Short layers, a slippery finish and a starter section that collects too much hair can all produce the same outward result: pieces escape and the outline shifts. If you tighten every pass to compensate, you may finish with a style that looks neat for a moment but feels uncomfortable as soon as you turn your head.
Pick one outcome for your first attempt: a full braid that contains most of the lengths, or a smaller braid that leaves the lower hair loose. Both can look intentional with a few front pieces out. Use Hair Muse, if a braid or a suitable related style is available in your version, to explore the visible outline on a clear portrait before you practise or book a styling appointment. Your real test is the braid you can make, wear comfortably and undo without fighting the ends.
Choose the starting line for your French braid
Start by separating the hair that needs to move off your face from the hair you would like to show. Run a finger back from each temple and let the little pieces fall naturally. If the front pieces do not reach your intended starting point without being pulled, leave them out, start closer to the hairline or choose a partial braid that collects a smaller area. You can decide this in a mirror before you make the first crossover.
A higher start tends to show more of the pattern from the side. It also commits you to collecting hair sooner, which can be fiddly when you are working on yourself. A lower start keeps the top closer to its usual shape and leaves a shorter path to the nape. Take a quick side photo of each starting section with the hair simply held in place. Check what you would see under ordinary lighting, without treating a dramatic overhead photo as the only view that matters.
Prepare three strands you can keep apart
Choose the preparation that suits the texture you actually wear. With a brushable texture, gently work out obvious snags before lifting the starter section. With curls or coils, use your usual approach to separating sections and leave natural groups together where that makes the pattern easier to manage. You need three distinguishable strands. There is no need to smooth every bend or stretch the hair until its shape changes.
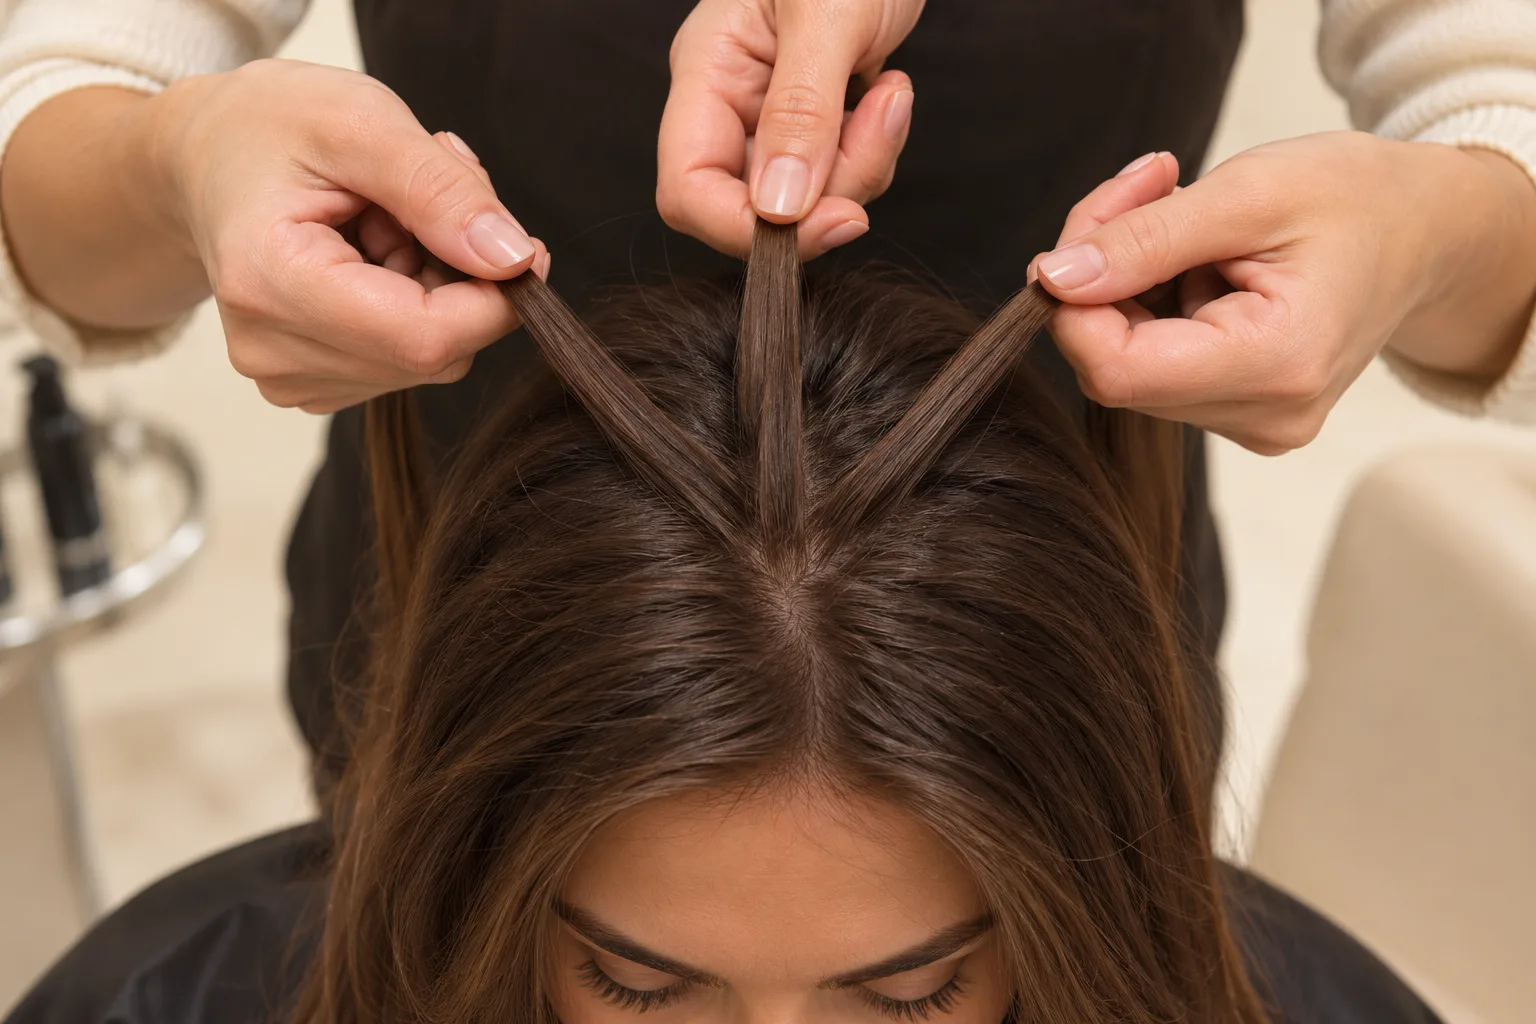
Lift a modest piece in the chosen place and divide it into three roughly similar strands. Hold the outer strands so you can identify them by touch. A wide starter area can pick up several layers at once and leave very little loose hair for the next passes. If your hands lose track immediately, put that section down and try a smaller one. A clip can keep hair out of the way while you prepare, then comes out before you reach its area. Place your tie within reach so you do not need to search while holding the final pass.
Add hair on the side that is about to cross
Begin with a simple three-strand weave. Bring one outside strand over the centre and then the other outside strand over the new centre. Once the pattern is clear, take a small new section from the same side as the outside strand that will move next. Combine the pickup with that strand, cross it over the centre, then repeat on the other side. Keep the pickup small enough to hold without shifting the sections already in your hand.
When you work in a mirror, directions can feel reversed. Try naming the physical hand that makes the pickup instead of naming what you see in the reflection. If you lose the pattern, stop with the sections still separate and work out which outer strand has yet to move. The next pickup belongs to that side. Aim for roughly balanced amounts of hair from each side across several passes. Trying to make every individual pickup identical may be impractical where layers or a natural part divide the hair differently.
Decide which short pieces belong in the style
If a short layer slips out at the same spot twice, look at its reach before repeating the entire braid. Hold that piece near the next crossover and see whether its tip actually extends past your fingers while your head is upright. A tip that barely reaches may stay put only while your hand holds it. Plan to leave such a piece loose or bring the pickup a little closer to the face, if that still looks and feels good to you.
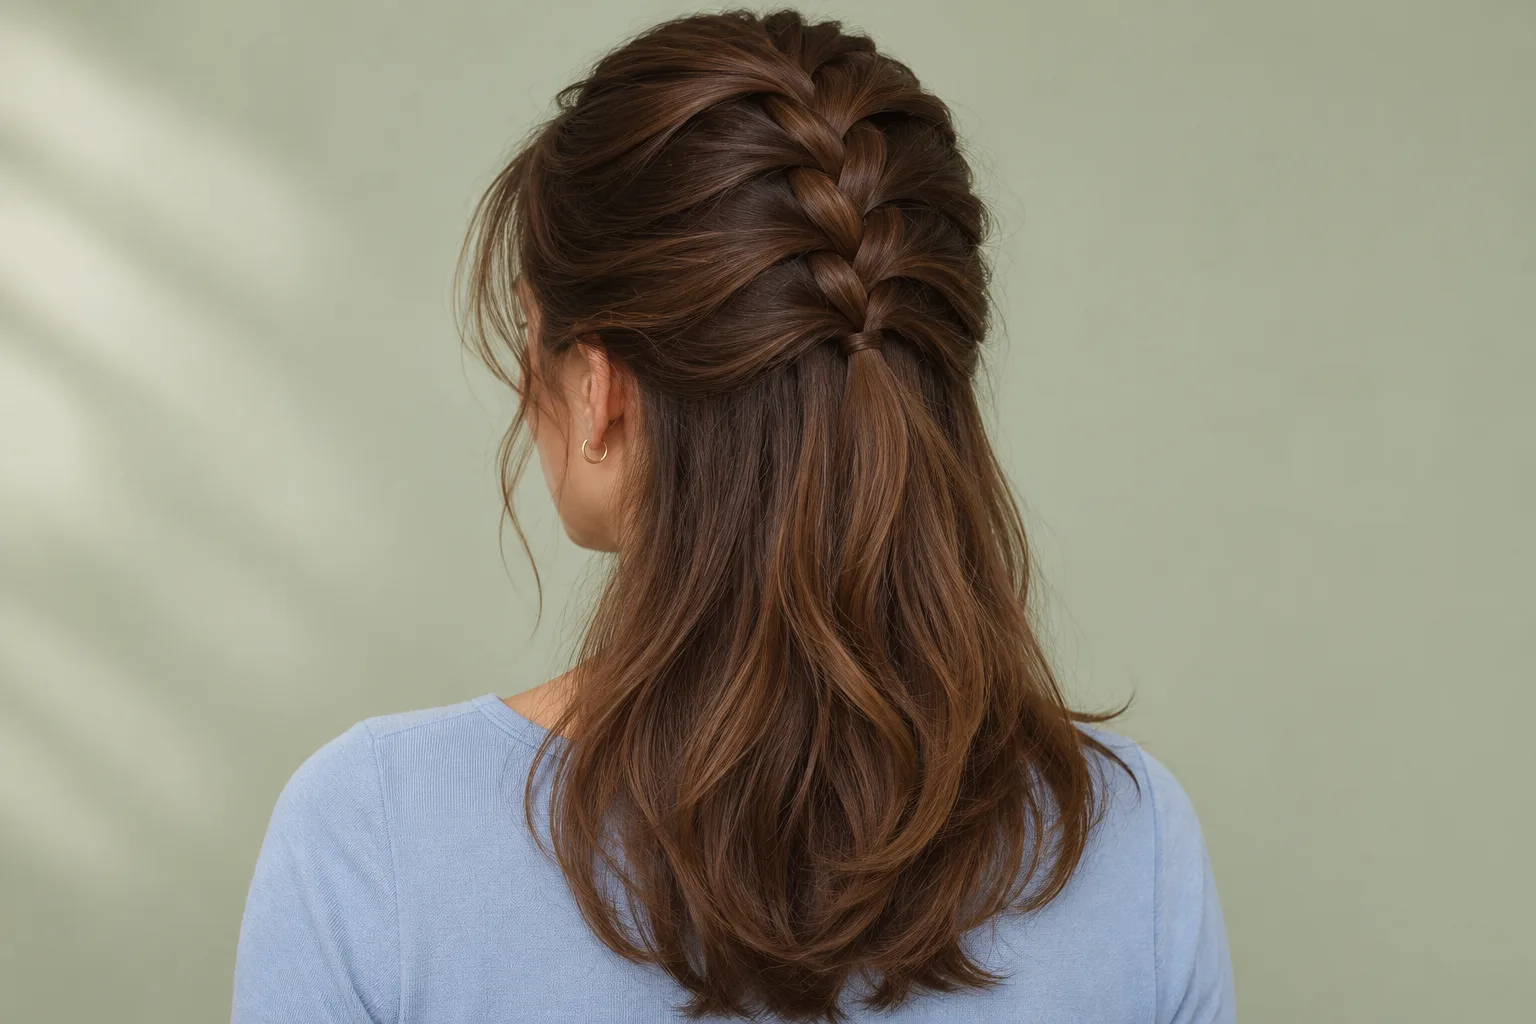
A partial braid is especially handy when the shortest layers are around the ears. You can stop collecting hair above the area where pieces become hard to hold, finish a few ordinary crossovers and tie the small braid separately. The rest of the lengths can fall as they usually do. Compare a photo of that result with a full braid from the same side. The useful question is how much of the face and neck you want clear, and whether the finish meets that need.
Stop collecting at the nape and secure the tail
When the hair you intend to include is all in your hands, stop adding new pieces. Continue with the same over-centre pattern as a plain braid. If layers start escaping from the tail, tie the braid a little higher where all three strands still have enough length to hold. A longer woven tail is an option only when your usable lengths support it.
Use a tie that holds with a comfortable number of turns. Check that the braid rests at the nape without pulling when you lift your chin. Move your head gently, then sit down and see whether the tail presses against a chair, a collar or a headrest you use often. Try sitting in the same position you expect to use during the day. If the tie catches on a collar during a head turn, move it higher or switch to a partial braid. A quick comfort check helps you decide before you spend more time weaving.
Preview one visible choice with Hair Muse
The decision worth previewing is often smaller than the entire hairstyle. You might be weighing a tidy front against two loose pieces or deciding whether the gathered outline should start high. Choose a recent, evenly lit portrait and make sure the area you want to judge is visible. The guide to taking a clear reference photo explains how to keep the outline and hairline in view. Check the current style options in Hair Muse before relying on any particular braid preset.
If you find a suitable preview, compare it with the same original photo each time. Changing the pose or lighting can distract you from the face-framing difference. Save the image only if it communicates a preference you can name, such as “leave this piece loose near my glasses.” AI may invent a thicker tail, a different hairline or an angle that hides how the braid is held. Use those differences to decide what to test in a real mirror. The preview cannot tell whether your shortest layer reaches the crossover or how much tension you will feel.
Bring one picture and one condition to the salon
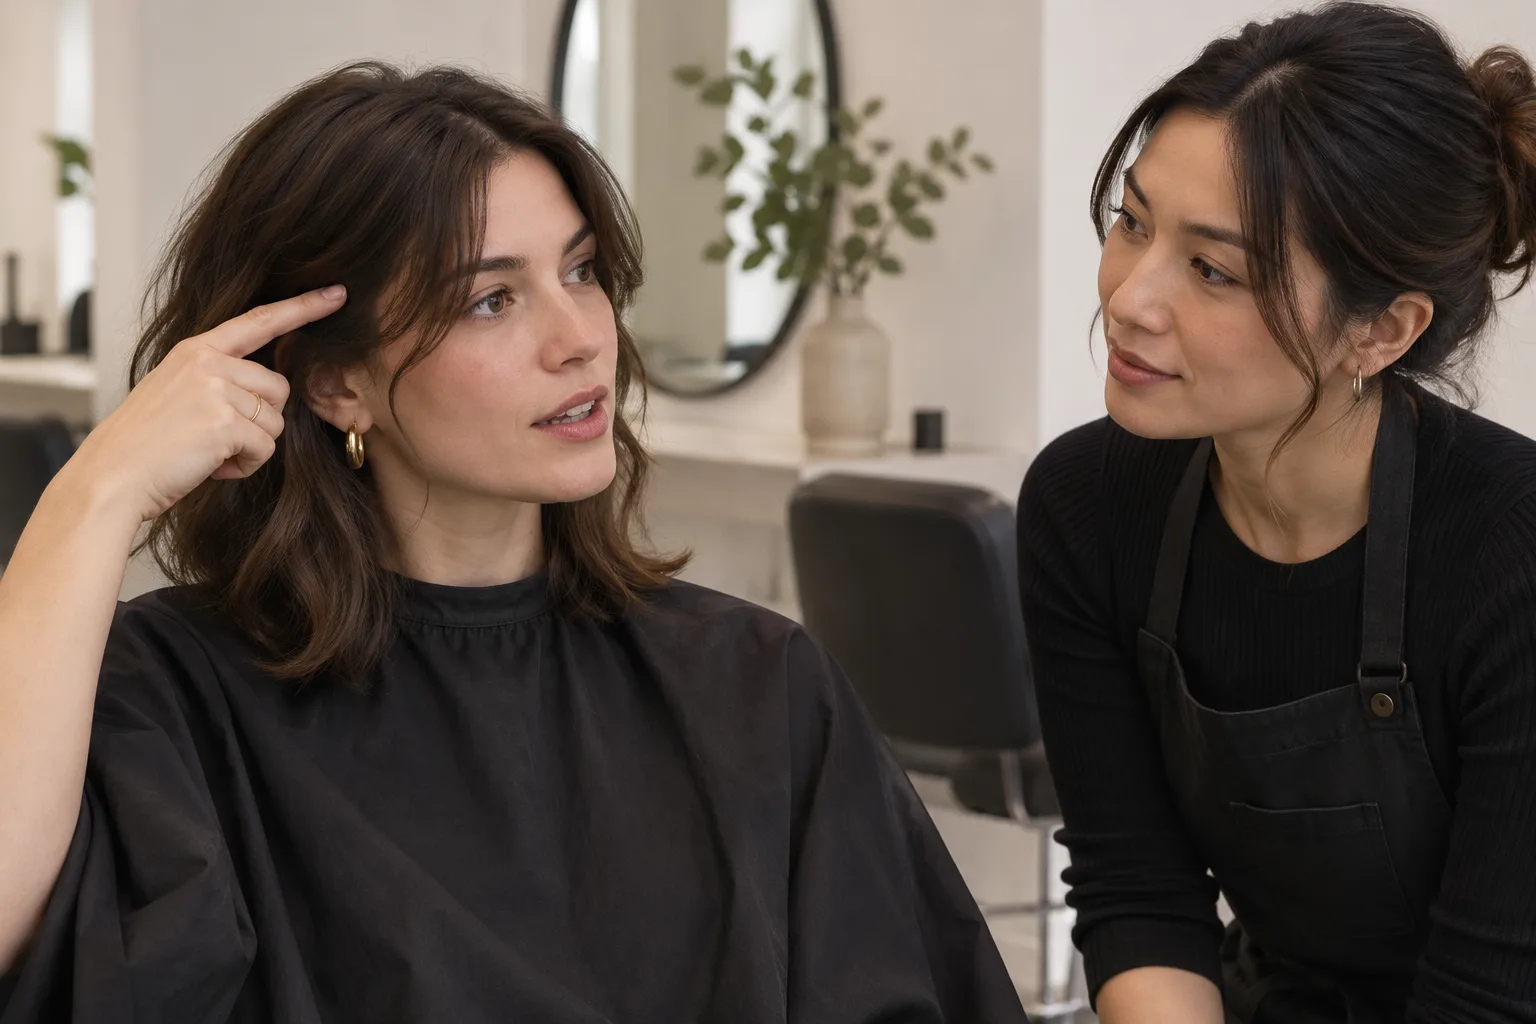
For an appointment, take a photo of your own starting hair and one reference that shows what you want to keep visible. A photo from the back can help explain the pattern, while a side view shows whether you want the ear and temple clear. The reference can be a real braid you tried yourself, a suitable preview or a hairstyle photo you already have. Tell the stylist which detail you are pointing to, since a single picture can suggest several different things at once.
Mention what the style needs to do on the day. If you will wear glasses, headphones or a collar, bring the item if convenient and check contact points before you leave. If you want the braid to stay comfortable through a long event, say where earlier styles felt tight and ask which short pieces should be left out. The guide to using a preview in a salon conversation offers ways to turn an image into a concise request. Let the stylist look at the actual lengths and adjust the design with you.