
Photo guide
How to take the best photo for an AI hairstyle try on
A practical selfie checklist for clearer, more useful hair and color previews.
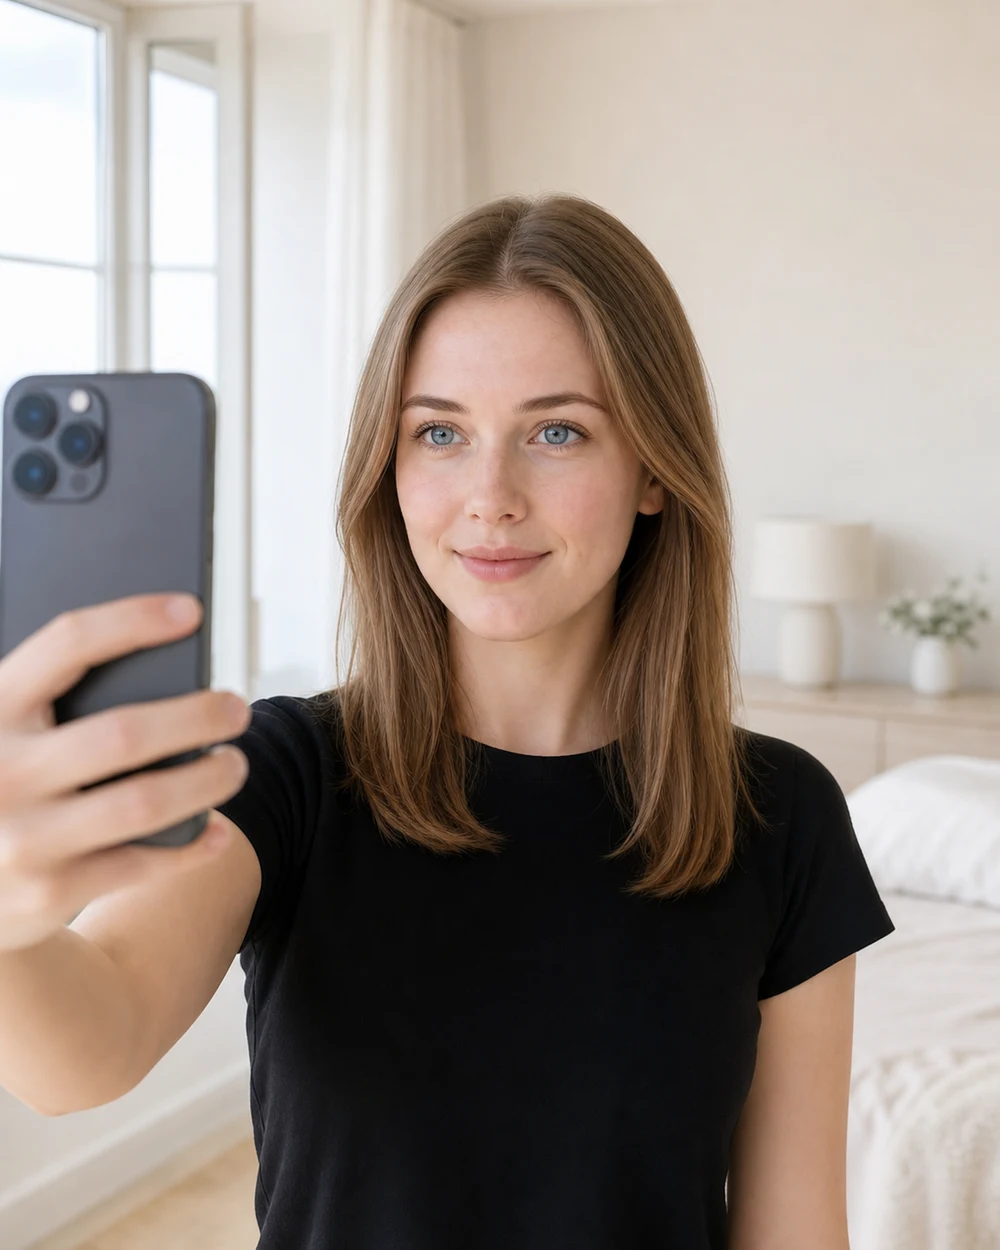
An AI hairstyle preview begins with the information in your photo. If the face is small, the head is turned, the hairline is hidden, or the lighting changes skin and hair color, the system has to guess more.
You do not need a studio portrait. A phone camera, a plain background, and a minute of preparation are usually enough. The goal is not to look posed; it is to give the app a clean view of the features that matter for the requested preview.
1. Face the camera at eye level
Hold the phone at roughly eye level and look toward the lens. A straight-on portrait makes it easier to understand face framing, hairline position, and head shape. Keep your head upright rather than tilting it strongly.
Avoid a profile or three-quarter angle for your first attempt. Those angles can be attractive photos, but they hide one side of the face and make a balanced hairstyle placement harder.
Best starting point: shoulders visible, full head inside the frame, eyes looking toward the camera.
2. Use soft, even light
Stand near a window during daylight, facing the light rather than placing the window behind you. A shaded outdoor area can also work well. The ideal light is bright enough to show detail but soft enough that one side of the face is not lost in shadow.
For hair color previews and color analysis, neutral light matters even more. Warm household bulbs can make skin and hair look more golden; colored LEDs can shift the entire palette.
- Good: indirect window light, open shade, even neutral room light
- Avoid: strong backlight, hard overhead light, colored LEDs, deep shadows
3. Keep the full hairline and head visible
Leave a little space above your head and around both sides of the hair. Do not crop through the top of the hair or place the face at the very edge of the image.
Move hats, large hair accessories, sunglasses, and hands away from the face. If you have long hair, let enough of it show that the starting length is understandable.
4. Use a simple background
A plain wall or uncluttered room helps separate your silhouette from the surroundings. A background with similar colors or busy objects around the head can make fine hair edges harder to interpret.
You do not need to remove every object. Prioritize contrast: dark hair is easier to see against a medium or light background; very light hair benefits from a slightly darker background.
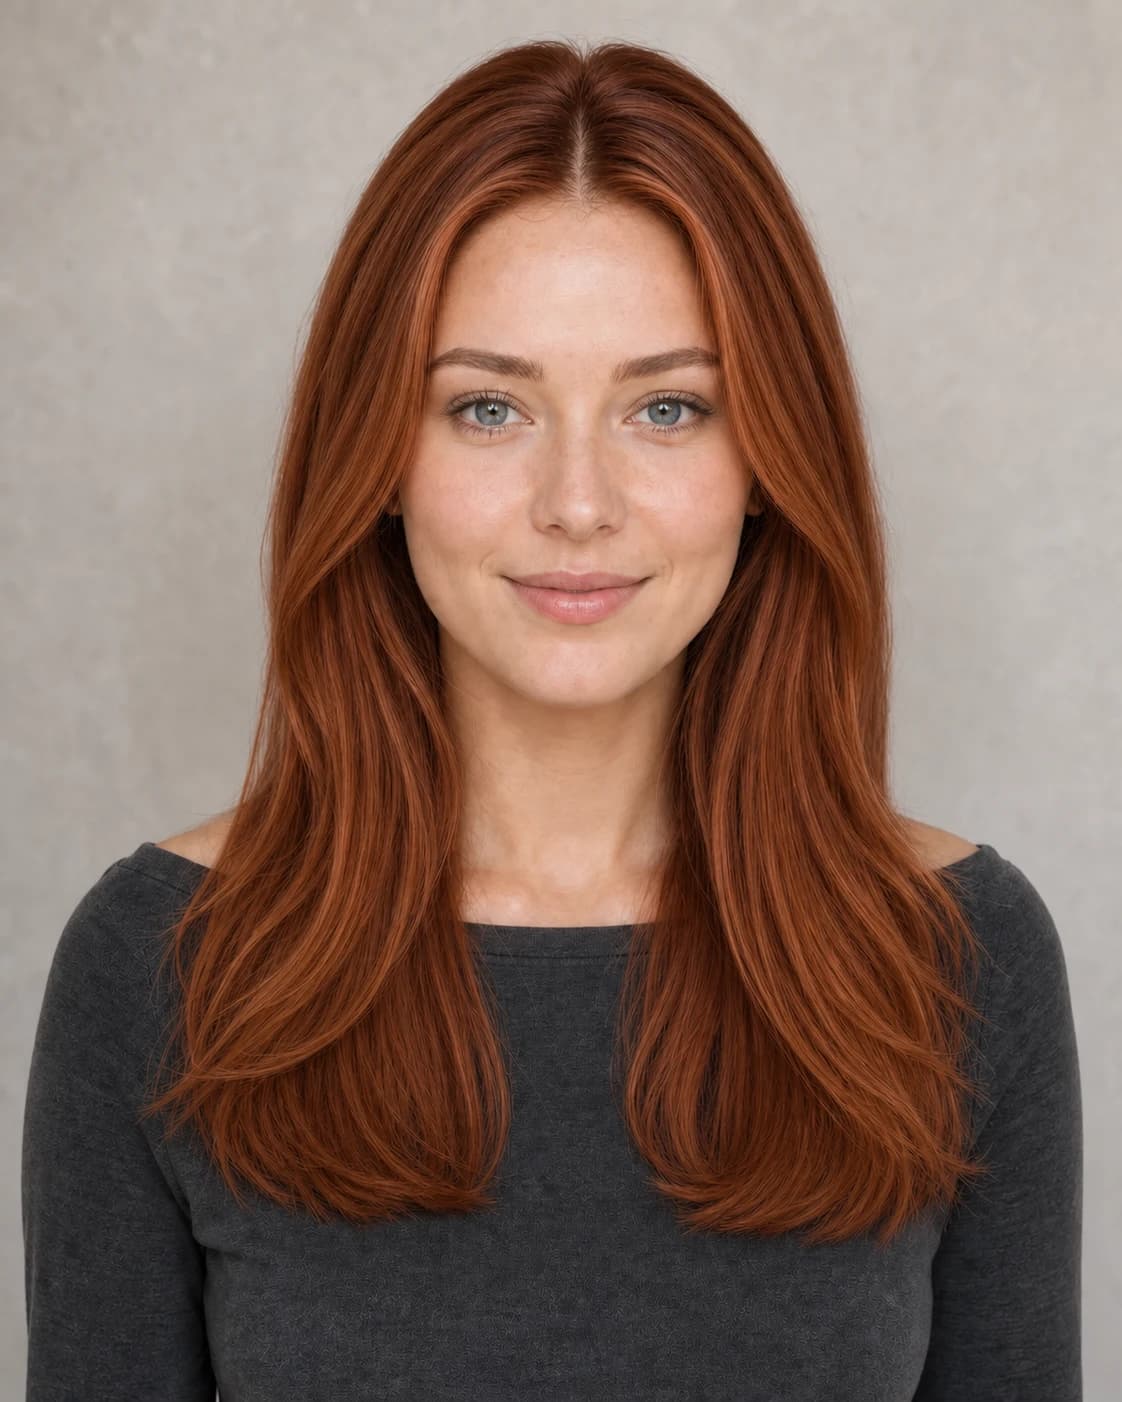
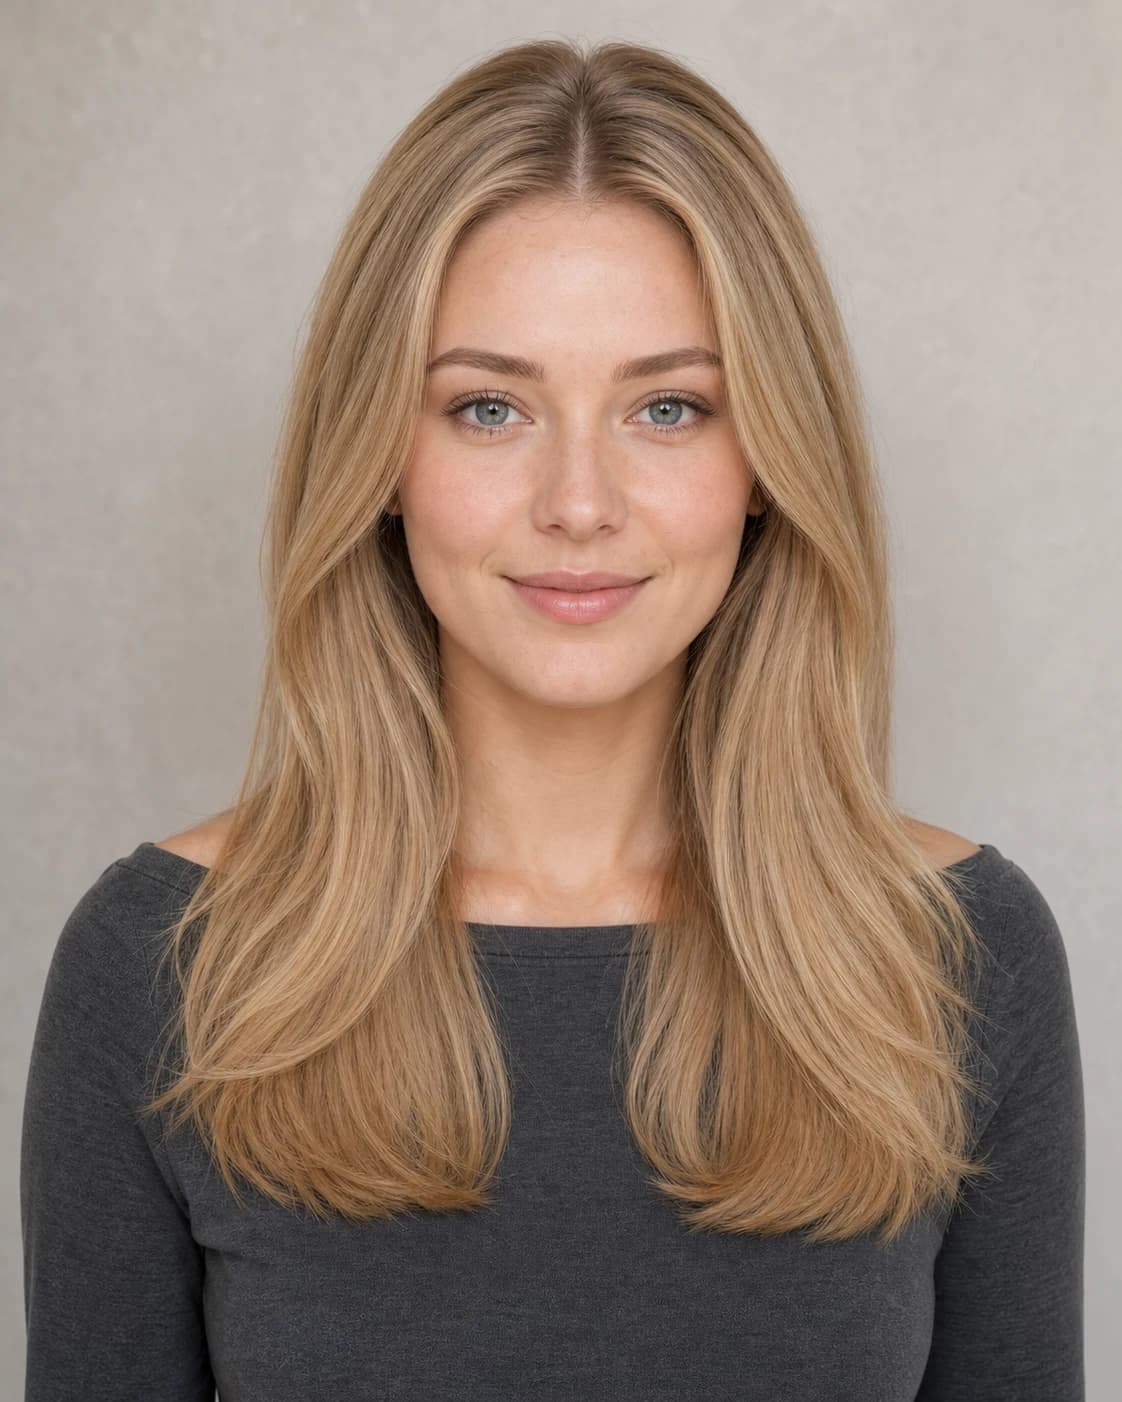
5. Skip beauty filters and portrait effects
Face-smoothing filters, makeup effects, artificial blur, and portrait relighting can change the information used for a style or color decision. Use the standard camera when possible.
If your phone automatically applies a strong portrait blur, switch to the regular photo mode. A clear background is enough; the background does not need to be digitally blurred.
6. Check sharpness before uploading
Zoom in briefly and make sure the eyes, hairline, and main hair texture are not blurred. Clean the camera lens if the image looks hazy. Use a timer or steady the phone if tapping the shutter causes motion.
If a result looks misplaced or unexpectedly different, retake the source photo before assuming the style itself is wrong. A better input can be more effective than generating the same style repeatedly.
Quick checklist
Before you choose the photo in Hair Muse, run through this short list:
- One person in the image
- Front-facing, eye-level angle
- Full head and hairline visible
- Soft, neutral, even light
- No hat, sunglasses, hands, or heavy filter
- Sharp focus and a simple background