
Hair styling
Velcro rollers for volume right at the crown
Start with one roller where the crown goes flat. Choose a barrel, set a narrow section, and learn to unwind it without tugging.
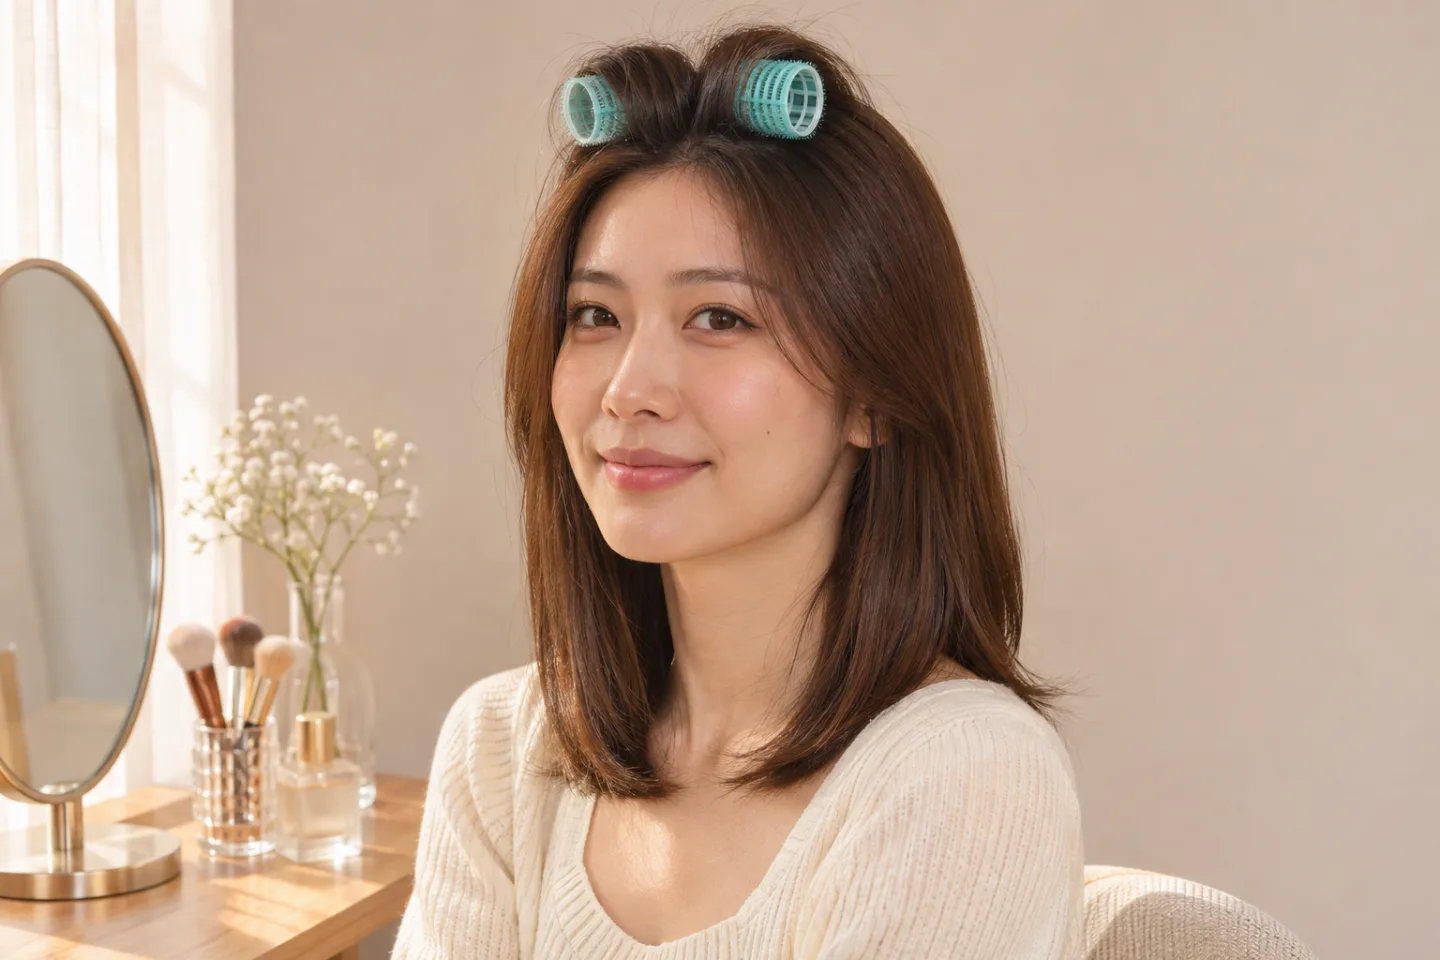
If your crown goes flat as soon as you put down the round brush, try setting just that area before you style the rest again. Velcro rollers for volume work by holding a section in a curve while it settles. They can give the top of your hair some height while leaving the sides and ends relatively quiet. The size and position of the roller matter as much as how long you leave it in.
Start with one roller over the area that collapses first. Use hair that is already dry, comb the section smooth, and check that you can unwind the roller with very little resistance. Once you know how that section responds, you can repeat the placement or add a second roller beside it. This is a small finishing set you can test on an ordinary morning, without committing to a head full of rollers.
Place Velcro rollers for volume where the hair goes flat
Find the area you actually want to raise. If it’s the crown, look from the side as well as the front. You may see that the dip starts just behind the point where you part your hair. Put the roller there and leave the hair next to your face alone. If the front falls into your eyes, try a separate front roller rather than moving the crown roller forward and expecting it to solve both problems.
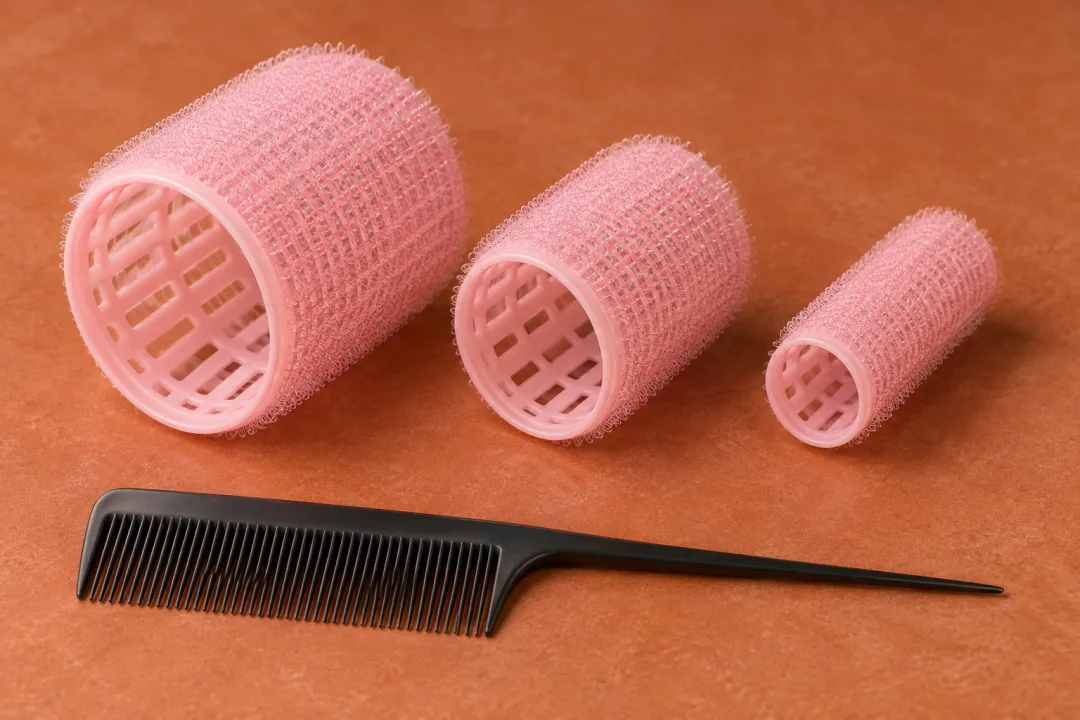
A wider barrel makes a broad curve when there’s enough length to wrap around it. A narrower one can hold a shorter section, but it can also leave a sharper bend in the ends. To choose between two sizes, hold each roller against the selected section before winding. See whether the ends can rest flat on the surface without folding back on themselves. If they barely reach around the larger barrel, try the smaller one. If you have plenty of length and want a soft bend, start with the larger one.
Roller width and barrel diameter are different things. The width tells you how much space you have from one end of the cylinder to the other. The diameter controls the size of the curve. If hair spills off the sides of the barrel, take a narrower section before you change diameters. If the roller sits loosely because the ends are too short to grip, then changing the diameter may help. A single test section makes it easier to see which adjustment matters.
Separate a section that fits on the barrel
Work with dry hair for your first test. If you have just finished a blow-dry, the section can be comfortably warm from that step. If the hair is still damp inside, finish drying it before you set it. How long a thick section takes to dry under a roller can be hard to judge. A dry starting point lets you focus on whether the placement works for you. Follow the directions for your own rollers if they give a specific preparation method.
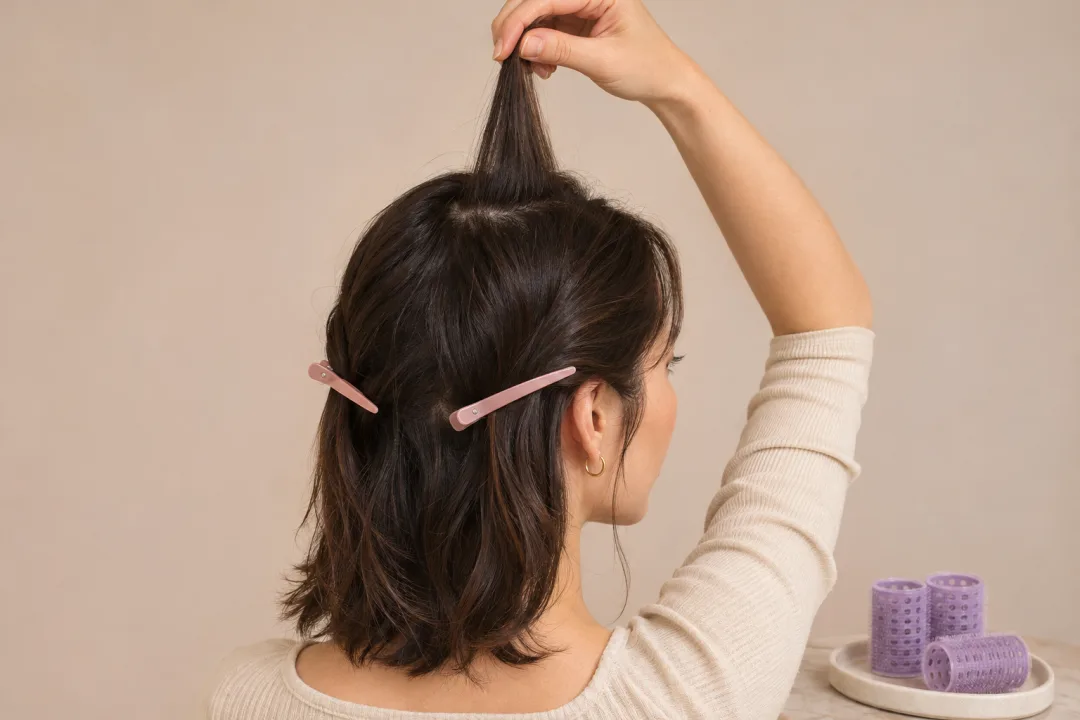
Use your fingers or the end of a sectioning comb to isolate a narrow piece from the crown. Clip the surrounding hair out of the way. Hold the piece up and comb through from the ends, working higher once the tips move freely. Check that no strands from beside the section cross over its base. A stray strand that looks harmless in the mirror can become a second anchor when it winds into the roller. Separating it now takes less time than releasing it later.
A section can be narrow enough across the cylinder and still be too thick. If you can’t spread the ends in one smooth ribbon, divide the section along its depth. Try the upper half first and let the lower half fall naturally. With fine hair, avoid compensating for a small section by pulling it tight. Aim for enough support to keep the ends in place while leaving your scalp comfortable. For dense hair, two shallow sections are often easier to unwind than a single bulky one.
Wind the tips flat and let the base sit comfortably
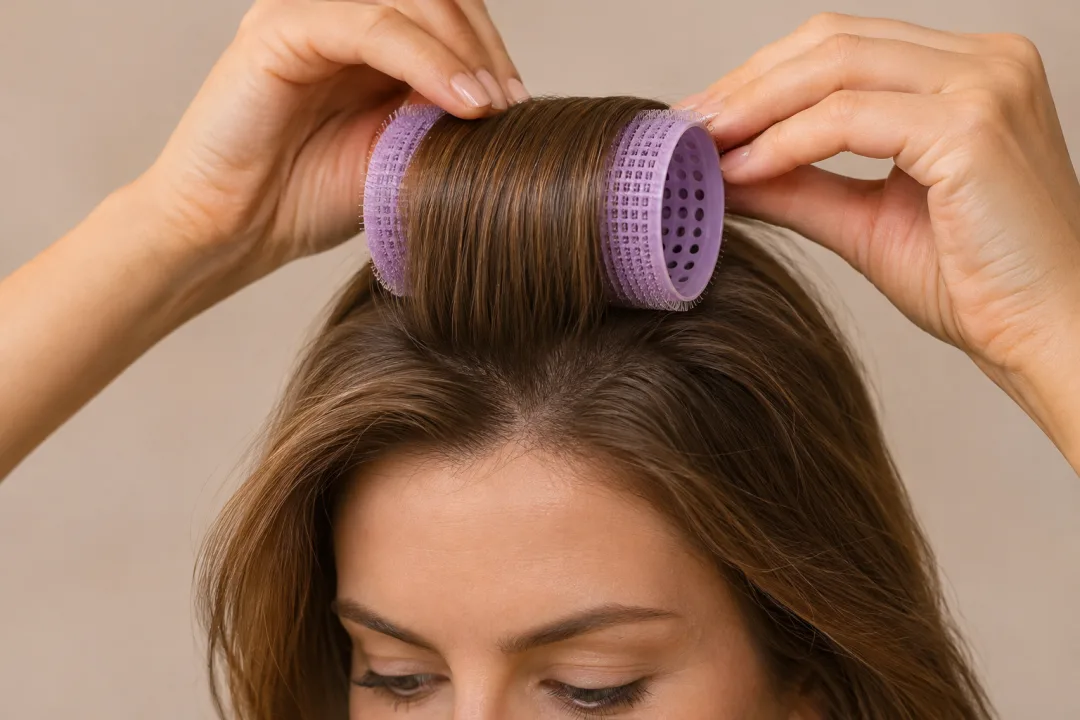
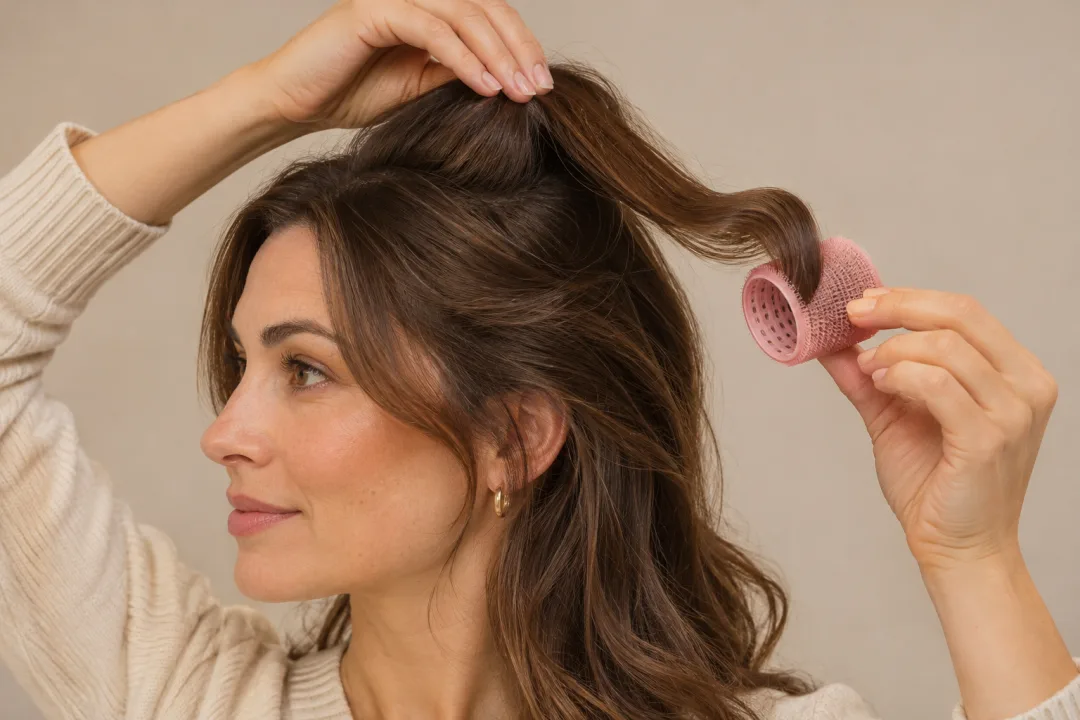
Hold the section up from the scalp and place the barrel against the ends. Smooth the tips onto the surface with your fingers. If a short layer falls out, guide it onto the roll as you go or leave it free if it won’t reach. Turn the barrel slowly toward the base, checking that the section stays between its ends. Stop and restart if a fold develops at the tips or a neighboring strand gets drawn in.
For lift at the crown, bring the roller to rest over the section it came from. Keep the ends of the barrel level enough that it doesn’t tilt into the neighboring hair. If the roll slides down the head, it may be sitting too far from the base, or the section may be too heavy. Make the section smaller and try again. If the roller is designed to work with a clip, use one according to its instructions. A clip should keep the roller steady without pinching you.
For a front section, decide where you want the ends to fall after release. Winding away from your face can open the area above your eyebrows, while the crown can be set straight back or in the direction you normally wear it. The aim is to support the shape you’ll keep once you’ve put your part back in. If all the hair will be pushed in the opposite direction as soon as the rollers come out, the result may not sit where you expected.
Wait for the section to settle, then unwind it
When the section went in warm, leave it until it feels cool. The outside of a bulky roll can feel cool sooner than the hair underneath, so a loose test section is useful if you’re learning the timing. A dry set on room-temperature hair can also give some shape, but the effect may be softer. No single number of minutes guarantees hold. Use the roller directions and judge the result when you release the first one.
Take out any clip while supporting the roller so it doesn’t hang from the roots. Turn the barrel the opposite way from when you wound it, letting the hair peel away a little at a time. Keep the section aligned with the center of the roller. Pulling a fixed cylinder straight through the hair like a brush can catch the ends and flatten the shape you’ve just set. If you feel resistance, stop turning and find the strand that’s caught instead of pulling harder.
For a snag, keep one hand close to the base so the scalp doesn’t take the pull. Ease back toward the last spot where the roll turned freely. Release a stray hair or folded tip with your fingers. When the hair doesn’t free easily, get another pair of hands to help you see what’s caught. Avoid cutting or tearing at the snag. If a test roller repeatedly catches on your texture even with a small section, a smooth roller with its intended clip may be a better choice.
Adjust one thing before you repeat the set
Once the roller is out, let the section fall into place. Lift at the base with your fingers if you want to soften the line between set and unset hair. Give the ends a moment to relax before deciding they’re too curved. If you brush the whole section down immediately, you can lose the height you wanted. Start with the movement you’ll actually do later, such as putting in your part, tucking one side behind an ear or looking down to read.
If the top looks flat, change the placement first. The roller may have set the ends nicely while resting too far from the section’s base. If the tips look kinked, smooth them onto the barrel more carefully or compare a larger size if the hair reaches. If the whole piece feels heavy and sinks quickly, try a shallower section the next time, and test it before adding product. Changing one part of the routine makes the result easier to reproduce.
Your best version may be just one roller behind the part. That can be enough when the front and sides already sit the way you like. On a different day, you might add a second section farther back to carry the shape across the crown. Keep track of which roller, which spot and which direction you used. Those three notes are more useful on a busy morning than remembering how many rollers were in a picture.