
Hair tool care
Clean a hair dryer filter with the model guide
Identify the air intake, check which parts are accessible and choose the cleaning method your dryer manual actually permits.
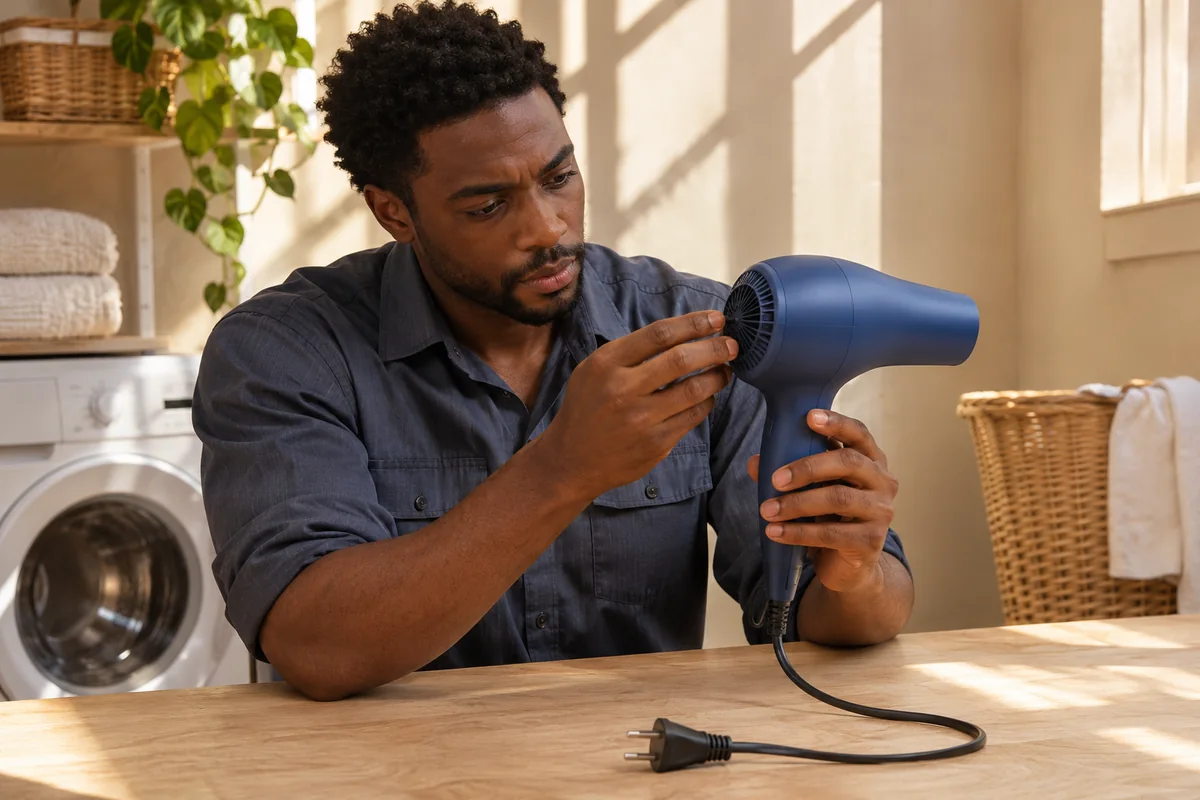
A layer of lint across the rear grille can make a familiar hair dryer look overdue for attention. The awkward part is working out whether you are looking at a cover you can remove, a fixed screen you can clean from the outside, or a part that needs service. To clean a hair dryer filter, start with the exact model instructions and work only on the parts they identify as accessible.
This guide is for routine care of an intact appliance. It takes you from identifying the air intake to checking that the approved parts are back in place. If the dryer has a damaged cord, a burning smell, sparks or repeated shutdowns, stop using it and contact the manufacturer. A little dust on the outside does not establish the cause of a fault.
Before you clean a hair dryer filter, find the model
Read the model reference on the appliance label or original paperwork and look for the corresponding manual from the manufacturer. A family name on the box may cover several versions. If you can only find a diagram for a similar model, compare the references before you apply any instruction to your own dryer. A round grille that looks identical in a photograph may be held in place differently.
Open the care section and look for the names used for the intake, filter and cover. Some instructions show more than one piece. Write down which piece, if any, the user is meant to remove, what can touch it and how it is supposed to go back. Find the drawing for reassembly before you take anything off. A picture of a nozzle being removed does not tell you how the intake opens.
The Senwa HD-S1001 manual gives model-specific directions for aligning a removable filter with a slot in the handle. It is a useful example of why the exact diagram matters. Its mechanism should not be assumed to match another dryer with a similar shape. If your own instructions are missing or ambiguous, ask the manufacturer about the accessible part before you attempt to move it.

Switch off, unplug and let the dryer cool
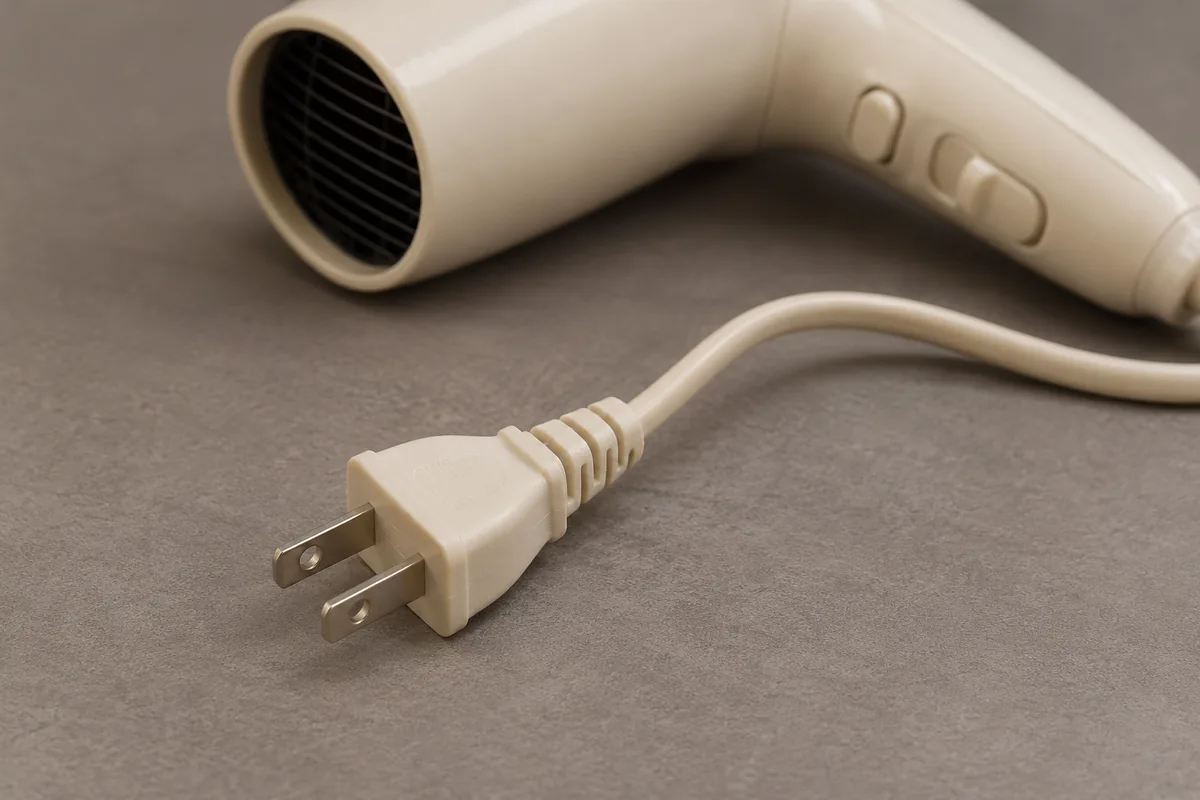
Choose a stable dry surface away from the sink, shower or damp towels. Switch the dryer off, disconnect it by the plug with dry hands and let it cool completely according to its instructions. Keep the disconnected plug visible on the work surface. This makes the difference between an appliance that is switched off and one that is actually disconnected clear to anyone sharing the space.
Use the cooling time to locate the instructions and set out only what they allow. Do not hold a running dryer to see where air enters or put fingers near an opening to feel the flow. The manual can identify the part with the appliance off. If you have several similar tools on a counter, follow the cord visually to the dryer you intend to handle so you can verify the right plug is disconnected.
Before touching the intake, look over the housing, cord and plug. If anything appears split, loose or damaged, leave the appliance out of use and ask for support. Cleaning a visible grille does not restore an electrical connection or tell you whether damage extends inside the housing.
Distinguish the intake from the outlet
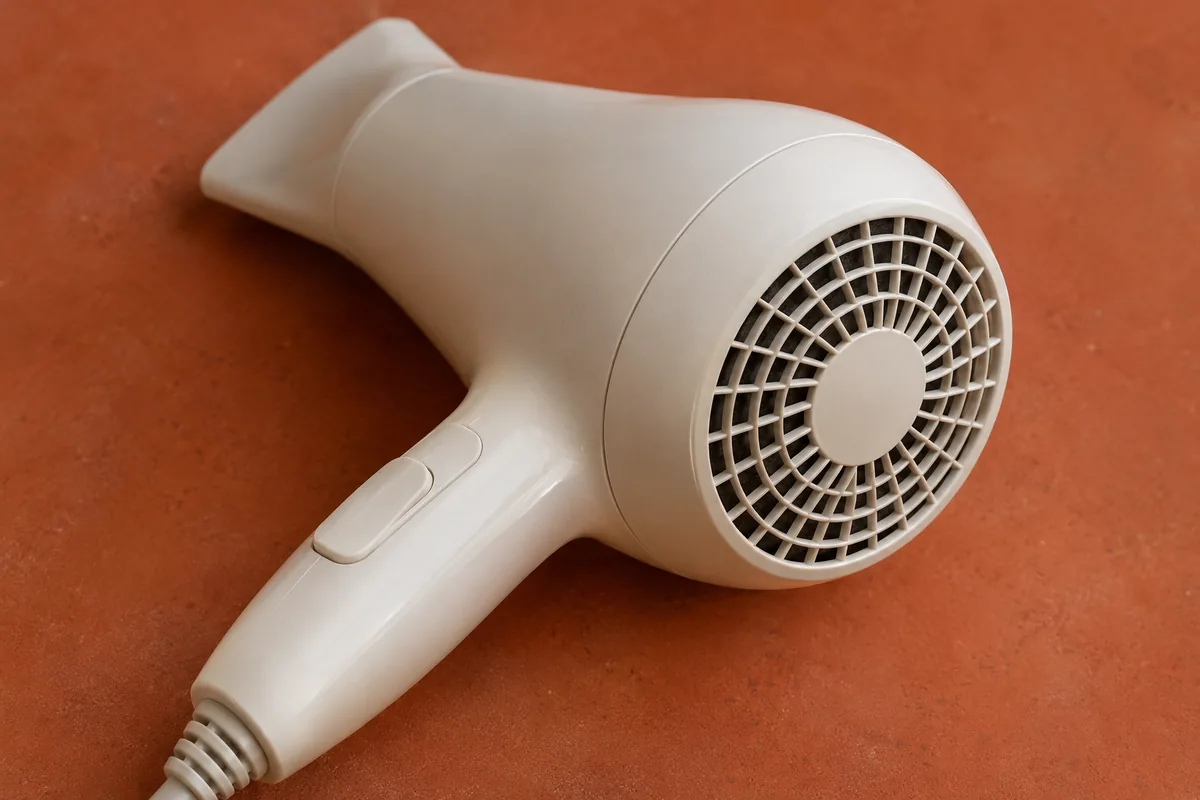
The intake admits air and the outlet is where it leaves. The opening at the end where you attach a styling nozzle or diffuser is normally the outlet on a conventional dryer. The intake may be behind the body or elsewhere, depending on the design. Start with the diagram rather than treating the largest opening as the right place to clean.
Look at the approved intake area under good light while the appliance is disconnected and cool. Loose lint at the surface is different from something lodged below the mesh. If the instructions identify a fixed grille, keep it attached and use only the exterior care described. A seam around the edge is not an instruction to pry. Do not put a pin, tweezers or a screwdriver into a gap.
A removable cover can conceal a second layer that stays in place. Take off only the named part using the indicated release. If it does not move as shown, pause and confirm the model and direction. Do not turn a slight resistance into a reason to pull harder. A cracked latch or deformed mesh creates a different problem from the lint you set out to remove.
Pick the cleaning method for that part
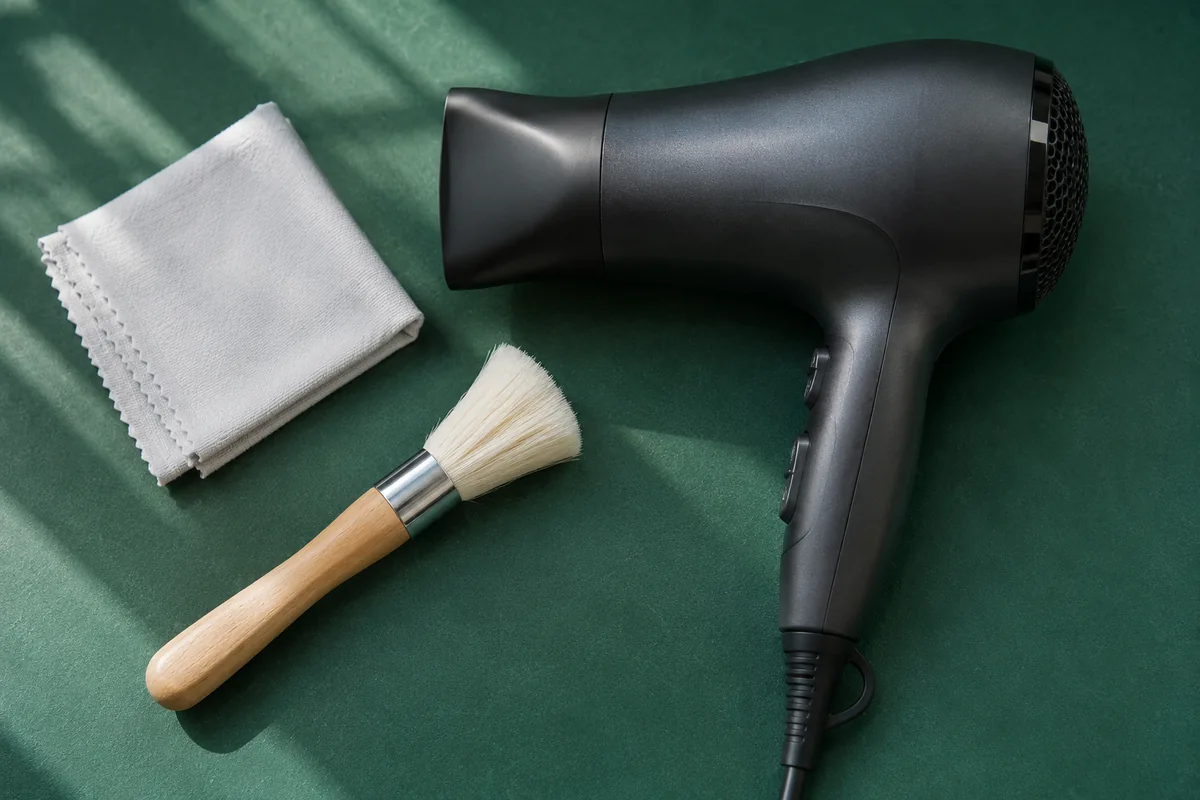
Read the cleaning instruction next to the specific part name. If it permits a dry soft brush, use the specified brush or the type it describes. If it permits a cloth, check whether the directions call for it to be dry and where it may be used. Keep the motion gentle and on the accessible surface. Lift loose material away without pressing it through the openings.
Instructions for the outside shell do not automatically apply to the filter. Do not apply alcohol, oil, cleaning sprays or household mixtures to the intake on the assumption that they are suitable. Keep liquids away from the appliance. Only wash a fully detached piece if the exact manual explicitly authorizes that step for that piece, and follow its drying instructions before refitting it. If the wording just says to clean the grille and gives no permission to wash it, do not infer that permission.
The same distinction helps with other tools on the counter. A straightener's accessible plates are a different surface from an air inlet. Follow the care instructions for each tool separately instead of sharing a solvent or brush by habit.
Refit the approved pieces before reconnecting
If you removed a permitted cover or filter, check its orientation against the manual. Look for the guides, tabs or slots it identifies and refit it without force. The parts should sit where the manufacturer shows them. If a washable detached piece was involved, it must be fully dry as instructed. Do not reconnect the dryer to speed drying or run it with the intake exposed.
Once the parts are in place, put the cleaning cloth and brush away so the inlet and outlet are clear. If the cover will not seat, the filter is torn, or you cannot tell whether a clip is intact, keep the dryer unplugged and ask for the proper part or service. Tape over an opening or a piece borrowed from a different dryer is not a reliable substitute for a correctly fitted component.
A clean exterior is only an observation. It does not certify the appliance, reset a fault or guarantee a change in drying time. If the appliance is intact and ready for ordinary use under its instructions, go back to your normal drying routine. There is no need to invent a prolonged test or cover either vent to see how the machine reacts.
If your routine includes leave-in conditioner, keep its directions and timing separate from the dryer maintenance. Where the product fits depends on its own directions and your wash-day sequence.
Separate a care reminder from a fault
Check the maintenance interval in the model instructions and connect the check to something you already do, such as tidying the dry styling shelf. If the device has a filter indicator, use the manual to interpret it. Note the model and the date of the last check so that people sharing the dryer know what has been done. Avoid turning a general reminder into a fixed schedule for every dryer.
Philco's support page for hair dryers treats checking debris at a removable rear filter as one item in a wider set of checks. That is a useful distinction: a visible deposit and the reason a device behaves unusually are separate observations. Do not assume cleaning is an answer to a repeated cutout, an unusual noise or a hot smell. Leave the appliance off and unplugged when safe and consult the manufacturer rather than restarting it repeatedly.
For example, suppose you find lint on an intact rear screen while putting the dryer away. Your model guide says the screen stays in place and describes an external dry brush. You can plan a brief exterior clean after the dryer cools. If the same screen looks bent and the dryer previously stopped mid-use, the next step changes to support even though there is still lint visible. The condition of the appliance determines what you do next.