Styling tool maintenance
How to clean a hair straightener without shortcuts
Start with the model's instructions, a disconnected cold tool and a gentle method. Separate removable residue from damage before reaching for stronger cleaners.
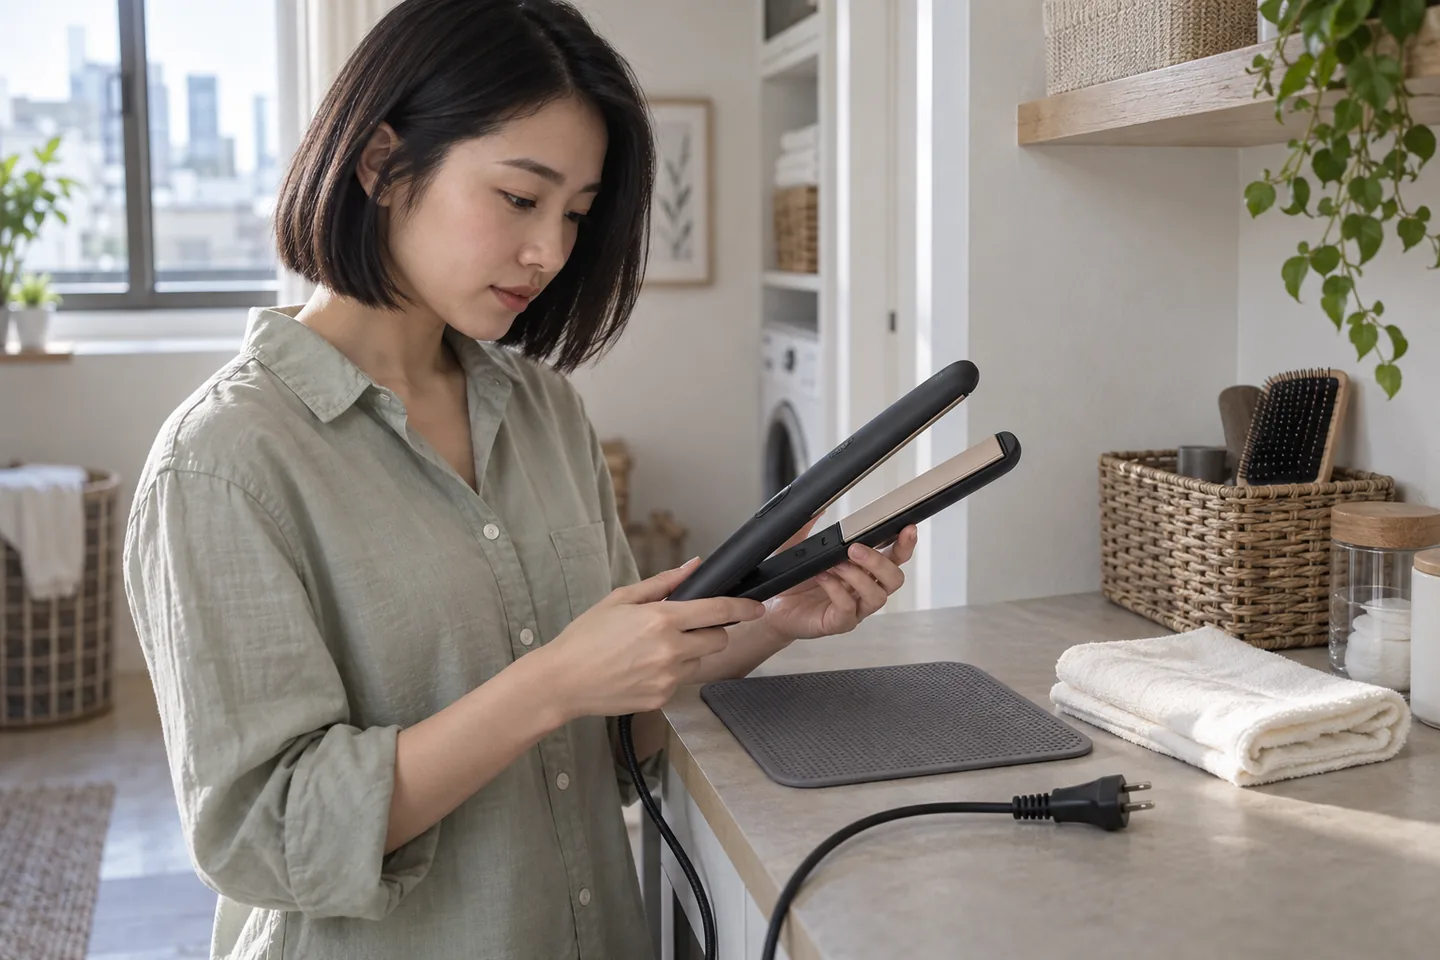
How to clean a hair straightener is a different question from how to rescue a damaged one. A mark on a plate may invite an enthusiastic scrub, but a stronger cleaner is not automatically the right next step. Begin by identifying the tool, checking its care instructions and deciding whether the visible issue belongs to ordinary maintenance at all. You are looking for a manageable cleaning task, not a reason to test solvents, heat or scraping on an electrical appliance.
This guide covers home care of a conventional plate-style straightener. Steam tools, cordless models and unusual attachments may need different procedures. Follow the exact manual; the photographs illustrate the workflow, not a certified method for an identifiable product. No hairstyle app is needed. The outcome is permitted surfaces gently cleaned and a clear decision about anything requiring manufacturer advice.
How to clean a hair straightener: start cold and disconnected
Put the cleaning session somewhere it will not compete with getting ready. Finish using the tool, switch it off, disconnect it from power and allow it to cool completely in accordance with its instructions. Leave it on a suitable heat-resistant surface while it cools, rather than carrying it into a drawer or wrapping it in a towel. A dark indicator or a comfortable handle is not a reason to touch a plate that may still be hot. If the tool was used recently, waiting is part of the job.
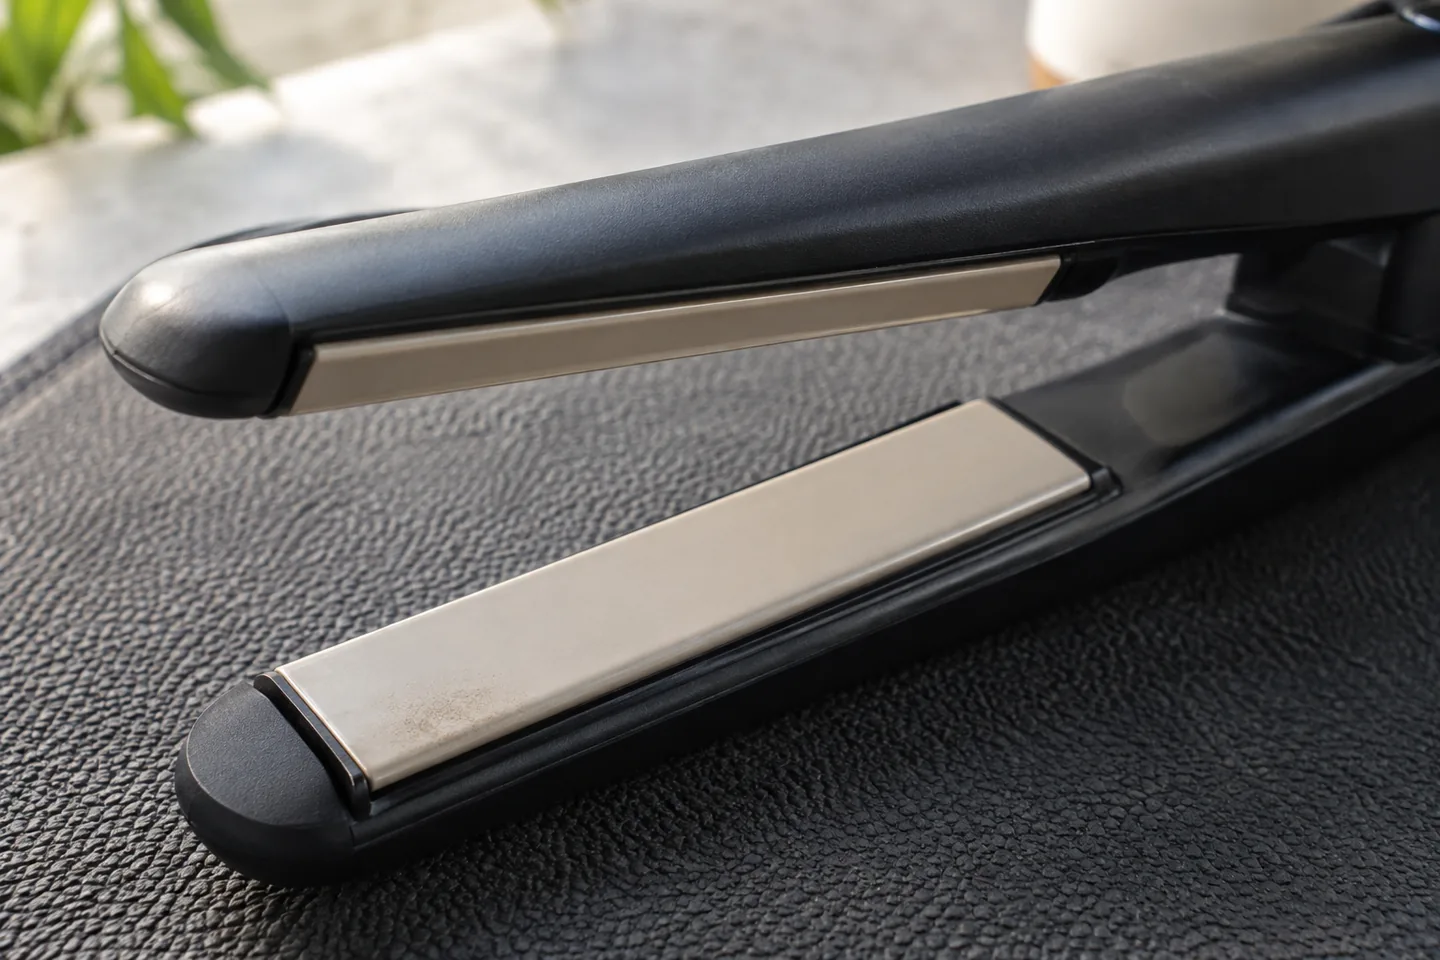
Once it is fully cool, look at the exposed plate surfaces in ordinary light without taking the appliance apart. Describe what you see: a light film, a local patch, a rough-looking edge or a change in the coating. Do not diagnose the cause just from the color of a mark. This first description helps you keep the cleaning method proportionate. If the casing is broken or you already noticed an electrical fault, stop here; a cleaning routine is not an investigation of whether the device can still be powered safely.
The sequence matters more than speed: identify, disconnect, cool, inspect, clean only as permitted, then dry.
Find the instructions for the exact model
Use the model number on the cold tool or its original paperwork to locate the manufacturer's care section. Match the number rather than choosing a manual because the product photograph looks similar. Note which surfaces can be wiped, whether a damp cloth is permitted and whether there are special areas you must leave alone. A steam reservoir, ionic opening or removable accessory is not automatically treated like an ordinary flat plate. If the model cannot be identified, ask the manufacturer before trying a method intended for another device.
Philips' support guidance, for example, describes damp-cloth cleaning and complete drying for listed products, while directing readers to their individual manuals. That is a model-specific example, not approval for every straightener. Turn your own instructions into a small decision: what may I use, where may I use it and when must I stop? Keep the care page available while you work. If it only covers light wiping and your mark needs something more aggressive, the missing permission is a reason to ask support, not to assemble a homemade recipe.
Prepare a dry workspace and two simple cloths
Choose a stable, well-lit work surface away from a sink, bath, shower and open drinks. Give the tool enough space that neither its cable nor your sleeve pulls it towards an edge. Start with a clean, soft cloth and another clean cloth for drying if the manual permits that step. Examine them for grit, dried product or rough decorations. The aim is a gentle contact surface, not a cleaning kit full of products that you might be tempted to combine when the first pass feels slow.
Separate appliance care from the wash-up. Do not leave the straightener among brushes waiting to be soaked, and do not put the cloth you used for a household spill back onto the plates. Keep the plug and cable away from any moisture used on a permitted surface. Our hairbrush guide deals with different materials and detachable loose hair; its washing options are not instructions for an electrical straightener. You can organise both jobs on the same day, but keep the actual methods, cloths and drying spaces distinct.
Wipe accessible surfaces without escalating the method
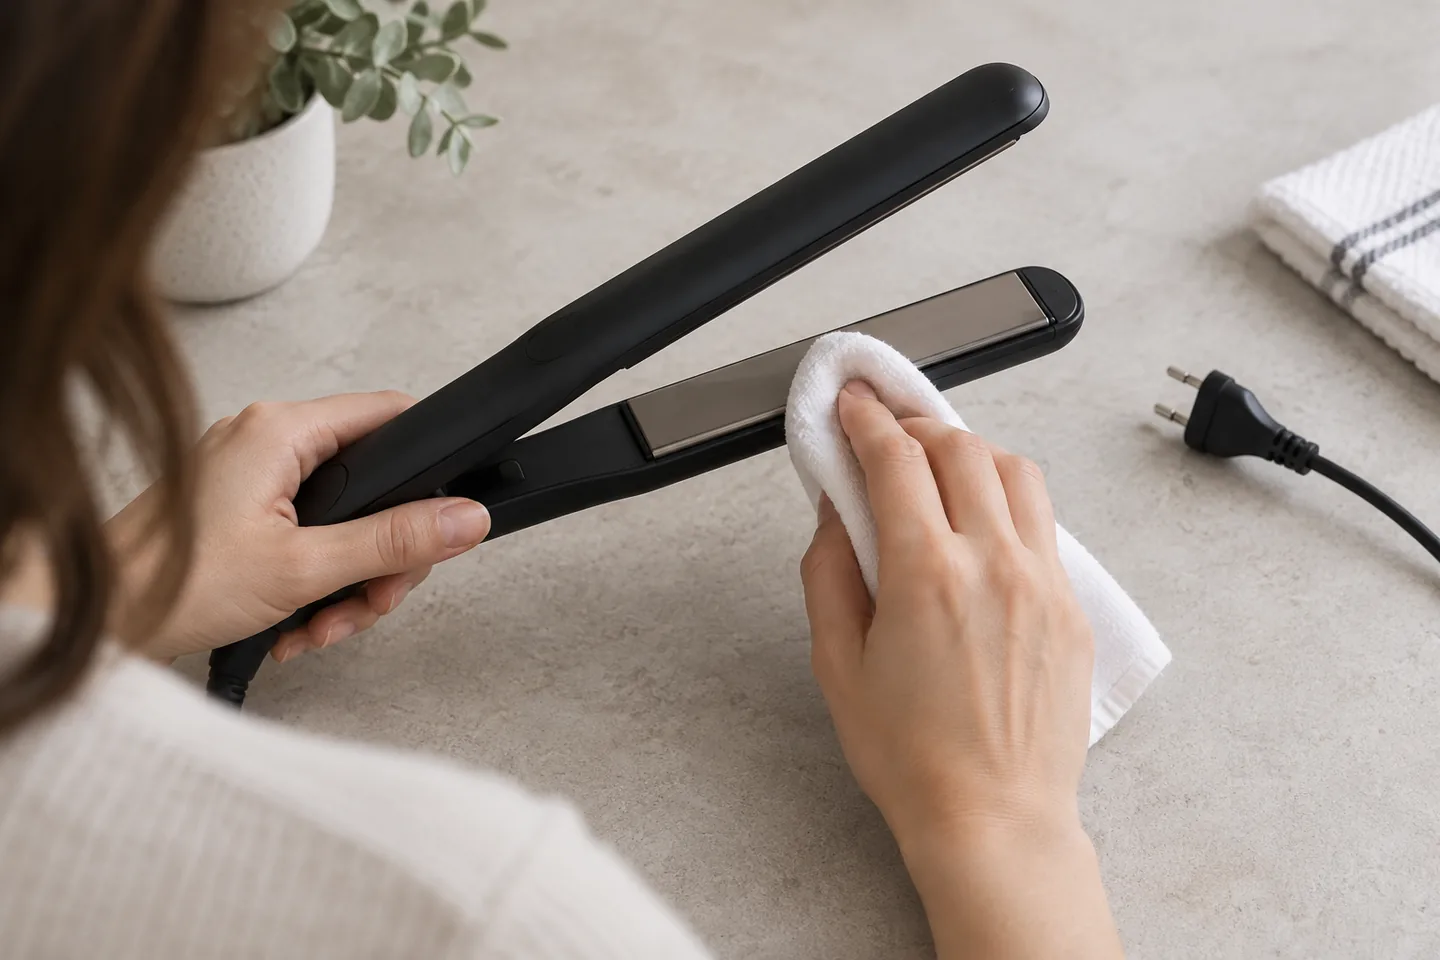
Follow the permitted method, not the most dramatic cleaning video. If your manual allows a damp cloth, prepare it away from the appliance and remove excess water so it does not drip. Work gently over the accessible surface, with the tool still disconnected and fully cold. Do not pour or spray liquid onto it. Move to a clean part of the cloth when the working area picks up residue, rather than dragging the same patch across every surface. Leave openings, controls and special features alone unless the model's instructions explain their care.
Pause after an ordinary pass and look again in the same light. A little progress may justify another gentle pass allowed by the manual; no progress does not justify extra heat or force. Avoid reaching for a knife, nail file, scouring pad or household mixture because the remaining patch looks stubborn. The names ceramic, titanium and tourmaline do not establish the compatibility of a cleaning chemical with the complete appliance. Your endpoint is the limit of an approved method, not an obligation to make every visual mark disappear today.
Separate stubborn residue from a repair question
If the mark remains, stop and record it before doing anything different. A clear photograph taken while the appliance is cold can help you describe the location to support: middle of a plate, edge, hinge area or outside casing. Add the model number, the care method you used and what changed. Do not take a photograph while trying to expose wiring or pry up a plate. You are collecting an understandable description, not performing a technical inspection or proving that the appliance is safe.
A chipped surface, cracked body, loose component or behavior that worries you needs its own answer. Do not disguise a damaged area with a polish or decide to test the result on a strand of hair. Ask the manufacturer what to do next, including whether the tool should remain out of use. If support suggests a cleaner, check that the advice refers to your exact model and problem. A product suitable for one coating or accessory is not a universal recommendation, and a clean-looking finish does not certify electrical condition.
Look at the cord and casing without attempting repairs
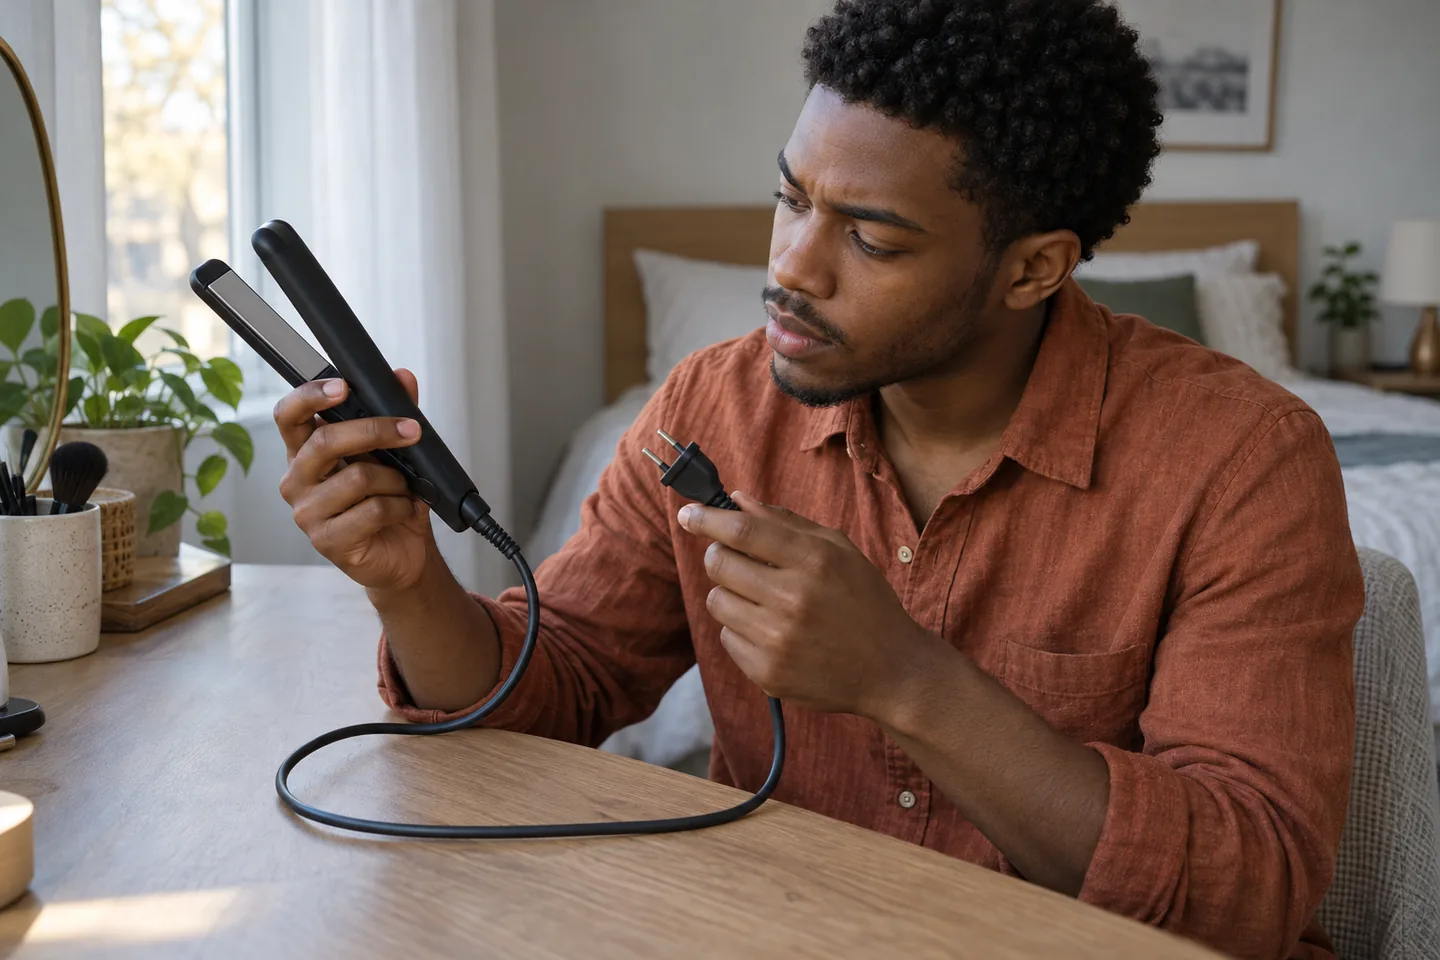
Cleaning gives you a chance to notice an obvious problem, not to open the tool. With it disconnected, visually check the casing, cable entrance and plug. If there are signs of damage, an unusual smell or a previously observed spark, leave it out of use and contact the manufacturer or an appropriately qualified repair service. Electrical Safety First treats those warning signs as reasons to stop. Do not power the device to see whether the fault happens again, and do not use tape as an improvised repair.
Keep cleaning and service questions separate: surface care is not expert assessment of a fault. Tell support what you observed rather than declaring that product buildup caused an electrical problem. If you share the tool, clearly mark it as out of use while advice is pending. A tidy surface must not be mistaken for a completed repair.
Choose a repeatable inspection habit, not a universal timetable
There is no single cleaning interval that suits every tool, household and styling routine. Use the manual's schedule if it gives one; otherwise make a brief cold-tool inspection part of your normal storage habit and respond to visible residue with the permitted care. Write down when a mark returned and which products were part of that session. The note is for describing your own pattern, not proving that a particular spray or oil is incompatible. Ask support if the same problem returns despite following the instructions.
Allow enough time that cleaning and drying do not become a rushed task just before styling. If a tool needs to stay out of use, choose a familiar no-tool arrangement for that morning rather than squeezing in a risky test. A broader mismatch between washing, drying and styling time is a routine-planning issue; our wash-schedule guide approaches it through the haircut and ordinary week. Keep this maintenance habit small and practical. You do not need to buy more tools, add an elaborate tracking system or treat a home clean as professional salon disinfection.
Finish with complete drying and sensible storage
Follow the manual's drying and storage instructions before reconnecting or putting the appliance away. Do not turn it on to dry a surface or hurry the process with another hot tool. Keep it in a stable dry place while the permitted cleaning moisture clears, with the plug separate from power. If water entered an opening or you cannot establish that the device is ready, ask the manufacturer rather than assuming that an overnight wait solves the problem. Surface dryness alone is not a promise about an appliance that was accidentally soaked.
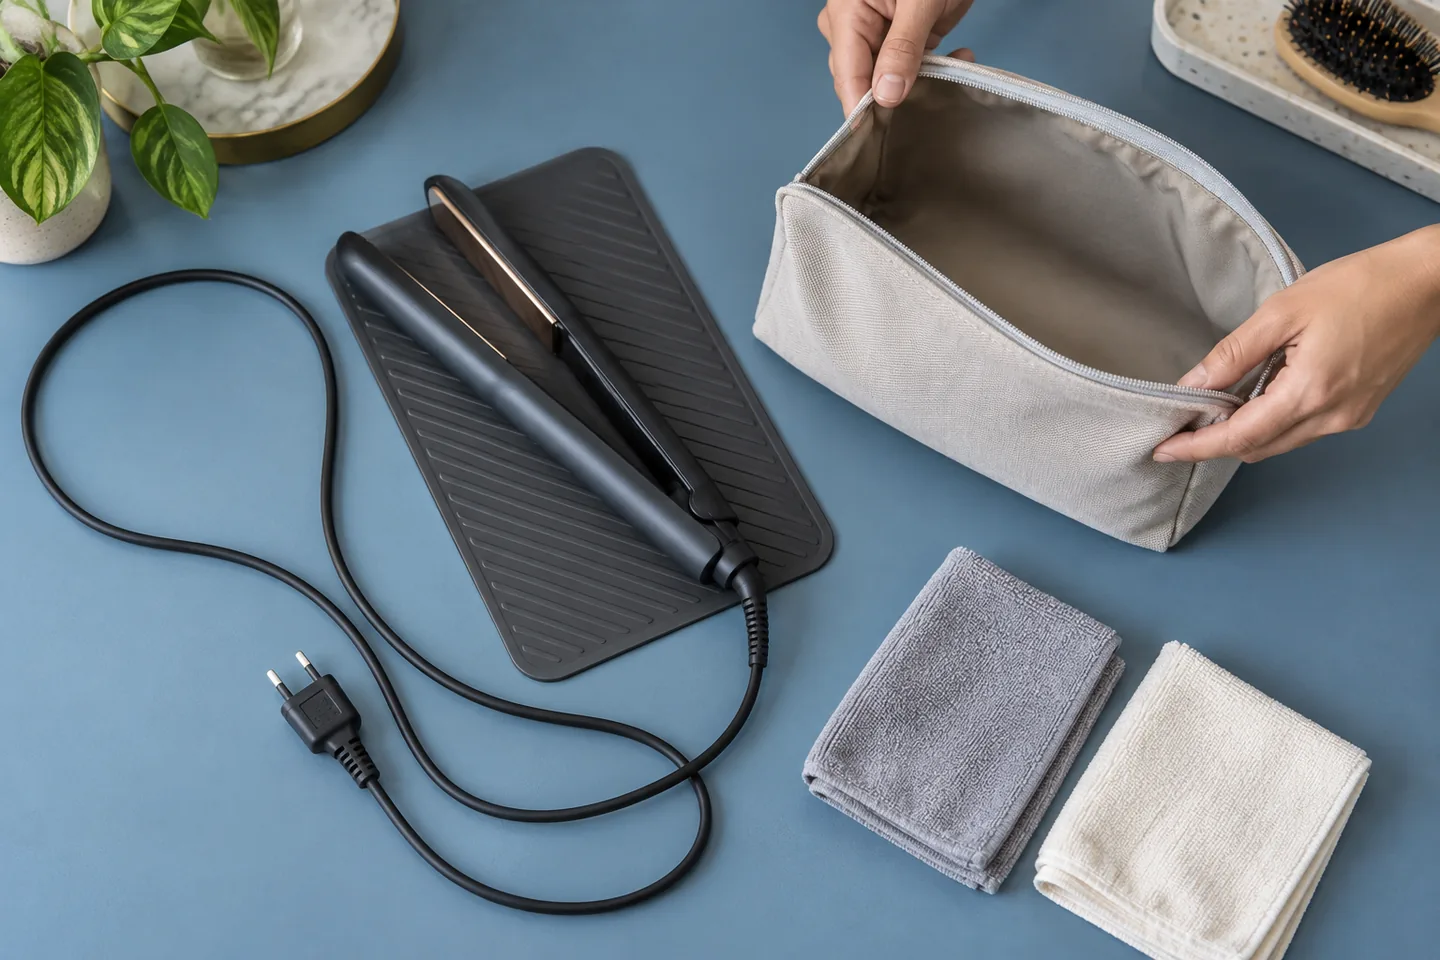
Once the tool is fully cool and dry and there is no unresolved fault, store it as its instructions describe. Give the cable a loose arrangement instead of tightly winding it around the body. Keep the storage space distinct from damp cloths, styling-product leaks and things that might press against the plates. Leave the care instructions somewhere you can find them next time. A successful session ends with a clear status: cleaned by an approved method and ready for normal storage, or set aside for advice. It does not require a perfect-looking plate or a promise that the next hairstyle will be damage-free.