Everyday tool care
How to clean a hairbrush without soaking the base
Start with the material, not a bowl of water. Remove loose hair, clean only the parts your brush allows and leave enough time for drying.
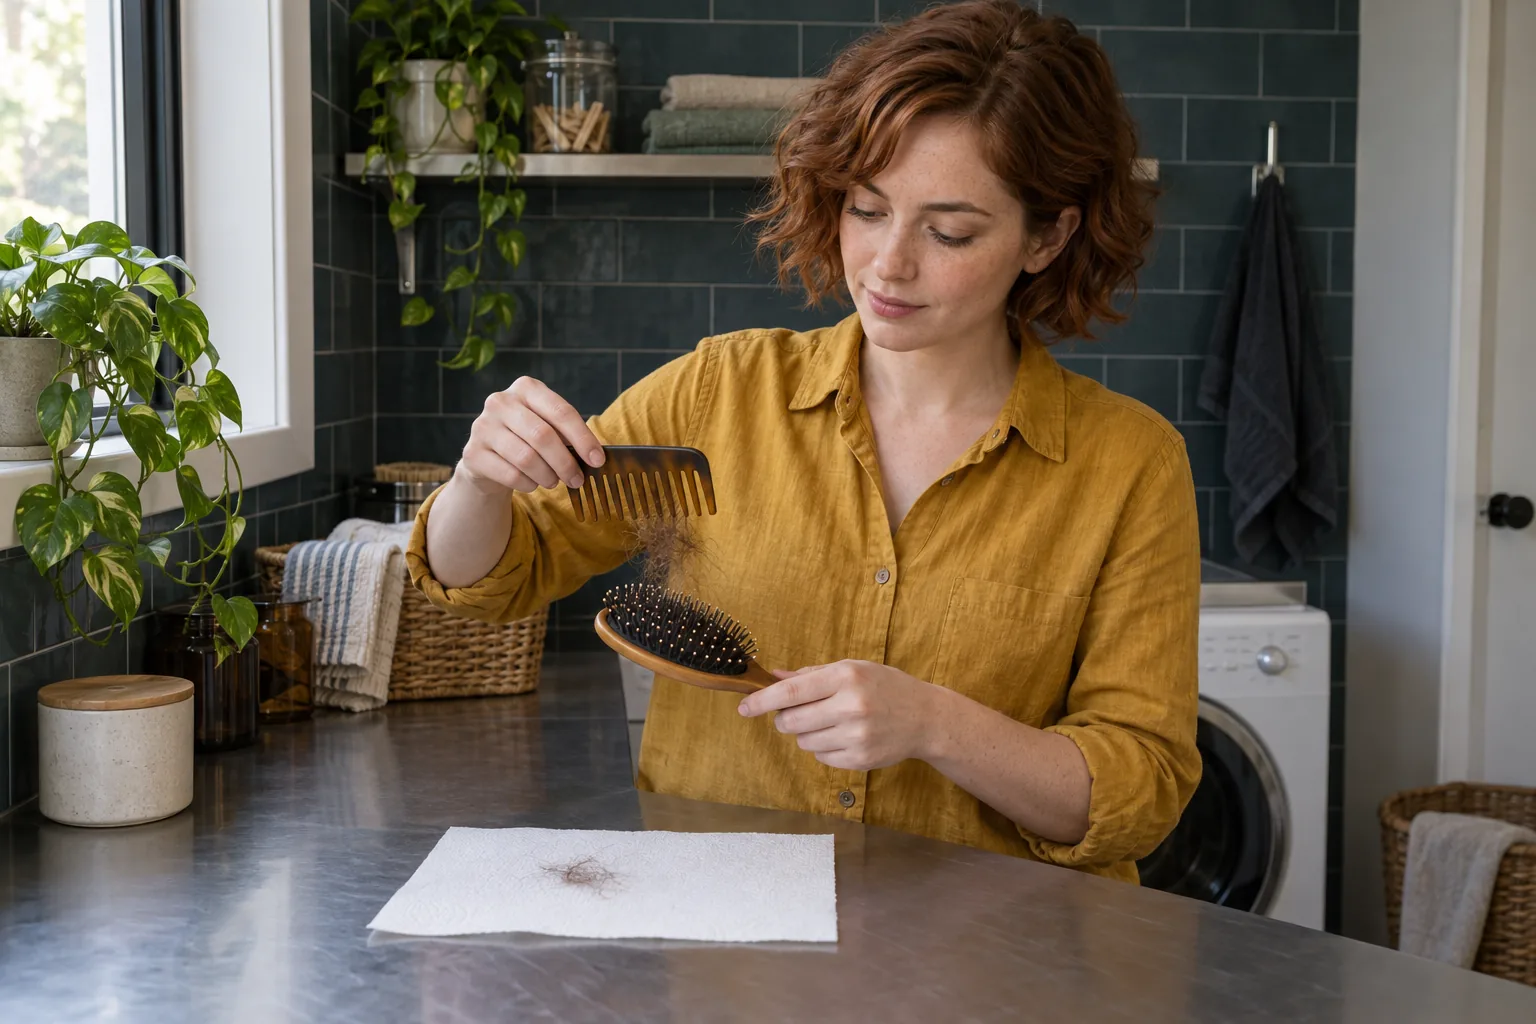
Knowing how to clean a hairbrush starts with a less obvious question: which parts of this particular brush can get wet? A bowl of warm water may look like the easiest answer, but a wooden handle, cushioned base or hollow body needs a different decision from a simple washable comb. Removing the hair first also makes it easier to see what actually needs attention, rather than washing a tangled mat around the pins.
This is a home-maintenance guide, not a disinfection protocol or a promise of healthier hair. You can complete the routine without an app or a special cleaning kit. Keep the brush’s own care instructions nearby, use the least force and moisture that do the job, and stop if the construction is unclear. The editorial photographs illustrate separate steps; they are not tests of particular brands.
How to clean a hairbrush: check its construction
Look at the handle, the underside and the area where the bristles meet the base. Is the brush one solid piece, or are there seams? Does it have a flexible cushion, wooden parts, a coating, glued sections or a closed cavity? A plastic appearance does not prove that the whole object can be submerged. Photograph the model name before cleaning if it is printed underneath, then find the manufacturer’s instructions for that model rather than a similar-looking brush.
Divide the job into three small tasks: take out loose hair, address visible residue and dry the permitted surfaces. You may only need the first task today. If there is no reliable instruction about water, start dry and ask the maker about the next step. Do not infer permission to soak from a product being described as suitable for brushing wet hair. Those are different uses, with different amounts and durations of water exposure.
Set out a clean cloth, a blunt comb and a place for discarded hair. Add a soft cleaning brush and the recommended cleaner only if the care directions allow them.
Lift loose hair before adding any water
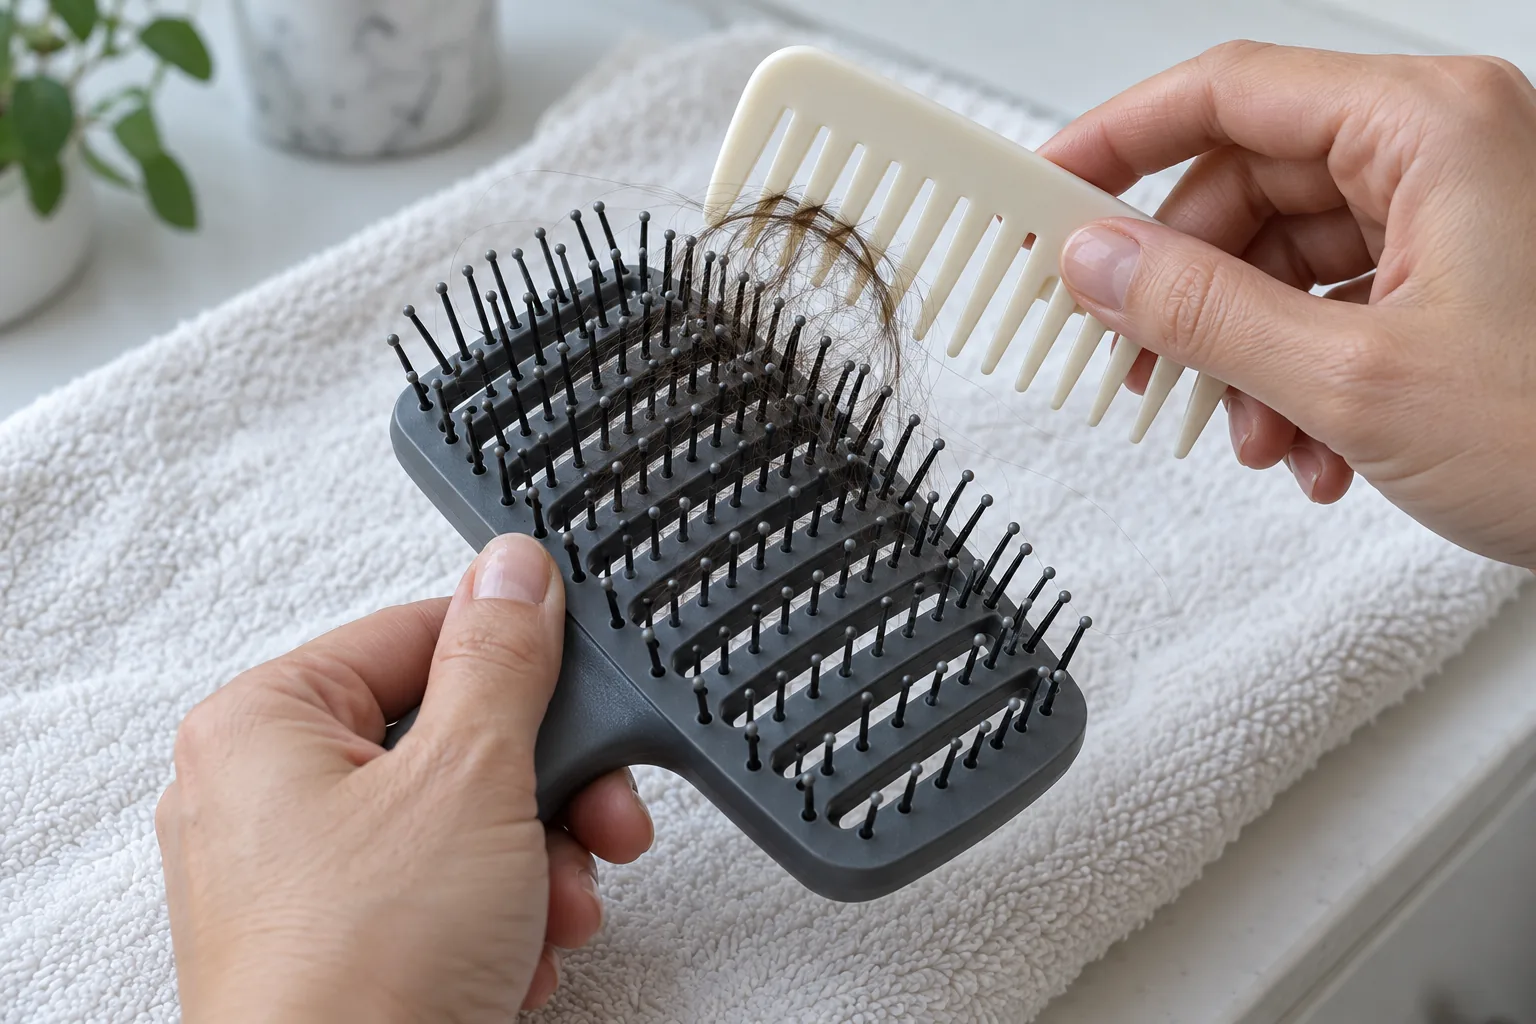
Hold the brush steadily over a towel or paper sheet. Use your fingers to lift strands that are easy to reach, then work a smooth, blunt comb through the remaining loose hair in small areas. Approach from the side where you can see the strands. Lift the hair rather than levering against the cushion. If a clump resists, separate it into smaller pieces instead of pulling everything out in one forceful motion.
Avoid sharp picks, knives and cutting close to a rubber base. A tool that catches under a pin or punctures a cushion can turn a cleaning job into a broken brush. With dense natural bristles, be especially patient and follow the supplied cleaning-tool guidance. The aim is to uncover the brush, not to make every bristle sit in a perfectly straight line.
Collect the removed strands before moving to the sink so they do not go down the drain. Check the now-visible base for residue, damaged pins and trapped lint. If the brush is clean enough after this dry pass, there is no need to introduce water just to finish a ritual.
Treat washable surfaces, not an assumed waterproof body
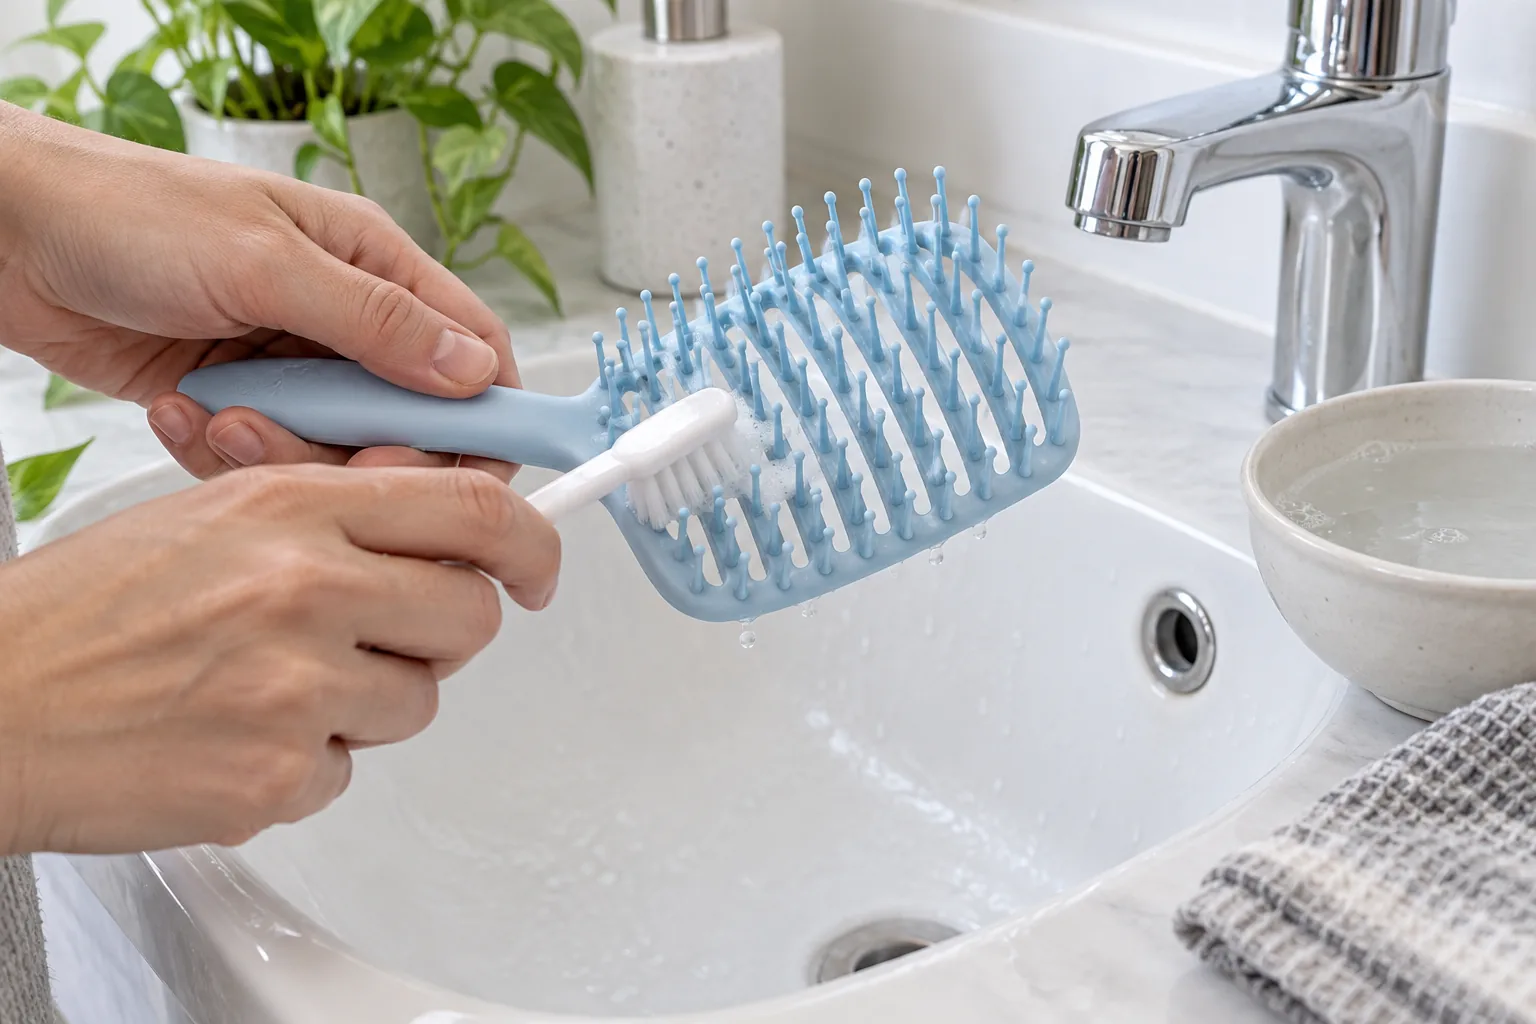
When the manufacturer permits wet cleaning, begin with the accessible area that needs it. Use its recommended water temperature and cleaner. A small soft brush can help reach between widely spaced teeth, but it should not scrape a coating or force liquid through a seam. Work gently, inspect the result and repeat locally if necessary. More foam and harder scrubbing are not evidence of a better clean.
Tangle Teezer’s FAQ gives a soft-brush cleaning method for its tools. That is a useful example of checking the maker’s guidance, not a recipe for every paddle or round brush. Read the instructions for your own version, particularly if its construction differs from the pictured item. Keep any prescribed rinsing within the areas that are allowed to get wet.
Distinguish leftover cleaner from the original residue and inspect again after drying. Skip vinegar, bleach, dishwasher cycles and homemade disinfecting mixtures unless the maker specifically approves the exact method for that model.
Give wood, cushions and natural bristles a separate plan
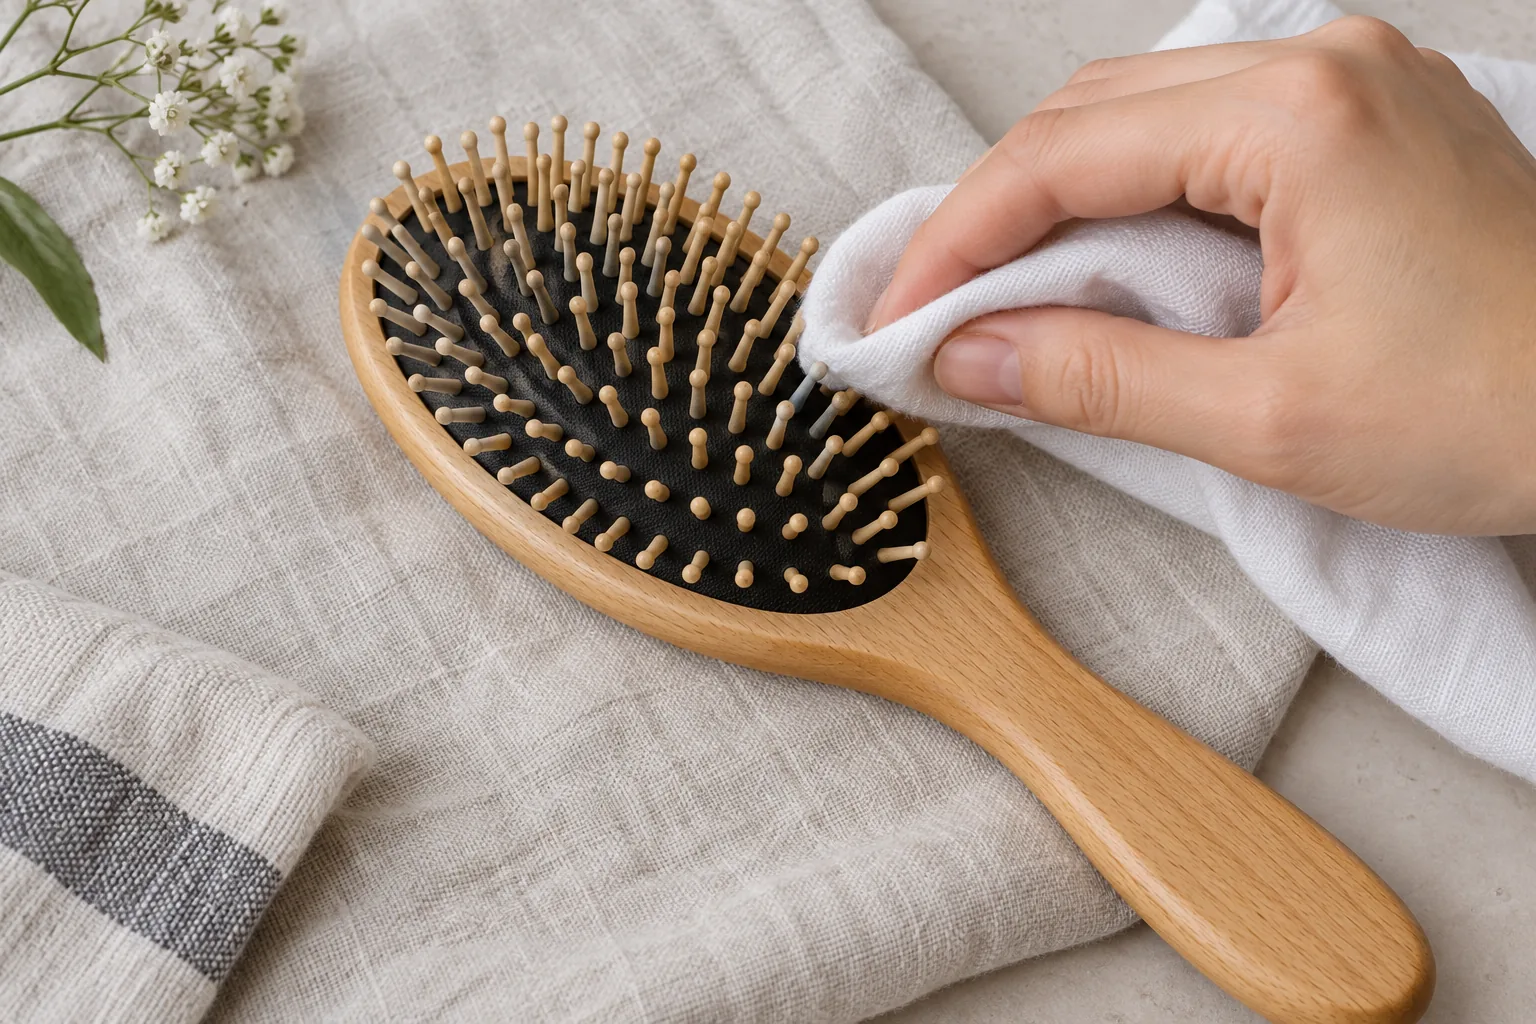
A wooden paddle brush is not simply a plastic brush with a nicer handle. Likewise, natural bristles and a cushioned base are separate components whose care needs may differ. Keep water away from unapproved parts, use only the cleaning technique described for the brush and do not leave the tool in a bowl while you do something else. A damp-cloth method may be the appropriate route; it is not a lesser version of a bath.
Check whether a cushion is intentionally removable before attempting to take it out. Some products are designed to open for care; many are not. An edge that can be lifted is not proof that it should be. Do not prise apart a housing to solve a trapped-water problem, and do not enlarge a small hole that may be part of the brush’s construction.
When cleaning bristle tips locally, support the brush on a dry cloth and keep the wooden body clear of the wet area. Inspect the joints without bending them. If the manual is missing, contact the manufacturer rather than borrowing a method from another material.
Leave room for drying instead of adding heat
Plan drying before wet cleaning. Choose an airy location where the brush can sit undisturbed, rather than going straight into a closed drawer or wash bag. Remove surface moisture in the way its instructions specify. Do not squeeze a cushion, twist the head or shake it vigorously simply because water is still visible. Keep the bristles from being crushed under other tools.
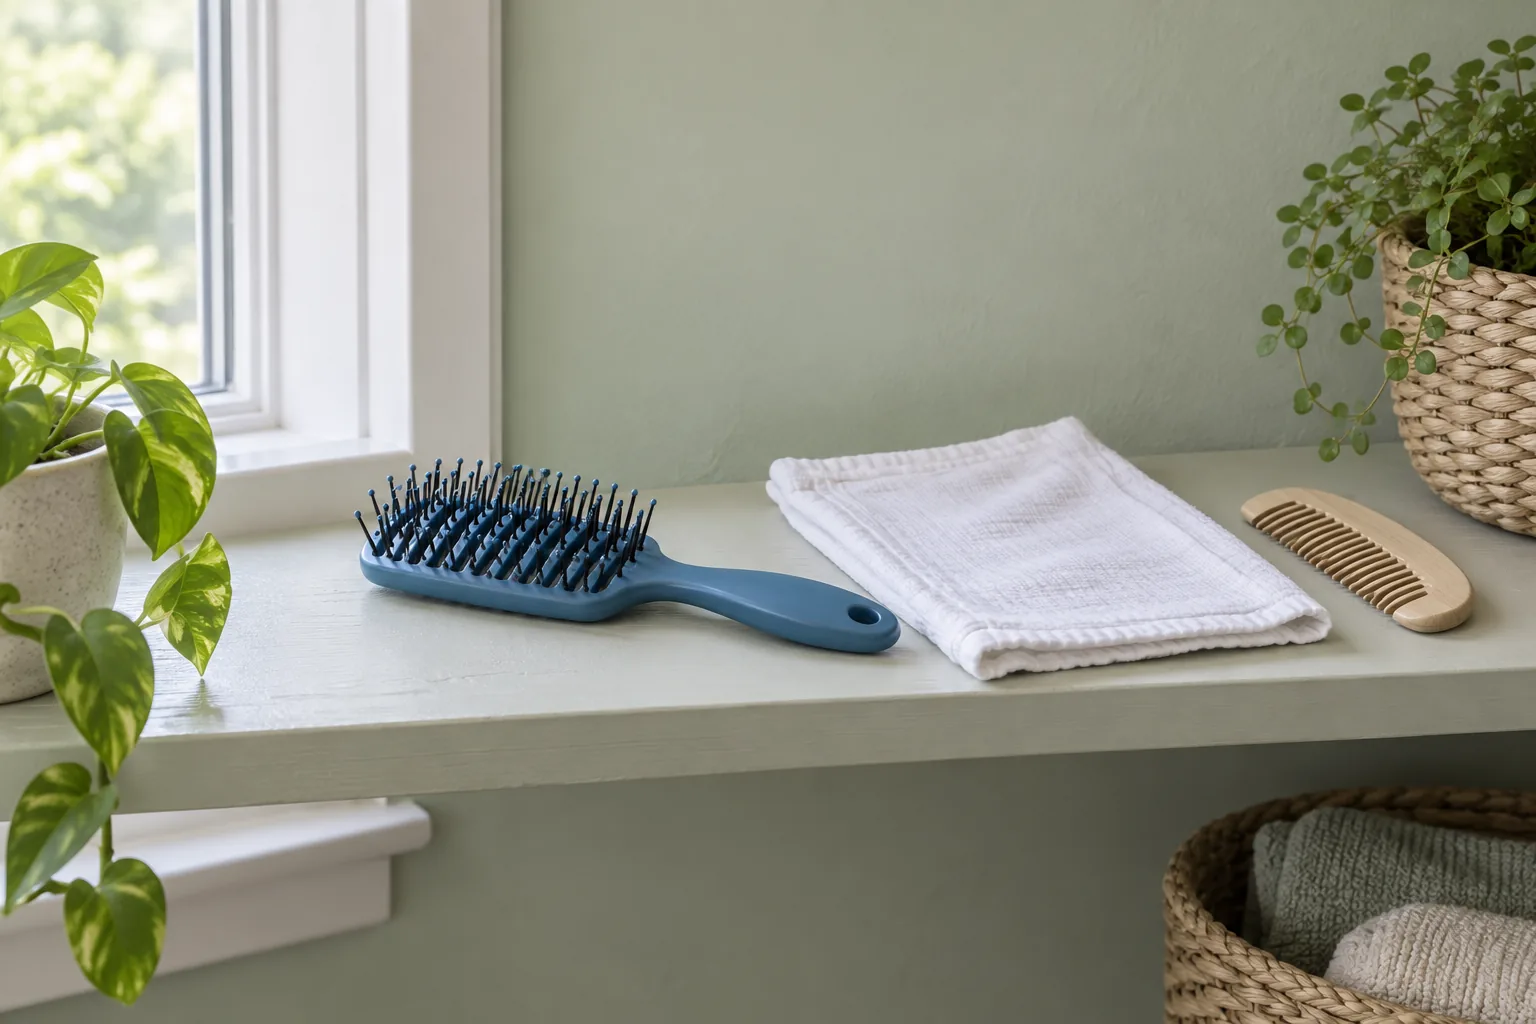
Drying orientation is not universal. Kent distinguishes care for different brush constructions in its support guidance, including restrictions on immersion and heat. Follow your brush’s directions rather than assuming that bristles must always face up or always face down. The blue vented brush in our drying photograph illustrates an open layout, not a rule for every model.
Give the tool time. Avoid trying to hurry an unknown material with a hot dryer, radiator or strong direct sun. Check the base and joins as well as the tips before putting it away. If water appears to remain inside a sealed body, stop using it and ask the maker how to proceed. A surface that feels dry does not necessarily tell you what is happening inside.
Build a schedule around residue, not a rigid countdown
Make loose-hair removal an easy habit after use and inspect the tool regularly in good light. Choose a reminder that fits your week, but let the condition of the brush and its instructions decide whether wet cleaning is needed. Styling sprays, dry shampoo and time in a bag may give you different cleaning needs from a brush used only on freshly washed hair. A calendar is a prompt to look, not a medical deadline.
Keep the brush check alongside an existing task, such as sorting your wash-day products or emptying a gym bag. Our wash-schedule guide helps connect hair routines to everyday constraints; the brush belongs in that practical plan, not in a separate elaborate ritual. If you carry a second tool, check that one too instead of cleaning only the brush that stays on the dresser.
Store completely dry tools away from spilled products and loose bag contents. Clean the comb or small brush used for maintenance according to its own instructions as well. Reaching for a dirty cleaning tool makes the next inspection confusing.
Know when cleaning is not the right repair
Inspect bent or broken pins, rough edges, missing tips, cracks and a cushion that no longer sits properly. Cleaning cannot restore a damaged contact surface. If the brush catches painfully or a part is coming loose, stop using it and ask about repair or replacement. Do not smooth a sharp edge with a household tool and assume the result is suitable for your scalp.
An electric straightening or hot-air brush needs its own appliance instructions. Switch it off, disconnect it and allow it to cool before any permitted cleaning. Do not immerse it, run water over its electrical body or put a cloth on hot parts. Do not open the appliance to reach residue. This article’s sink photograph shows an ordinary non-electric, single-piece brush, not an electrical tool.
If an unpleasant smell persists after the permitted cleaning and full drying, do not mask it with fragrance or escalate to stronger chemicals. Ask the manufacturer whether the tool remains usable. This guide cannot identify mould, diagnose scalp symptoms or provide a salon-level hygiene procedure. For shared professional equipment, follow the applicable professional rules rather than this personal-use routine.
Return to gentle brushing with a clear stopping point
Before using the dry brush again, make one final check for residue and intact contact points. Then return to a gentle technique suited to your hair, without dragging the tool through a knot to test how clean it is. Our detangling guide separates knot removal from ordinary brushing. A freshly maintained brush still cannot compensate for force, an unsuitable tool or a rushed approach.
Use the first session to notice comfort and how the brush handles familiar sections. Stop if it catches or hurts. Do not attribute every change in shine, frizz or tangling to cleaning: products, weather and the state of the hair can all change your experience. Brush maintenance is a small supporting task, not a treatment for hair loss or a way to guarantee growth.
Finish by putting the dry tool in its usual clean place and disposing of the removed hair. Keep the model’s care instructions where you can find them. The routine is complete when the tool is sufficiently clean, undamaged and properly dry.