
Wash-day care
Frizzy hair after washing, handled step by step
Find where the roughness begins—cleansing, detangling, towel contact or drying—and change one step at a time without trying to erase natural texture.
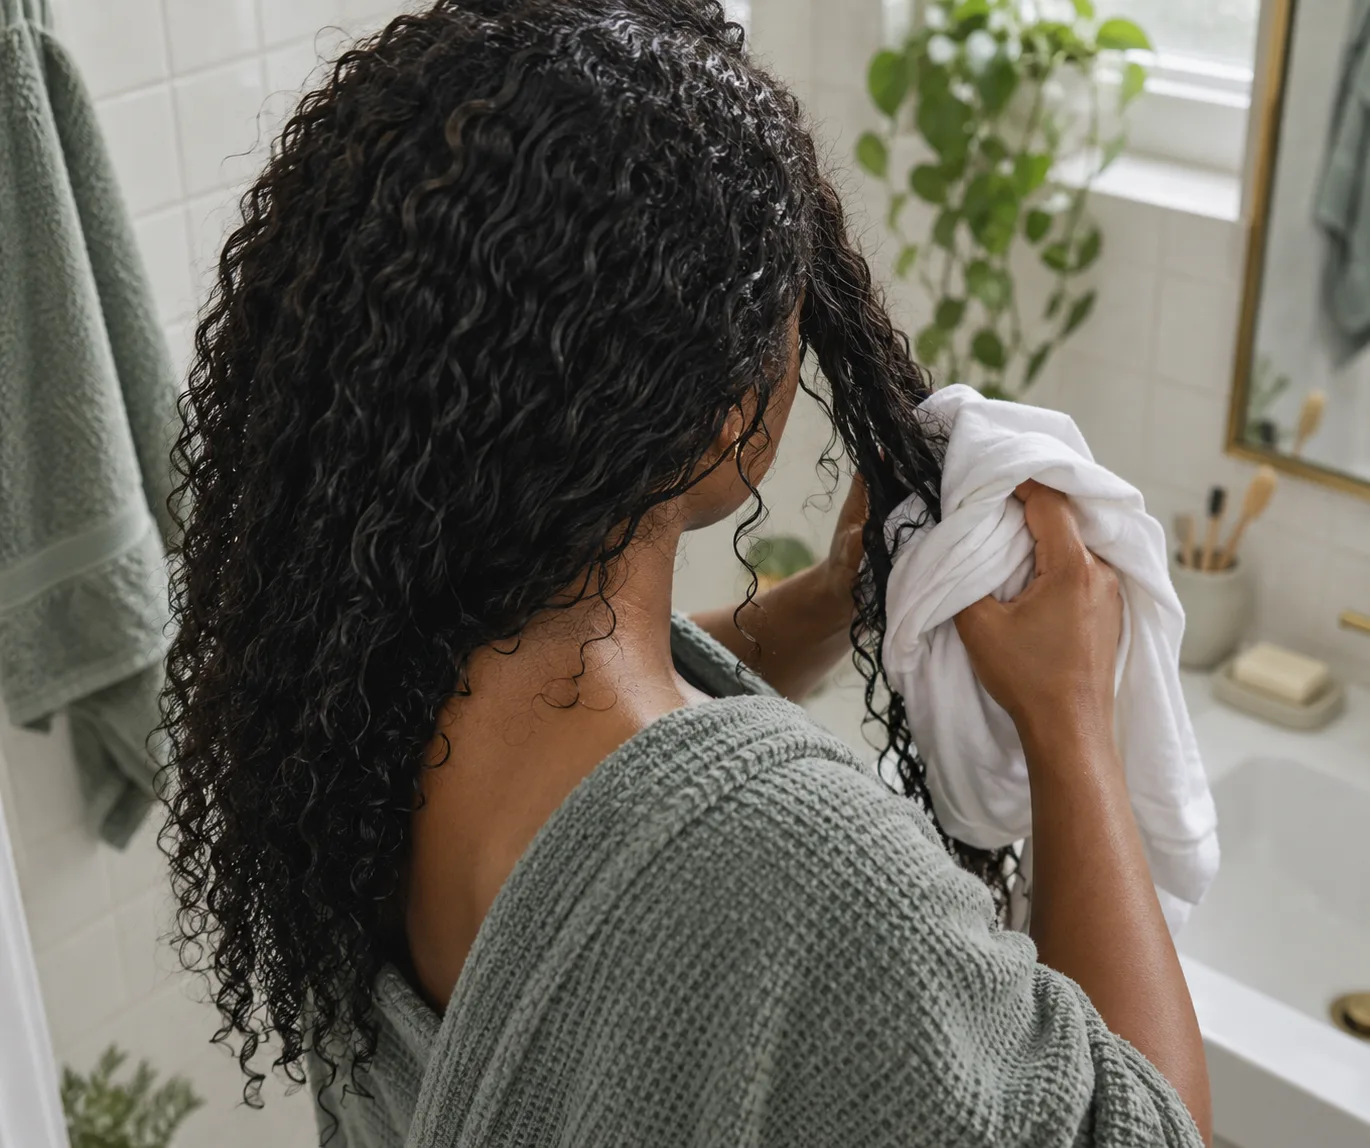
Frizzy hair after washing can feel puzzling: you have just cleaned and conditioned it, yet the surface looks rougher than before. The useful question is not how to force every strand flat. Some halo and separation are part of a natural wave, curl or coil pattern. The question is which part of your wash day adds unwanted friction, tangles, dryness or disruption, and which part of the appearance is simply your own texture. A fix that works on straight hair may scatter curl clumps; a rich cream that helps dry curls may leave fine hair heavy.
Start with the sequence rather than buying a shelf of products. Notice when the change appears: while rinsing, during towel contact, when combing, while drying, or only after the hair meets humid air. This guide offers a complete routine you can do at home and a small experiment for identifying the step that matters most. Dermatologists recommend shampooing the scalp, conditioning according to hair type, handling wet hair gently and avoiding rough towel rubbing. Those principles are a sound starting point, not a guarantee of a perfectly smooth finish on every texture.
Find the moment frizzy hair after washing begins
Look at the hair at four points: before washing, after rinsing conditioner, after removing excess water, and when fully dry. You do not need polished photographs. A quick note about where the flyaways first appeared is enough. If the hair feels tangled immediately after shampoo, examine the cleansing and conditioning steps. If it forms neat groups in the shower but separates after vigorous towel use, change the drying contact first. If it looks settled indoors and expands outdoors, weather may be a stronger factor than the wash itself.
Separate a rough surface from true breakage. A few shorter hairs near the hairline, especially on a curl pattern, do not prove damage. Persistent snapped pieces, a new bald patch, pain, marked scalp inflammation or sudden shedding merit professional assessment rather than a new anti-frizz product. Note any recent bleach, heat, swimming or product change, because these alter handling. The goal is a repeatable observation: one wash with one small change, then compare on a similar day. Changing five products together hides the cause.
Clean the scalp without scrubbing the lengths
Work shampoo mainly into the scalp with fingertips and let the rinse travel through the lengths. The American Academy of Dermatology advises this approach to remove oil and buildup without unnecessarily drying the whole strand. Avoid piling long hair on top of the head and rubbing it into a knot. Use water at a comfortable temperature; there is no need to shock the hair with ice-cold water. Rinse until the scalp and roots feel clean rather than leaving cleanser behind because you fear dryness.
How often to wash depends on how dirty or oily your scalp gets and on your texture, density and routine. Oily straight hair may need a different schedule from dry curls. Do not stop washing a flaky or irritated scalp solely because a social-media routine promises less frizz. If you changed shampoo recently, try the same gentle technique with your usual product before concluding that the ingredient list is the whole problem. If symptoms persist, ask a dermatologist. Styling advice cannot diagnose a scalp condition.

Condition the places that need slip
Conditioner is not a decorative last step. It gives strands more slip so you can separate tangles with less force. The AAD recommends conditioner after washing, with placement adapted to hair type: fine or straight hair may do best with it through the ends, while dry or curly hair may need it along the length. Apply enough to cover the part that knots, allow the product's stated time, and rinse as directed. A heavy coating at the roots may flatten fine hair without solving rough ends.
Notice how the hair feels while conditioner is present. If the ends still catch on your fingers, it may need more even coverage, a different formulation, or attention to accumulated wear. If the hair feels coated after drying, use less rather than stacking a second mask on top. A rinse-out product and a leave-in serve different moments; neither permanently repairs a split fibre. If the ends repeatedly snag, check their physical condition using our guide to trim timing instead of treating every flyaway as proof you need a large cut.
Detangle for your texture, not against it
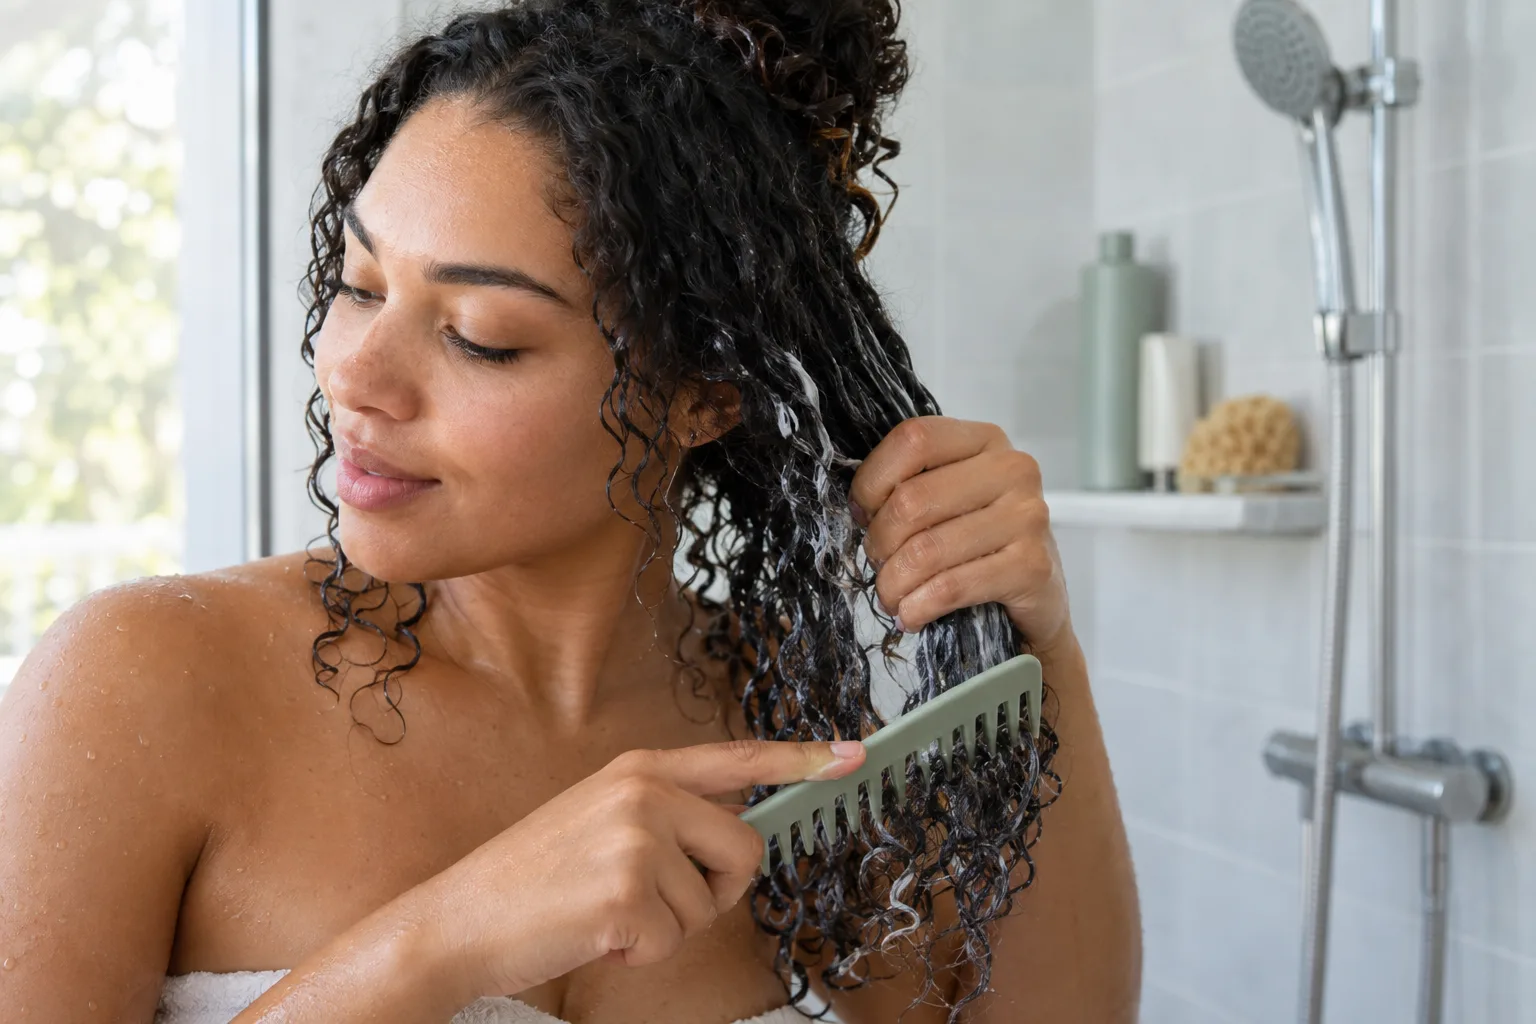
Wet hair needs gentle handling, and the right moment to comb differs by texture. For thick curls and coils, many people can detangle while conditioner is still in the hair, supporting a section with one hand and moving from the ends upward with fingers or a wide-tooth comb. For straight hair, it can be better to let it dry a little before gently combing. The AAD explicitly distinguishes these situations; a universal 'never touch wet hair' rule would miss the needs of tightly textured hair.
Divide dense hair into manageable sections if one pass becomes a tug-of-war. Stop at a knot, add slip or water as appropriate, and release it gradually instead of pulling harder. Once a curl group is formed, repeatedly brushing it into individual strands may create the very halo you dislike. For straight hair, aim to remove snags without running a brush through the same damp section again and again. If detangling is always painful or produces many snapped pieces, consult a qualified professional rather than accepting force as normal.
Take water out by pressing, not rubbing
After rinsing, squeeze excess water gently with your hands. A soft towel or clean cotton T-shirt can absorb more by wrapping or pressing the lengths. Roughly rubbing back and forth creates friction and can disturb waves and curls before they set. The AAD notes that rough towel rubbing can damage hair. You do not need a special fabric purchase to test the technique: use a clean, smooth item you already have, and avoid twisting or wringing the hair hard inside it.
Press a section, move to another, then release. Do not leave a heavy wrap pulling from the hairline while you complete a long routine. Short straight hair may need only a brief blot; dense curls may hold water inside even after the outer layer feels less wet. If your hair develops frizz at this exact point, repeat the same wash next time but change only towel pressure and movement. That small experiment is more informative than adding a serum before you know whether the towel is the issue.
Use leave-in care only where it helps
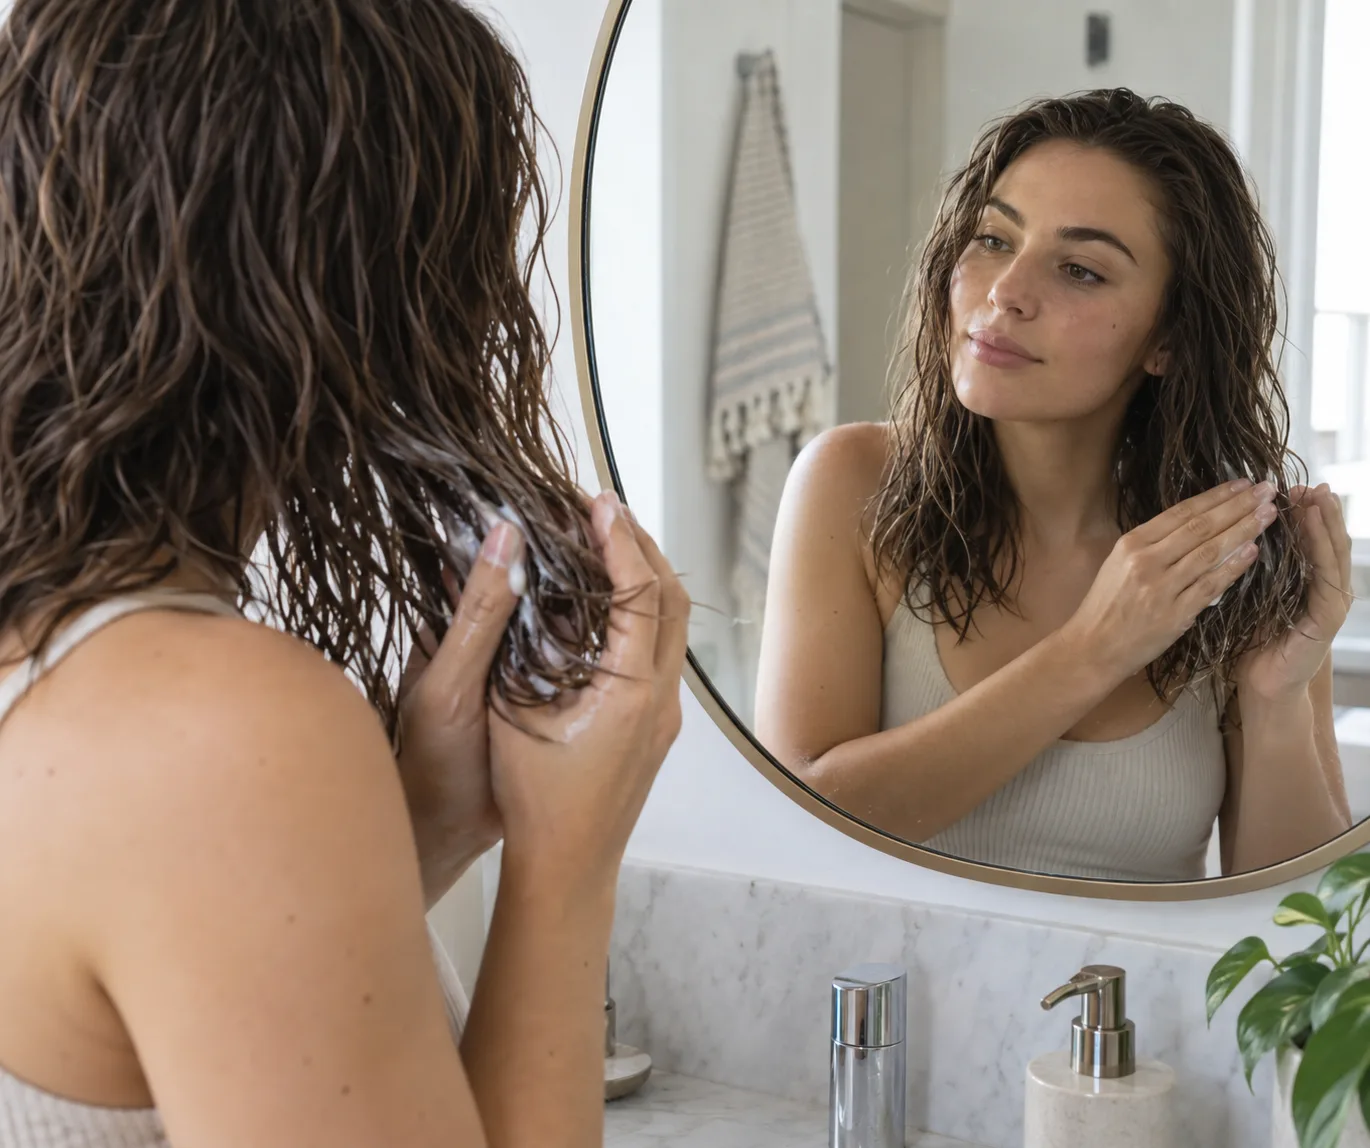
A leave-in conditioner can make damp hair easier to manage, but use a product suited to your texture. The AAD advises a lighter option for fine straight hair and more conditioning for dry curls. Start with a modest amount through mid-lengths and ends, keeping the scalp clear unless the product specifically instructs otherwise. Add more only if the hair still needs it. Applying a generous layer to already smooth roots may create limpness or residue without taming the problem area.
Spread it between your palms and distribute with gentle hands. On curls, encourage existing groups rather than pulling every strand straight. On fine hair, concentrate on the few sections that become fuzzy. Follow the product directions and watch for itching, buildup or an unpleasant coated feel. A leave-in is a styling aid, not a cure for scalp disease or a permanent repair for damaged ends. If your routine works without one, there is no requirement to add it just because every tutorial includes a product step.
Choose a drying path you can repeat
Air drying is simple, but leaving dense hair damp for many hours may not suit your schedule or scalp. Blow drying can be practical when done with a moderate setting, movement and distance rather than prolonged heat on one spot. The AAD recommends limiting heat and using low or medium settings. A diffuser may help curls dry without a strong stream scattering their pattern; straight hair may need airflow directed down the length. Neither tool guarantees a frizz-free result, and you need not buy one if a comfortable air-dry routine works.
Choose one path for two ordinary wash days. If you use a dryer, avoid stretching or tugging hard at wet hair, and follow any heat-protection instructions for products you already use. Let the roots and the thickest sections finish drying before judging the final shape. Repeatedly touching half-dry curls can break up their groups; straight hair may need only one careful check. If you often leave with damp hair under a hat or collar, include that contact in your notes. The drying environment is part of the result.

Read the next-day result before changing everything
Check the hair when fully dry, after a few hours, and the next morning. Did the roughness start in one place or all over? Did the curl pattern remain grouped until a brush separated it? Did only the outer layer react to humid air? These answers point toward different adjustments. If humidity is the main trigger, our weather-planning guide explains why a haircut cannot promise to eliminate that reaction. This wash-day article instead addresses the mechanical steps you control before you go outdoors.
Keep a short record of cleanser, conditioner placement, detangling method, towel action, leave-in amount, drying path and weather. Change one variable on the next wash and compare. If the hair feels brittle despite gentler handling, or the scalp is painful, inflamed or shedding unexpectedly, seek professional evaluation. A good routine respects the texture you have; it does not require every short hair to lie flat. You are looking for less avoidable friction and a result that is comfortable to live with, not a permanently sealed hair surface.