
Hair color planning
Balayage vs highlights: choose the placement
Both can add lightness, but they distribute it differently. Compare root proximity, contrast, movement and upkeep before turning a reference into a salon brief.
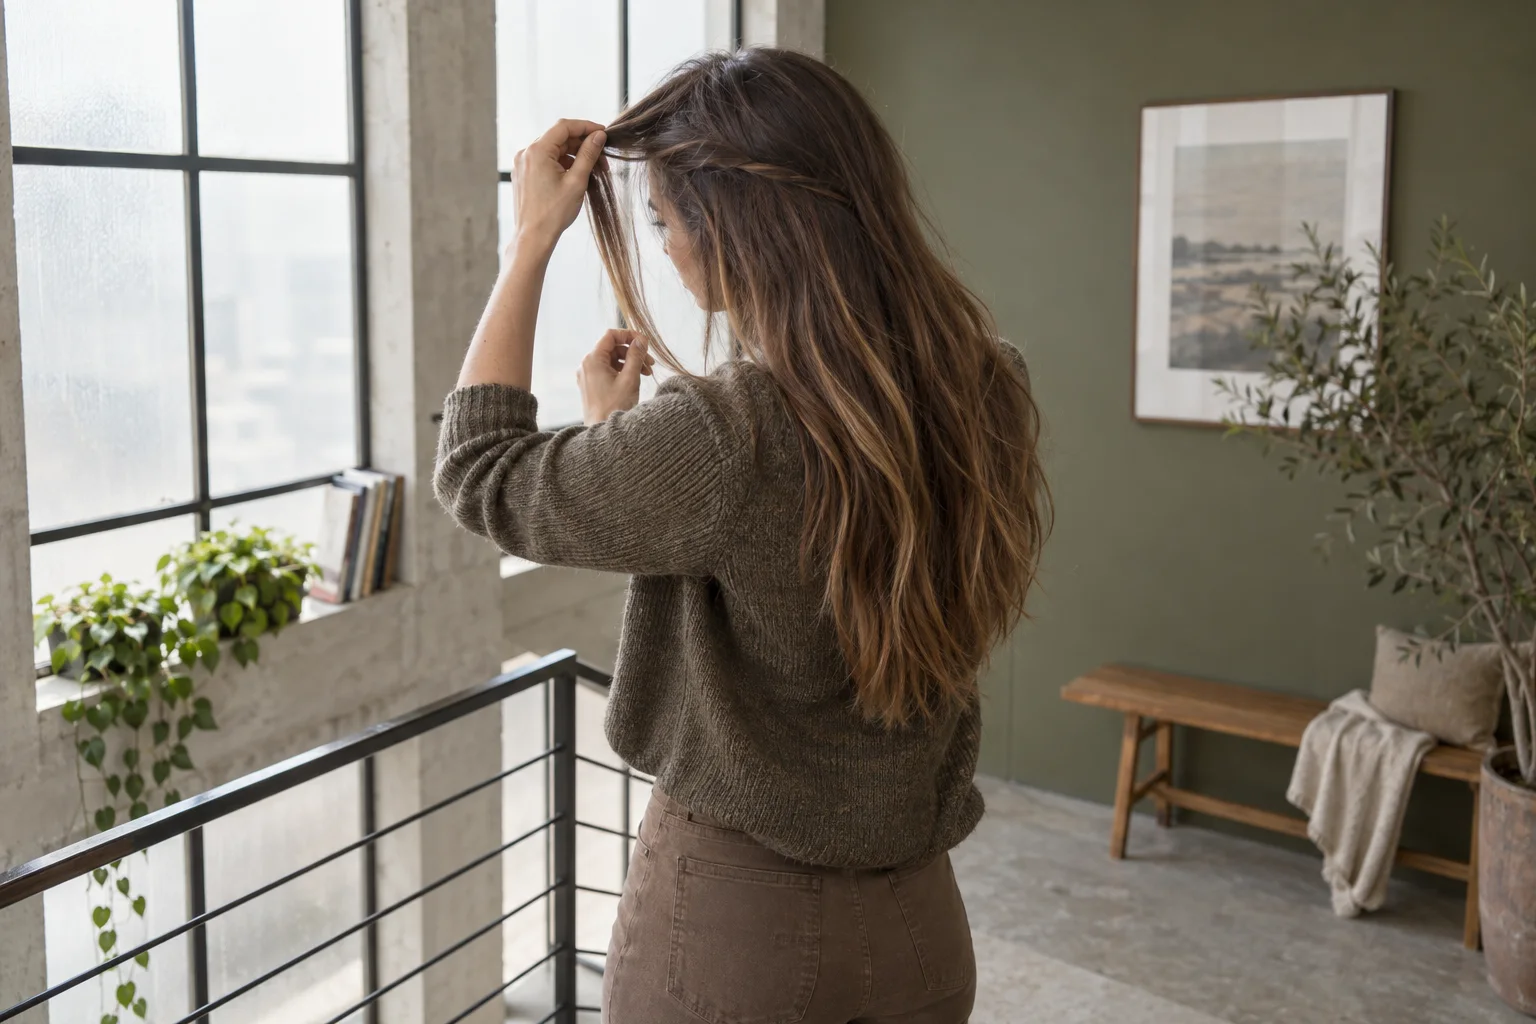
Balayage vs highlights sounds like a choice between two fixed looks, but the useful decision is more precise: where should lightness begin, how evenly should it travel through the hair, how much depth should remain, and what should the grow-out look like? Traditional foil highlights often create repeated ribbons that can begin close to the root. Balayage describes a freehand painting approach commonly used to build softer transitions through the mid-lengths and ends. Modern colorists can combine techniques, so the service name alone does not guarantee a particular result.
Hair Muse can help you compare visible directions on one clear photo before the appointment. Keep the haircut, pose and overall shade family stable, then alter one placement variable at a time. A preview can reveal whether you prefer brightness near the hairline, a rooted blend or stronger light ends. It cannot inspect strand condition, predict lift, formulate color or guarantee how your hair will process. Use the shortlist to describe your preference; let a qualified colorist decide what is feasible and safe after examining your hair.
Balayage vs highlights: decide where the light should live
Ignore the label for a moment and divide the head into zones: hairline, part, crown, sides, mid-lengths and ends. Decide which zones should look lighter on an ordinary day. If you want brightness to appear from the part and around the face, root-close woven highlights may communicate that clearly. If you want more natural depth near the scalp and increasing light through the lower lengths, a painted, rooted direction may fit better. Neither choice must be subtle or dramatic; section size, contrast and tone change the effect.
Describe the result in visible language. Try: ‘I want fine brightness near the part but depth underneath,’ or ‘I want the lightest area below my cheekbones and a soft root.’ That is more useful than assuming every salon defines balayage, foilyage, babylights or partial highlights identically. Save two references that show the placement from the front and back, and ask the colorist to name the technique they would use for that outcome on your current base.
Choose a lightness map first. The salon can then choose the technique that creates it on your hair.
Read the difference in placement, not just tone
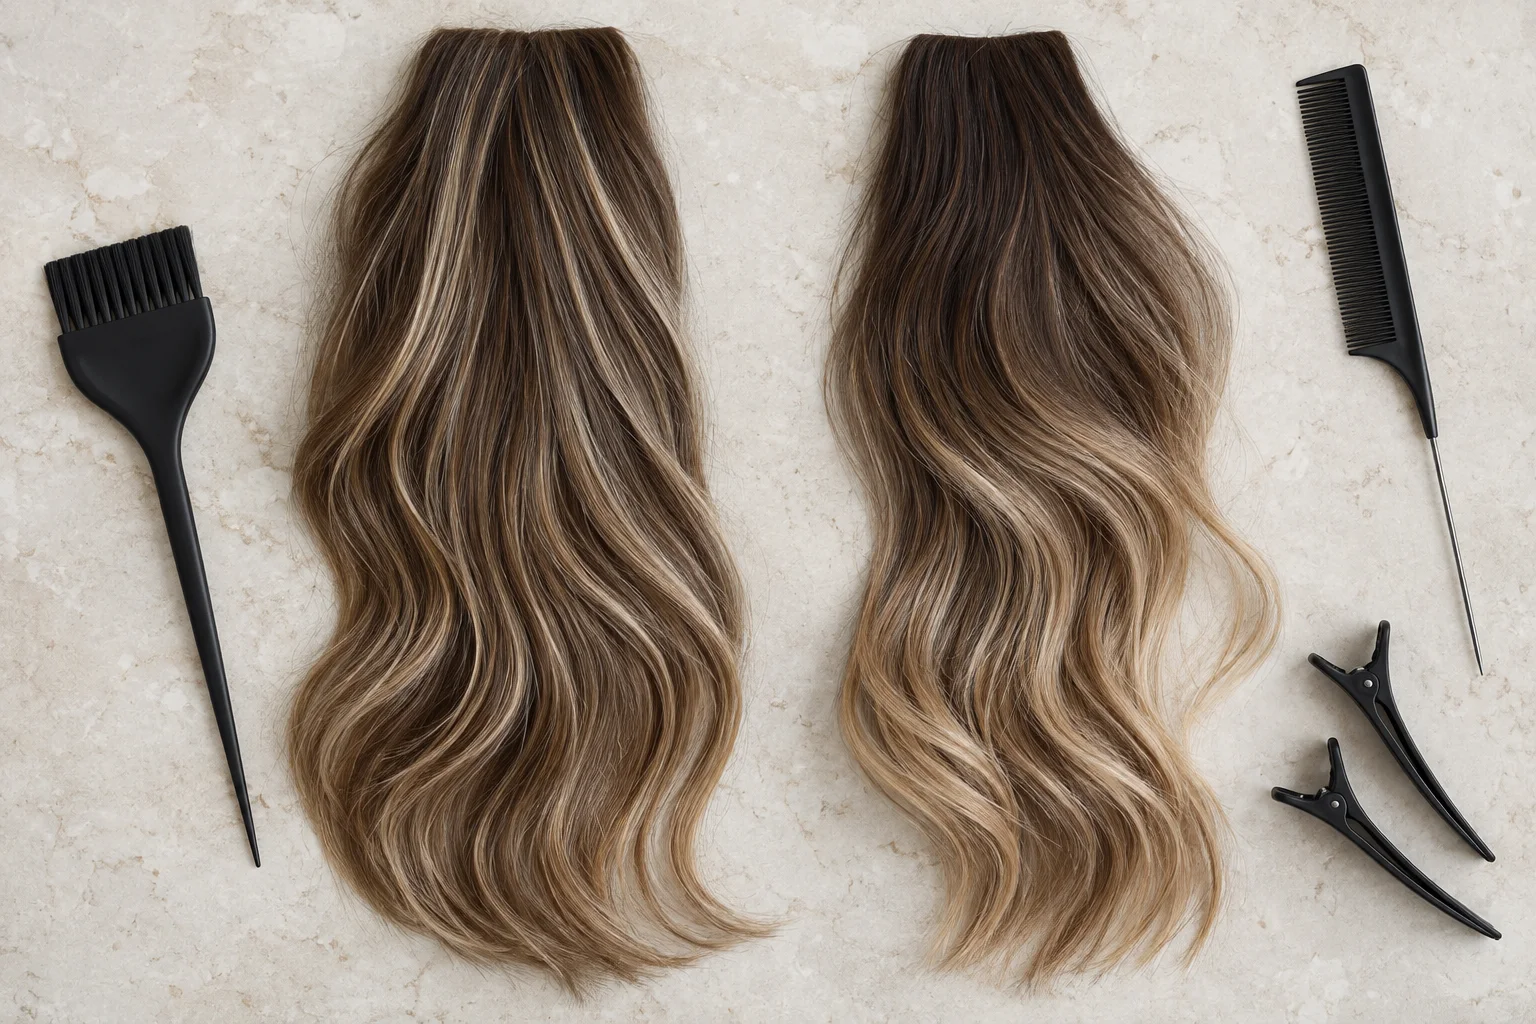
Two photographs can use the same beige-blonde tone yet feel completely different. Fine ribbons carried toward the root create a distributed pattern and can brighten the whole top surface. Wider painted pieces concentrated lower down preserve larger areas of the natural base and create stronger pools of light through movement. Face-framing pieces can belong to either plan. Look at the distance from the scalp, the width of each light section, the amount of dark space between sections and whether the ends are uniformly bright or selectively painted.
Do not compare a curled balayage photograph with a straight highlight photograph and attribute every difference to color. Waves expose alternating light and dark surfaces; straight hair shows continuity and lines more clearly. Ask for references shown in a finish close to your usual texture. If you wear the hair both curly and straight, bring evidence of both states and ask how placement will read in each. The preview should test broad distribution, not imitate every painted strand.
Let the root and hairline make the first decision
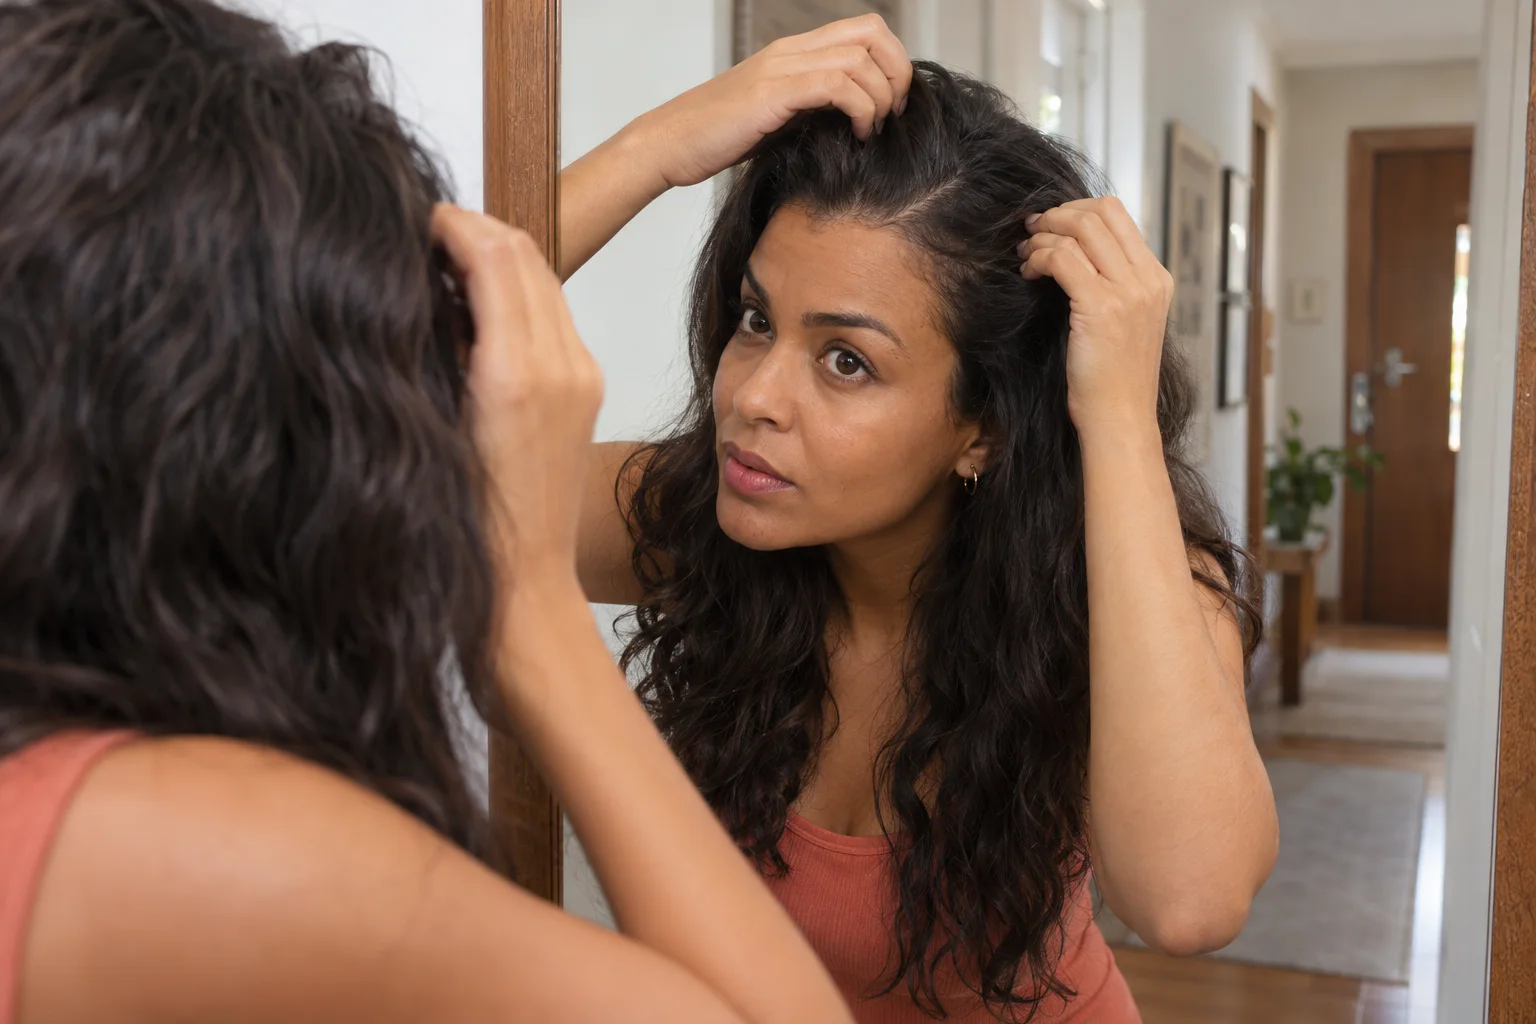
The first centimetres often determine whether a color feels polished or demanding. Bright pieces close to the part can make the result look fresh immediately, but new growth may create a clearer boundary. A softer or deliberately shadowed root may grow with less contrast, although tone and exposed face-frame pieces still change over time. Inspect your natural base in daylight, including gray distribution, previous root color and any bands from earlier services. These facts matter more than a generic promise of ‘low maintenance.’
Choose how much root contrast you are comfortable seeing after several weeks rather than choosing only for appointment day. If you part the hair in different places, tie it back or expose the temples, mention that. A placement that looks seamless in one styled photograph may reveal a stronger line in a ponytail. Ask whether the proposed plan requires regular root work, occasional glossing, face-frame refreshes or a larger correction later. Avoid accepting a fixed interval before the colorist sees growth speed and contrast.
Compare maintenance as a pattern, not a promise
Balayage is often described as lower maintenance, but that depends on the brief. A high-contrast blonde end over a dark base may still need toning, conditioning and careful protection even when the root transition is soft. Very bright face framing can need attention sooner than the rest. Fine highlights can also be designed with a shadowed root or partial refresh. Ask what visibly changes first: tone, root line, face-frame brightness, dryness or loss of contrast. Each answer leads to a different upkeep plan.
Write down how often you are realistically willing to book, how much at-home care you will use and whether you want the color to fade or grow out gracefully without immediate correction. Do not treat maintenance as a moral test. A higher-frequency result may be right if you enjoy it and can support it; a softer plan may be better if appointments are hard to schedule. The American Academy of Dermatology notes that lightening can increase damage risk, which is another reason to discuss existing condition and service history before chasing maximum brightness.
Use Hair Muse to compare one placement variable
Start with a front-facing photograph in neutral daylight, without a beauty filter and with the hairline, shoulders and current length visible. Create one conservative direction, then change only the distribution: first root-close fine brightness, then a rooted mid-length transition, then perhaps one face-frame variation. Keep the haircut, part, pose and broad tone family as stable as possible. When everything changes together, you cannot tell whether you prefer the color placement, a more flattering angle or an invented texture.
Reject previews that change your identity, reshape the face, move the hairline, add unrealistic density or hide the current length. Review the remaining images at normal size rather than zooming into synthetic strands. Ask whether the overall balance communicates the desired lightness map. Hair Muse is free to download, while some previews or usage levels may require an in-app purchase. It is a visual planning aid, not a measurement of pigment, porosity, elasticity or salon technique.
Separate visual preference from chemical feasibility
A preview can show where you want lightness, but it cannot establish how pale your hair can become in one appointment. Natural base, previous permanent color, bleach history, porosity, breakage and scalp condition all influence the plan. A dark dyed length may lift differently from untouched roots. Curly or coily hair may be more vulnerable where strands are already dry or fragile. Tell the colorist every known service, including box dye, henna, smoothing, perming and previous lightening, even when the color appears to have grown out.
Bring a preferred placement and a less intense fallback. The fallback might keep more natural depth, use fewer light sections or target a warmer level that requires less lift. Ask whether a strand test is appropriate, whether the result needs stages and which parts should remain untouched. FDA guidance advises following product warnings and patch-test directions for hair dyes. A professional consultation does not eliminate every risk, but it can replace an image-based assumption with an assessment of the real hair and products involved.
Build a salon brief around outcome and boundaries
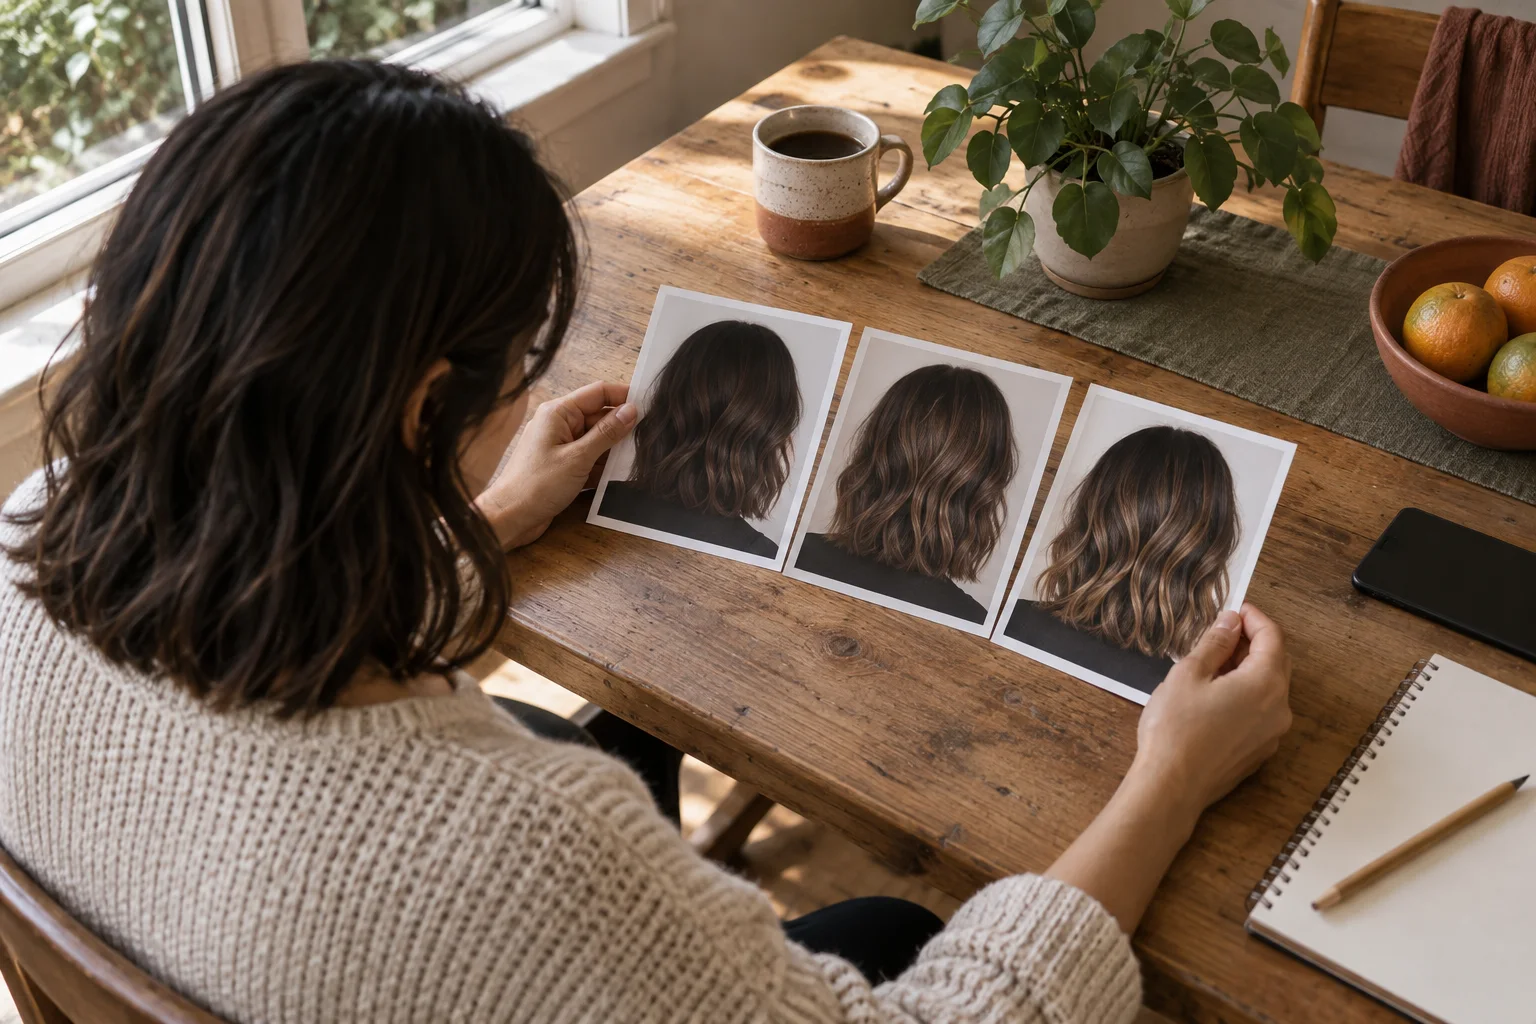
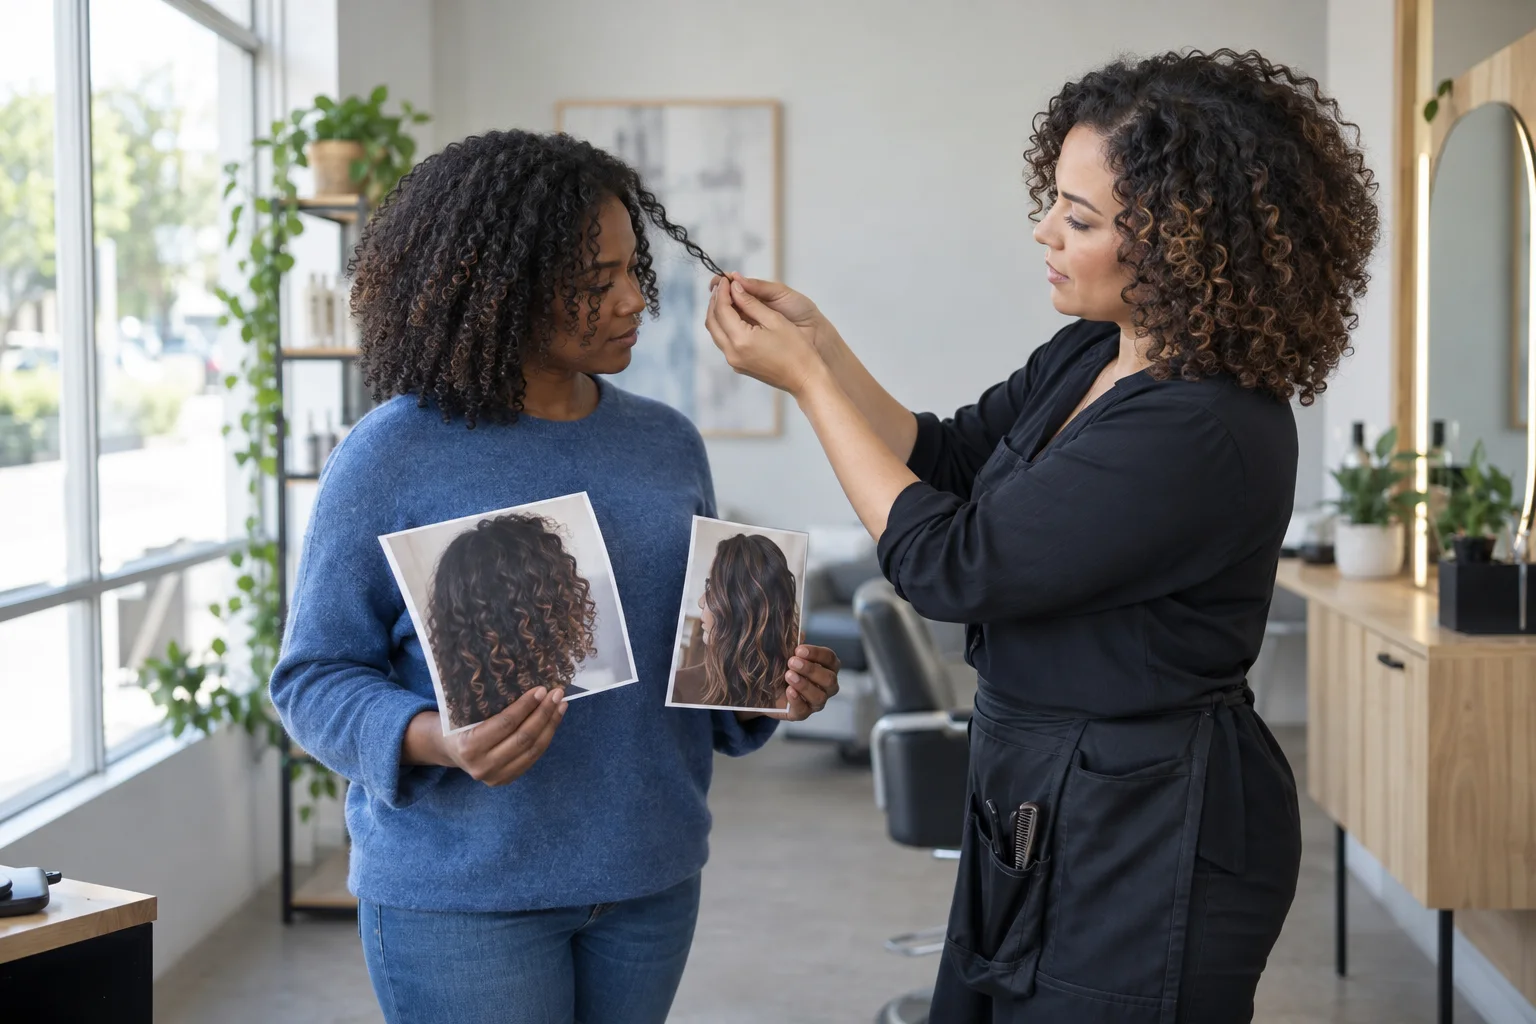
Take no more than three references: the preferred distribution, one acceptable alternative and one image that clearly shows what you do not want. Label the useful feature on each. Add unedited photographs of your current hair from the front, part, sides and back in ordinary daylight. Include your usual part, tied style, heat routine, appointment tolerance and the darkest or lightest boundary you would consider. A small annotated set is easier to discuss than a folder of unrelated blondes.
Ask the colorist to translate the references: where would lightener begin, which sections stay natural, how bright could the first session safely become, how would the placement appear with your texture, and what would the first refresh involve? Agree on whether the hairline, ends or overall blend has priority. If the professional recommends a mixture of foil and freehand methods, judge it against the visible result rather than rejecting it because the booking name changed.
Make the final balayage-or-highlights choice
Lean toward a root-close highlight direction when you want repeated brightness from the upper hair, enjoy a more distributed pattern and accept the likely visibility of new growth. Lean toward a rooted balayage direction when you want larger areas of natural depth and lightness that increases through the lower lengths. Choose a hybrid when your priority combines bright face framing, a softer root and stronger ends. These are visual directions, not universal technique rules; a colorist may use several application methods to achieve them.
The best decision is the one that still works after you include starting color, condition, texture, budget, appointment rhythm and a realistic first-session limit. Keep your preview shortlist, but let the consultation revise it. You are not choosing a word for the booking menu. You are agreeing on where the light sits, what remains dark, how the transition grows and which compromises protect the hair while moving toward the result.