
Everyday styling
Build a low ponytail around comfort, not tension
Gather the lengths without making the roots hold a rigid shape. Check your tie, leave shorter strands free and test the style in the movements of an ordinary day.

A low ponytail can look simple and still feel wrong by the time you leave home. The sides pull, a short section keeps escaping, or the tie presses against your chair. The answer is not automatically another tighter loop. A useful everyday version gathers the lengths while leaving room for your head to move. It can include flyaways, a softer parting and loose pieces around the face. Neat does not have to mean rigid.
This guide takes you from choosing the gathering point to taking the tie out. You do not need an app, special kit or perfectly smooth hair to follow it. The original illustrations show handling steps, not measured safety results. A lower position alone does not make a ponytail gentle: fastening, weight and repeated pulling still matter. If a style hurts, loosen it or take it down rather than waiting to get used to the sensation.
A low ponytail starts where your hair reaches comfortably
Stand or sit with your head in its usual position, rather than tipped far forward. Gather the lengths near the nape without stretching the side sections to reach a precise mark. You are looking for a practical meeting point, not the lowest possible tie. If the front needs a strong pull to join the back, let those pieces stay outside. A ponytail can still be deliberate when the shorter lengths are visibly separate.
Check what will sit around that point today: a jacket collar, headphones, a car headrest or the back of a work chair. Try the actual item when possible. A tie that feels fine while standing may become uncomfortable when you lean back. Move the gathering point slightly or choose a different loose style instead of forcing the hair into one position. Keep the goal specific: hold the lengths together for this activity, not make every strand obey.
Prepare the lengths without forcing one texture into another
Separate obvious tangles before fastening, supporting the section you are working on so a snag does not become a pull at the root. Avoid dragging a brush repeatedly over the whole head just to flatten the surface. Straight, wavy and tightly curled hair do not need an identical preparation routine. For curls, preserving the groups that already exist may be more useful than brushing everything into a smooth sheet. Choose a familiar gentle method suited to your texture.
The American Academy of Dermatology distinguishes handling wet hair by texture: most hair benefits from limited handling when wet, while tightly curled or textured hair may be combed wet to reduce breakage. That guidance is not a requirement to wet every ponytail. Do not repeatedly dampen, pull and redo the style because a photograph has a sleeker finish. Work with the state your hair is already in, and pause if you encounter knots you cannot release gently.
Inspect the tie before deciding how tightly to fasten
Turn the tie in your fingers and inspect the whole surface. A rough join, an exposed connector or a damaged covering is a reason to set it aside. Notice how easily it opens around the gathered hair and whether removing it normally catches strands. Soft fabric does not guarantee an appropriate fit, and a large scrunchie can still be wrapped too tightly. The condition of the closure and the way you use it matter alongside its material.
There is no universal correct number of turns. The same elastic behaves differently around a narrow bundle and a thick one. Start with a tie that can hold your actual lengths without needing a hard stretch. If it only stays in place when the roots are taut, try another size or a different gathering method. Do not add more weight with decorative pieces to solve slipping. You are choosing workable fastening, not buying a promise that hair can never be damaged.
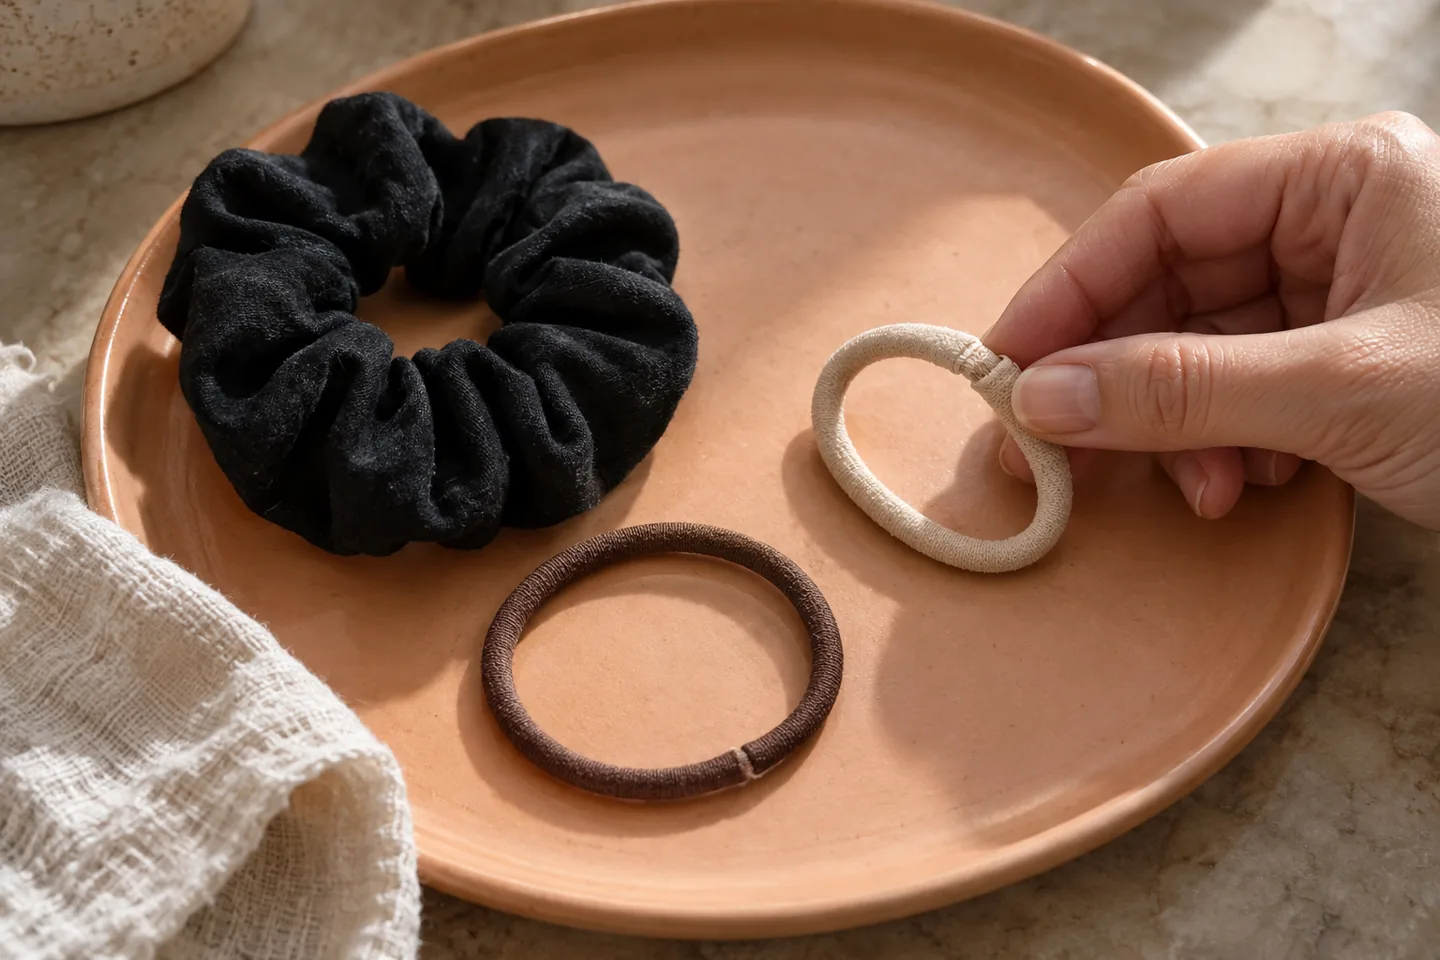
Gather with support, then close the tie without a final tug
Hold the gathered lengths with one hand close to the meeting point. Bring the other sections in gently, keeping your head upright. Smooth only what you want to arrange; leave a shorter fringe or face-framing layer outside if it does not reach easily. Place the tie around the supported bundle and form each loop slowly enough to keep loose strands out of the elastic. If a loop catches, release it before continuing rather than pulling through the resistance.
Once the tie holds, do not split the tail in two and yank the halves apart to tighten the base. That familiar finishing move can undo the looseness you deliberately left at the roots. Instead, support the tail and look at the sides. If one area feels drawn tight, reopen the fastening and gather again with that section freer. Rebuilding one small part is more useful than smoothing the surface repeatedly while the underlying pull stays the same.
Finish when the style is functional. A little movement in the side sections is not evidence that you failed. If you need to manage a loose piece, guide it to a comfortable position or leave it as part of the outline. Do not turn one escaping layer into a reason to tighten the whole head.
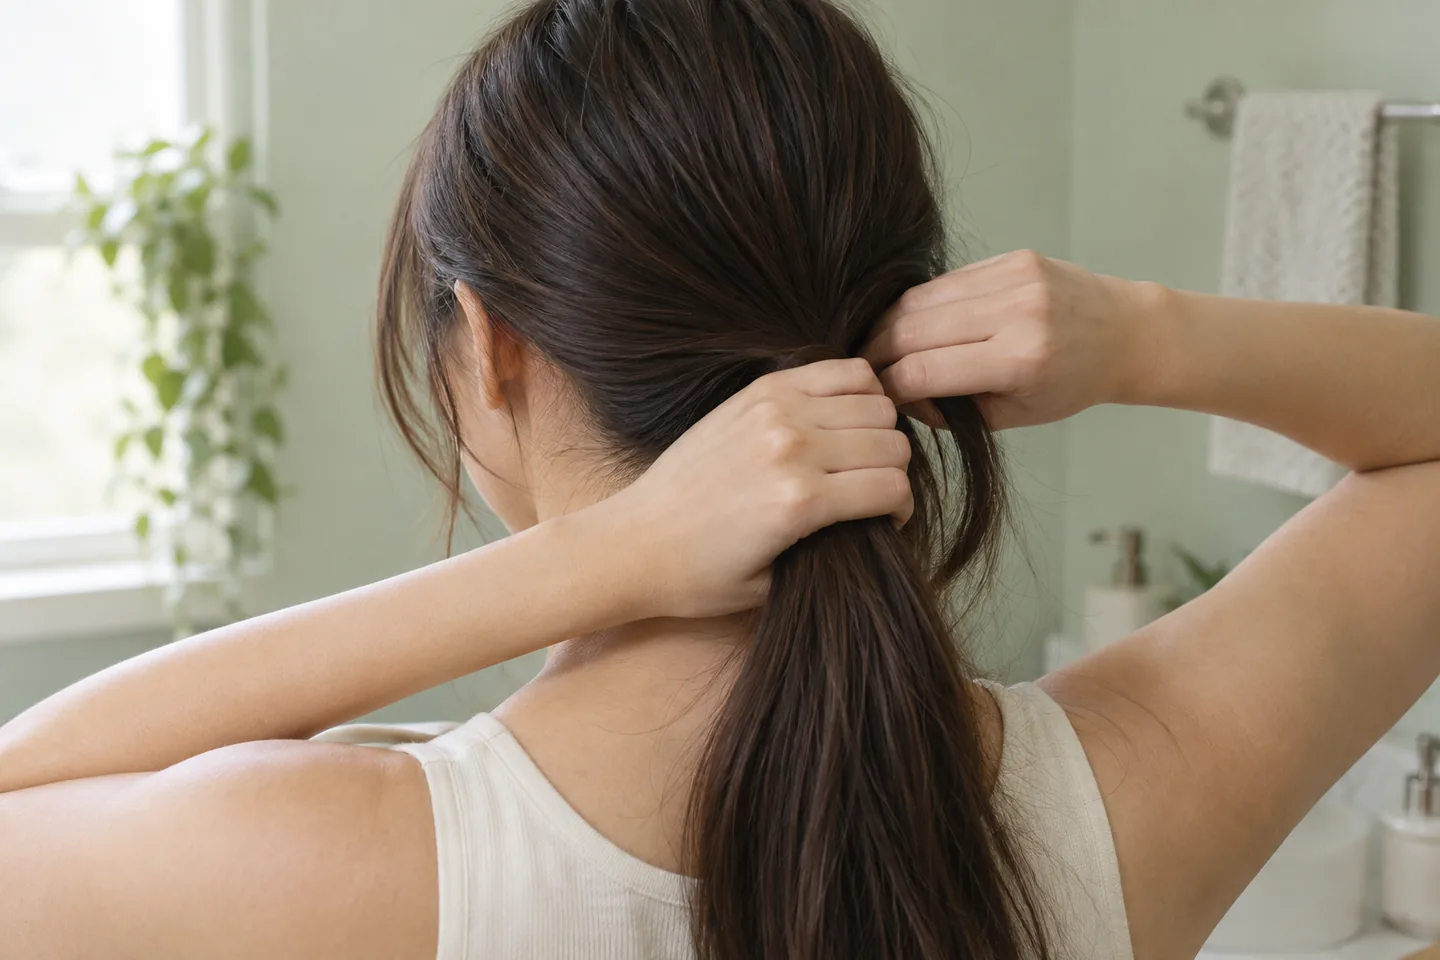
Test movement, not just the mirror view
Turn your head each way, look down at a book and sit in your usual chair. Put on the glasses, collar or headphones you expect to wear. Notice whether one section draws tight as you move or whether the fastening sits against something hard. Adjust the position or take the style down if it becomes uncomfortable. A still photograph cannot show these contacts, and a style that looks relaxed can still pull on one small area.
Do not treat a finger-width gap or a particular knot count as a safety certificate. Comfort is a practical check, not proof that prolonged repeated tension has no effect. Avoid making this your fixed style every day if it continually stresses the same areas. Change the way you wear your hair and give it breaks from pulling. You can prefer a smooth appearance without making that appearance more important than pain or persistent discomfort.

Adapt for layers, curls and slipping lengths
When layers escape, ask whether the style needs them inside at all. A few face-framing pieces may be the simplest answer. If much of the hair is too short to meet at the nape, a loosely gathered upper section or wearing it down may work better. Do not rely on a ponytail photograph to judge which lengths will reach. If an upcoming haircut is the real concern, discuss your need to tie the hair back before cutting.
For curls, gather without stretching the texture into a different shape just to match the tie position. Let the tail keep its natural width. For slippery straight hair, reconsider the fit of the tie before adding another very tight fastening. A heavy tail may need a different style rather than extra tension at the same base. Extensions and extra accessories are not solutions this guide recommends for root comfort. A small change should make the routine easier, not create more load.
Take the ponytail down by unwinding, not dragging
Support the hair just below the tie with one hand. With the other, open a loop and unwind the fastening in the reverse order of putting it on. Move slowly if loose hairs have wound around the fabric. Stop and free the caught strands rather than dragging the elastic from the base to the ends. A tie that repeatedly catches despite careful handling is worth replacing; forcing it out is not a useful daily technique.
Once the hair is loose, separate it gently with your hands before deciding whether it needs any further arranging. Avoid immediately rebuilding the same tight spot because the released lengths have a temporary bend. That mark is not an instruction to straighten aggressively or put the ponytail back. If you are finishing the activity that needed your hair gathered, let it rest in another comfortable position. Taking the style down is part of the routine, not an afterthought.
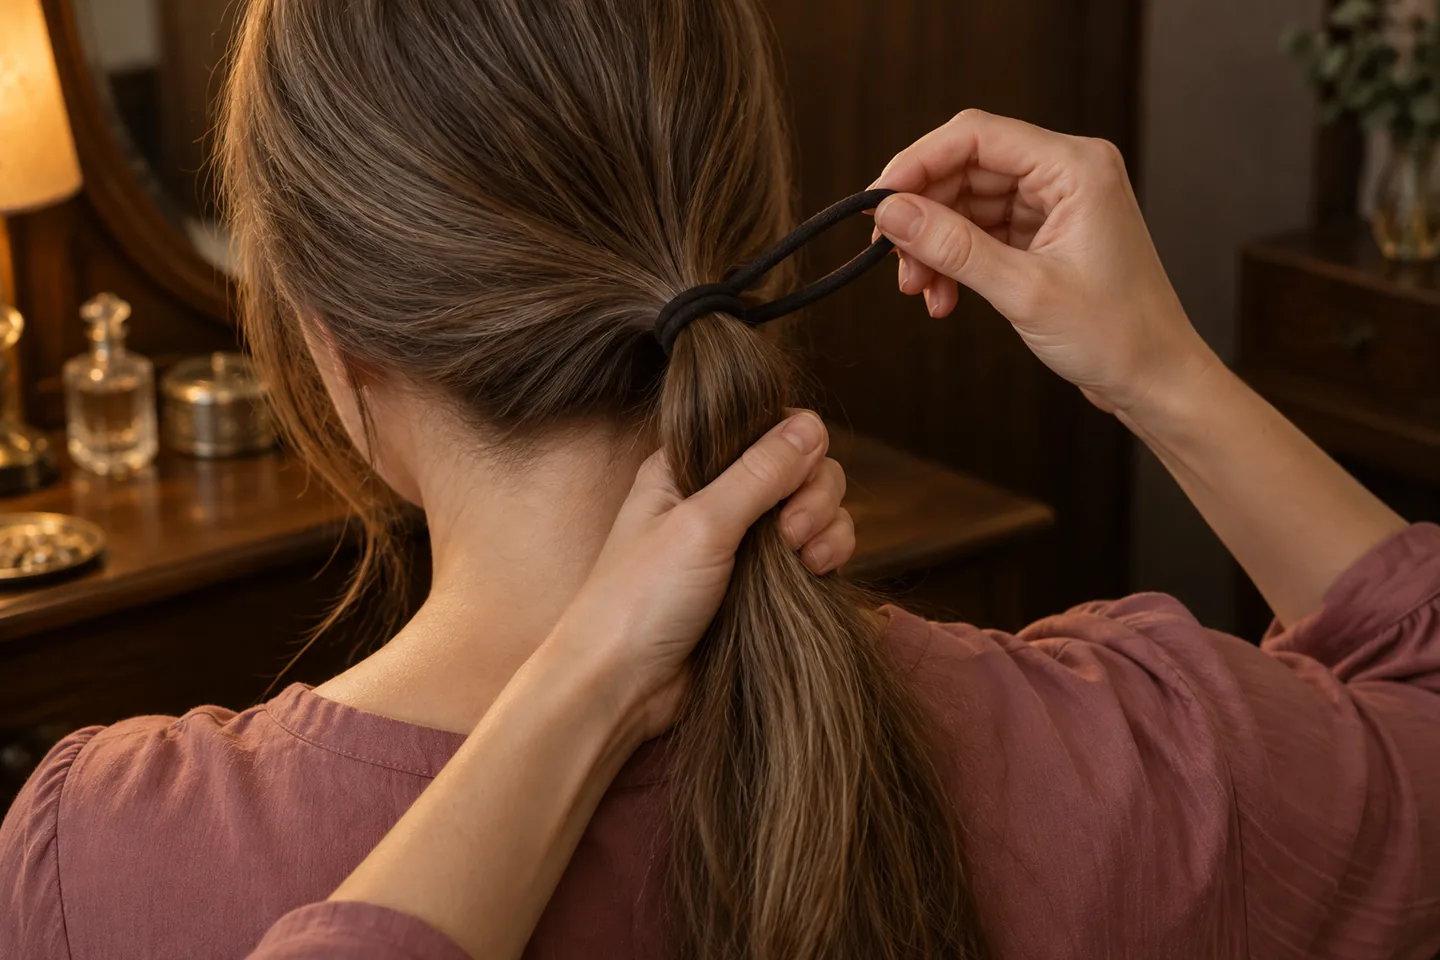
Stop when pulling becomes the problem
Repeated tight pulling can contribute to hair damage and traction-related hair loss. The AAD lists pain, stinging and visible scalp changes among reasons to change a pulling style immediately. Do not disguise these signs with a smoother finish. If breakage, thinning or discomfort persists, seek individual advice from a qualified clinician; many conditions can affect hair, and an article cannot identify the cause. A low tie is not a treatment or a guarantee against damage.
If you later want to compare a different fringe or haircut outline, Hair Muse can be an optional visual planning aid. It cannot test tension, comfort or whether a gathered style will physically hold. For today's ponytail, your real handling and movement checks matter more than a generated picture. Keep the successful routine simple: prepare gently, support the lengths, fasten without a finishing tug and release carefully when you no longer need the style.