
Defined side panels and long hair
Hime cut: how much of the sides would you shorten?
Keeping the back long does not keep every useful strand. Decide the shorter panels, their width and your everyday fallback before the appointment.

A hime cut can preserve a long back while changing the pieces you notice most often. Shorter, clearly separate panels sit beside the face instead of flowing gradually into the rest of the hair. Before choosing the look, ask which strands would leave your usual ponytail, fall forward while you work or need a different morning arrangement. Keeping the longest ends is not the same as keeping the function of every section. That is the practical decision hidden inside an appealing photograph.
This guide focuses on those disconnected side panels, not a ranking of face shapes or a tutorial for cutting them yourself. You will separate endpoint, width and fringe; record your present hair; and turn a useful Hair Muse portrait into questions for a stylist. The preview can clarify a visible preference, but it cannot select a safe section boundary, measure your hair or promise that the short pieces will behave like the image.
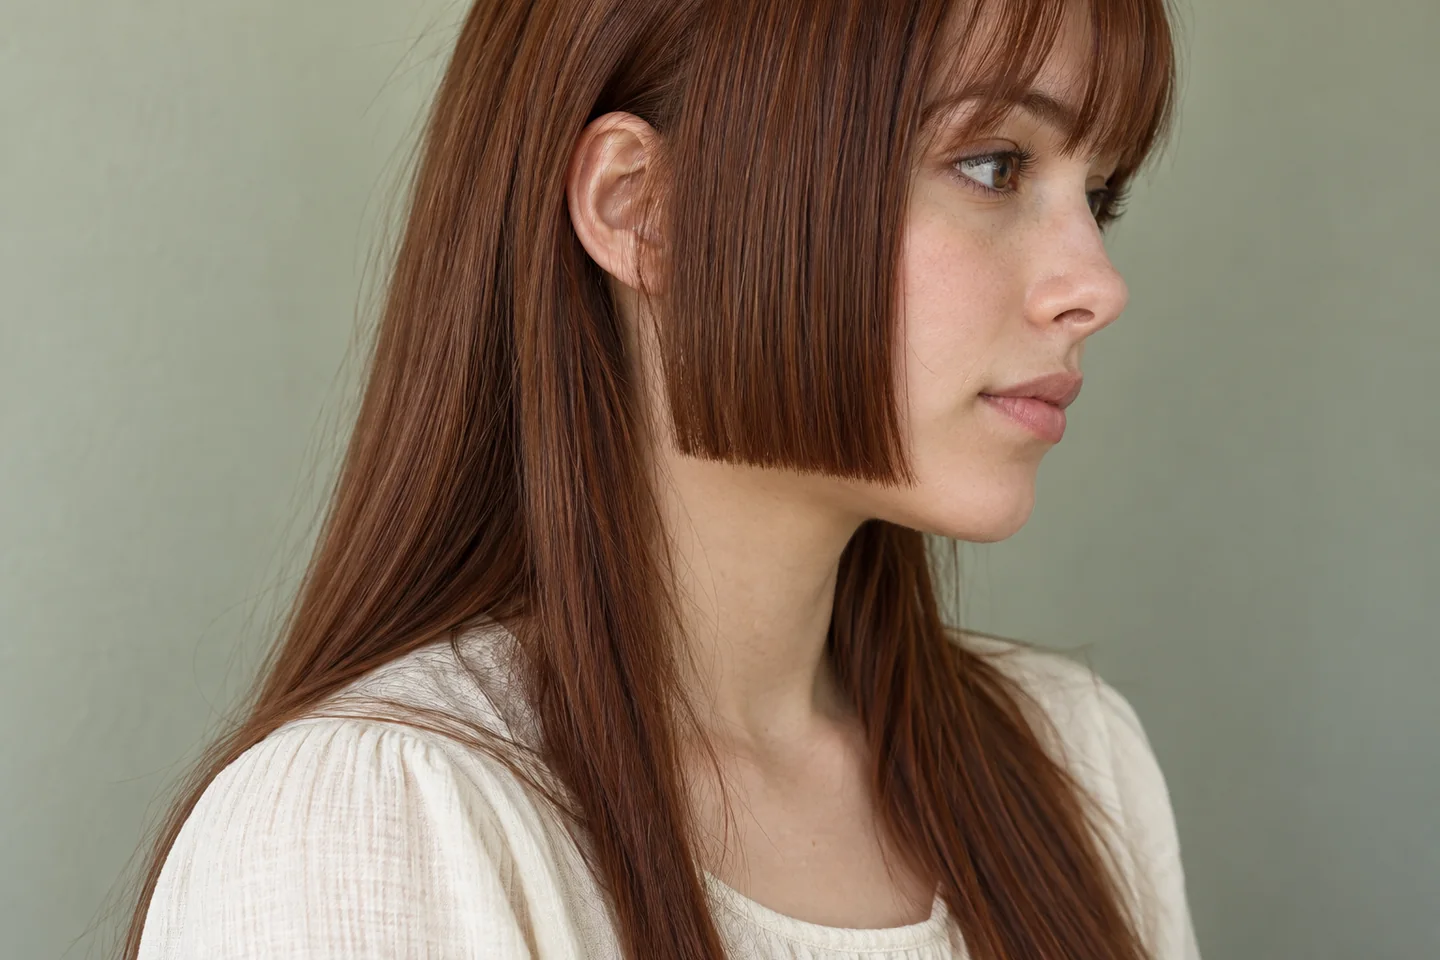
Recognise the hime cut by its separate side panels
For this decision, look for an obvious change between a shorter panel beside the face and the longer hair behind it. The panel has a defined lower edge rather than a continuous slope through every length. The linked French interview with hairstylist Rudy Marmet describes graphic face-framing pieces and personalising their outline. Those are details to discuss, not compulsory measurements. A style name does not establish how wide the panel should be, how much hair belongs in it or whether you want another short section across the forehead.
Compare that distinction with your actual reference. Is the apparent short panel really cut separately, or is long hair tucked away behind an ear? Is the edge visible, or concealed by a hand and a turned head? Save a clear example of the feature you mean. If what you like is a softer diagonal transition, our face-framing guide addresses that different choice. You do not need to request an abrupt step just because an inspiration picture carries the hime label. Keep the construction you want separate from the name attached to it.
Choose the endpoint and width as two different questions
First identify a dry endpoint you would accept near your own cheek or jaw. Use a familiar facial landmark to explain a preference, not to calculate a cut from a screen. A higher endpoint may leave more of the lower face visible; a longer one may sit across it. Neither is automatically more flattering. Notice the opening you personally enjoy when looking forward and when turning. Keep your face visible rather than searching for a rule that says it needs to be narrowed, hidden or corrected by the haircut.
Next ask about the amount of hair involved. A narrow panel and a broad one can end at the same level while making very different commitments. Ask the stylist to show the proposed section on your current hair before cutting, including where it meets the remaining length. Do not copy a reference's section width onto your own head. Hair distribution and existing layers may differ. If the plan removes more useful length than you intended, discuss a narrower panel, a longer endpoint or waiting instead of accepting the whole reference as one indivisible request.
Check what will stop reaching your usual gathering
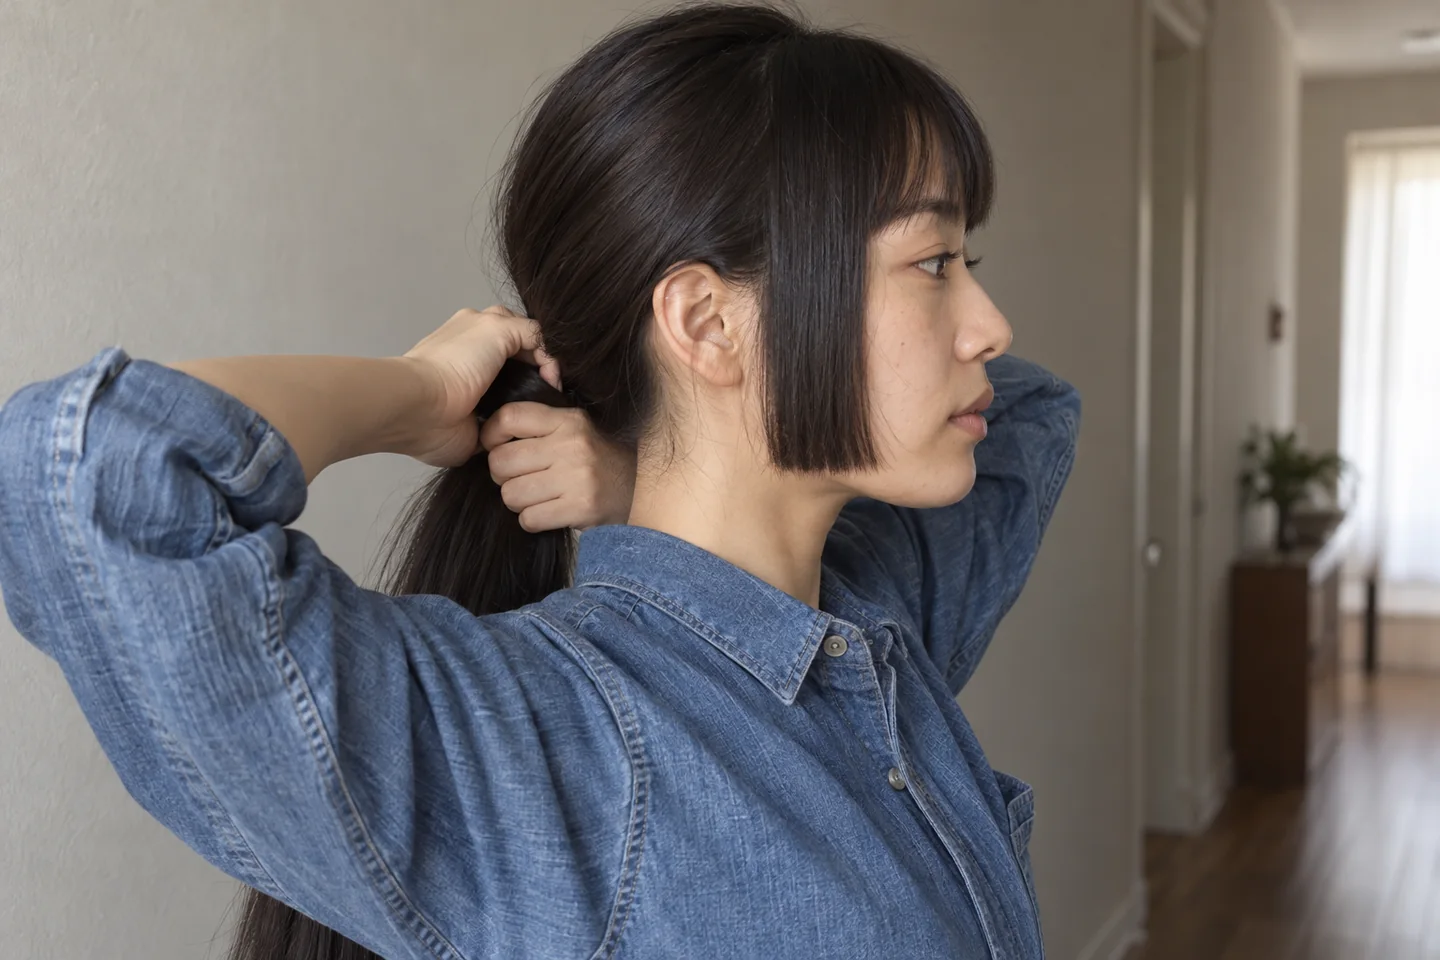
Gather your present hair loosely in the way you normally wear it. Notice which front pieces reach behind the ear or into the fastening, and which already fall free. Do not pull harder to make the test succeed. The purpose is to tell the stylist which sections currently do a useful job, not to imitate a finished cut at home. If you need your face clear while eating, reading or working, explain that requirement before the side panels are separated. A long ponytail at the back cannot answer it for the front.
Decide what an acceptable fallback would look like. You might be content with the panels loose, prefer a gentle clip arrangement or decide that retaining their reach matters more than the graphic edge. Test an accessory only on your current hair; it cannot prove that future shorter pieces will stay secured. Consider glasses and your ordinary head movements without turning this into a promise of perfect hold. Bring one photograph of the current gathering if it explains the concern clearly. It is evidence of today's routine, not proof that an imagined version will work.
Judge the dry outline you intend to wear
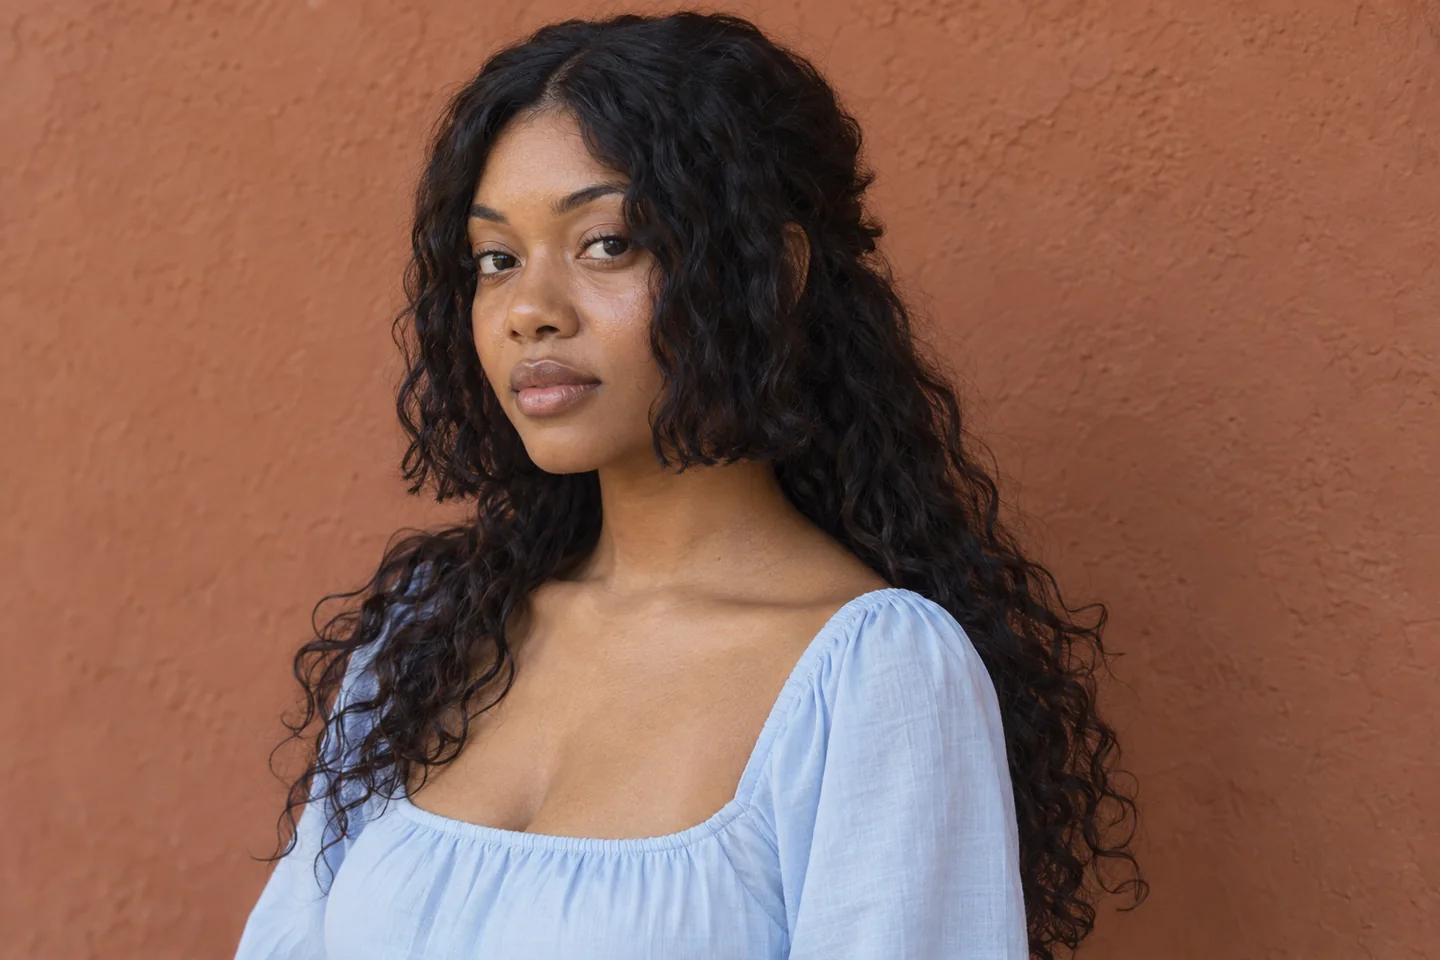
A sharply straight reference shows one finish. If your hair normally dries with waves or curls, preserve that information in the consultation instead of treating it as something to erase first. Record where the front pieces sit when fully dry and relaxed, without stretching them. Ask what the separated panel would look like in that finish. It may read as a group of shorter waves rather than one continuous horizontal line. That is a visual preference to discuss, not a defect or a reason to exclude your texture from the conversation.
Be specific about the routine you will repeat. Would you accept a less geometric outline on ordinary mornings, or is the crisp finish the entire reason you want the cut? If achieving your reference requires styling you do not want to do, change the reference rather than promising yourself a new daily habit. A portrait cannot assess density, condition, growth direction or the exact dry endpoint. Ask the professional to examine those on your actual hair. Do not use extra heat, force or a home cutting experiment to make your hair resemble a digital edge.
Prepare one portrait without hiding the starting point
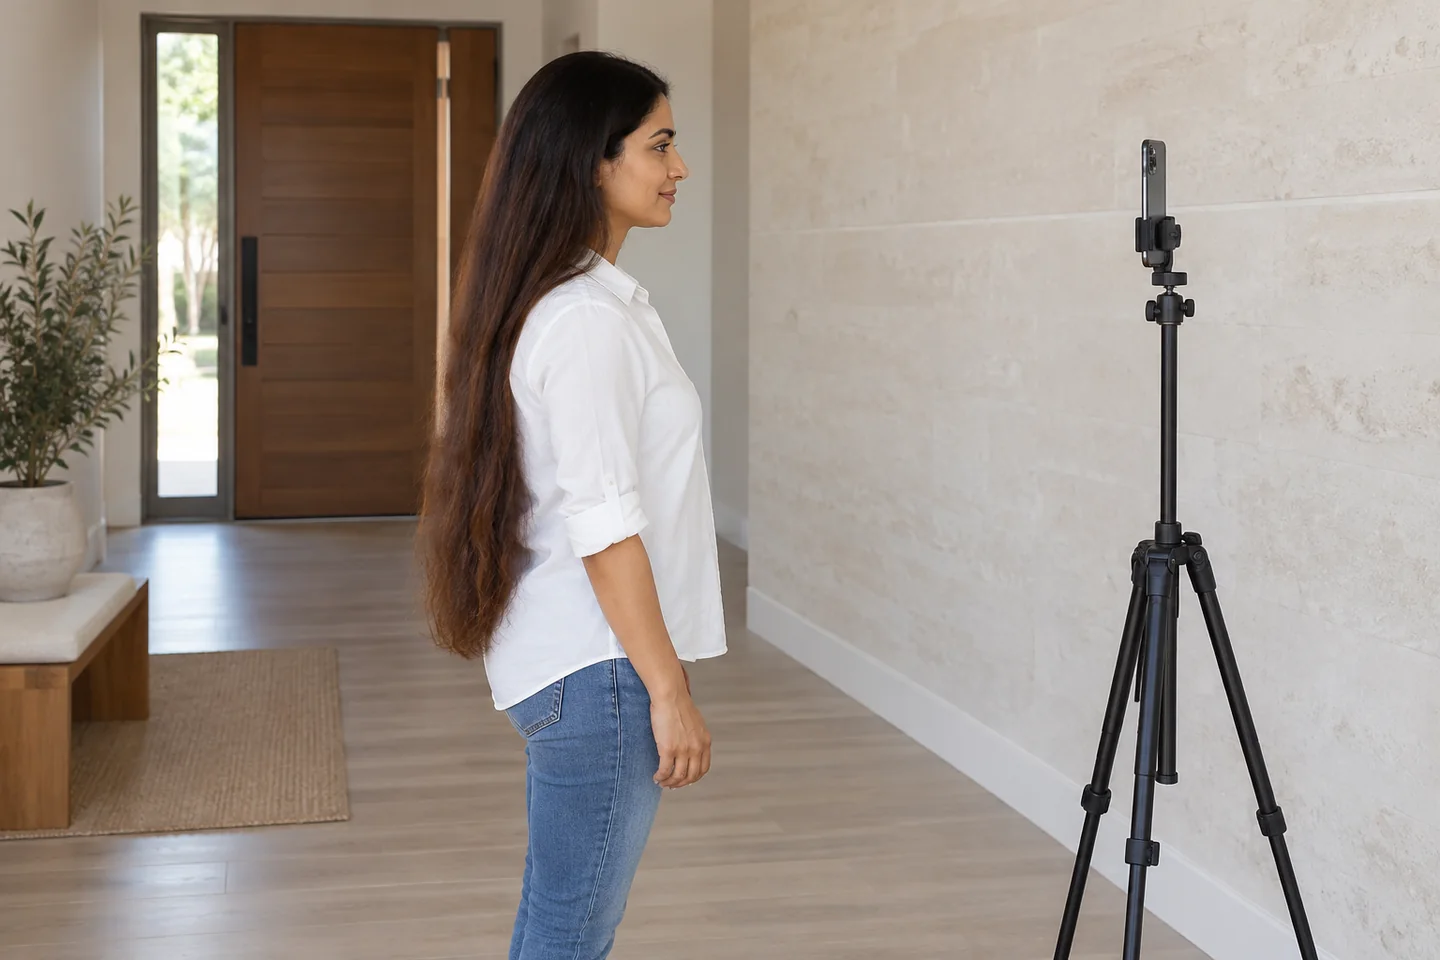
Choose even light and a quiet background. Keep the face, both sides and the visible long hair in frame, with the head upright and the shoulders relaxed. A supported phone and timer can make that easier than reaching out and tilting toward the camera. Apple's camera guide explains the available timer, grid and level tools. Use them for a repeatable composition, not as hair measurements. Do not hide an existing short side, add a smoothing filter or use an old picture simply because its lighting makes the haircut seem easier to imagine.
Keep a genuine side photograph if it shows an existing layer hidden from the front. Explain each image's purpose: the original describes your starting hair, the inspiration illustrates the separation, and a generated portrait explores a preference. Keeping those roles distinct prevents a convincing preview from being mistaken for examined hair. None replaces looking at the actual sections together during the appointment.
Give Hair Muse one visible question to answer
Hair Muse publishes this guide and offers hairstyle previews from a clear portrait. Start with the same original and explore available directions that help you compare a defined front outline with a softer one. Keep colour, general length and the face as consistent as possible. Save only a small selection when the visible result helps explain a preference. Immediately compare each image with the original: reject a result that changes the face, invents hair density or wins mainly because it adds a different colour and a more flattering pose.
There is no promised dedicated hime preset, exact panel-width control or automatic sectioning plan here. If an available result does not show the distinction clearly, keep a genuine reference and write the question in your own notes instead of generating until a vague image looks authoritative. Hair Muse is free to download; some previews or usage levels may require an in-app purchase. Check current access before planning repeated attempts. A useful shortlist says which visible direction you prefer. It does not prove the right amount of hair to cut or how those strands will move.
Ask the stylist to show the commitment before cutting
Bring the original, one clear side-panel inspiration and at most a few useful portrait previews. State which pieces you want to shorten, which long lengths you hope to retain and whether the fringe is a separate decision. Ask the stylist to indicate the proposed panel and endpoint on your real hair. Make sure you both understand whether the edge stays distinctly separate or is softened into neighbouring lengths. Resolve that difference before cutting; a similar-looking front photograph can conceal a substantially different section underneath.
A practical brief might be: a clearly separate but narrow front panel, an endpoint that stays acceptable when dry, the existing back length retained where feasible, and no new forehead fringe unless discussed separately. These are preferences for assessment, not a prescription guaranteed to fit every starting cut. Ask what existing short layers prevent and which compromise would be least disruptive. You can leave with a consultation rather than a haircut if the necessary section is wider or shorter than you are ready to accept. Clarifying the boundary is a successful outcome too.
Decide how the edge can soften between appointments
Discuss what would make a future trim worthwhile: a panel meeting a different facial landmark, an edge no longer matching your preferred finish or the wish to soften the separation. There is no universal interval that follows from the word hime. Our trimming guide helps frame the next visit around useful shape and the condition of your ends. Do not keep removing hair just to recreate a line in yesterday's photograph when your actual priority has changed toward a longer front.
If you later want a gradual frame again, the short panel must gain length or the surrounding shape must change. Keeping the back long does not instantly restore the shortened front. Ask which pieces would be left alone and what temporary arrangement you would accept during that transition. Finish with one clear panel preference, one retained-length boundary and one workable everyday fallback. That is more valuable than a dramatic image that leaves you unable to explain what you have agreed to remove.