
Men's haircut planning
Free haircut simulator for men: plan the fade and outline
Compare fade height, top length, texture, and outline on one consistent photo, then turn the useful parts into a realistic barber brief.

A free haircut simulator for men is most useful when it answers a narrow decision, not when it produces a gallery of unrelated makeovers. A fade can begin low, midway up the head, or high near the temple. The top can stay compact, move forward as a crop, separate into curls, or carry enough length for a side part. Those variables change the outline in different ways, yet they are often bundled together in one reference image. Separate them and the preview becomes easier to judge.
This guide uses Hair Muse as a visual planning aid. Hair Muse is free to download, while some previews or usage levels may require an in-app purchase. A generated image cannot measure density, inspect a cowlick, decide a clipper guard, or promise that a barber can reproduce every pixel. It can help you compare directions on your own face, save a short list, and arrive with clearer questions. The final cut should still be adapted after a professional sees how your hair grows, feels, and moves.
What a free haircut simulator for men can help you decide
Start with visible choices: where the short area begins, how much contrast sits between sides and top, whether the front moves up or forward, and whether the outer shape feels narrow, balanced, or intentionally wide. These are useful comparison questions because you can point to them. A statement such as “I like the lower transition and the softer front” gives a barber more information than “make me look like this person.” It also leaves room for technique to change without losing your goal.
Do not ask the preview to diagnose a receding hairline, scalp condition, or hair loss, and do not treat face-shape rules as a verdict. Camera distance, lens distortion, light, facial hair, and posture can change the impression of proportion. Use the image to notice preferences, then check those preferences against real density, growth direction, maintenance, work requirements, and comfort. If your concern is sudden shedding, irritation, or scalp pain, separate that health question from the haircut decision and consult an appropriate professional.
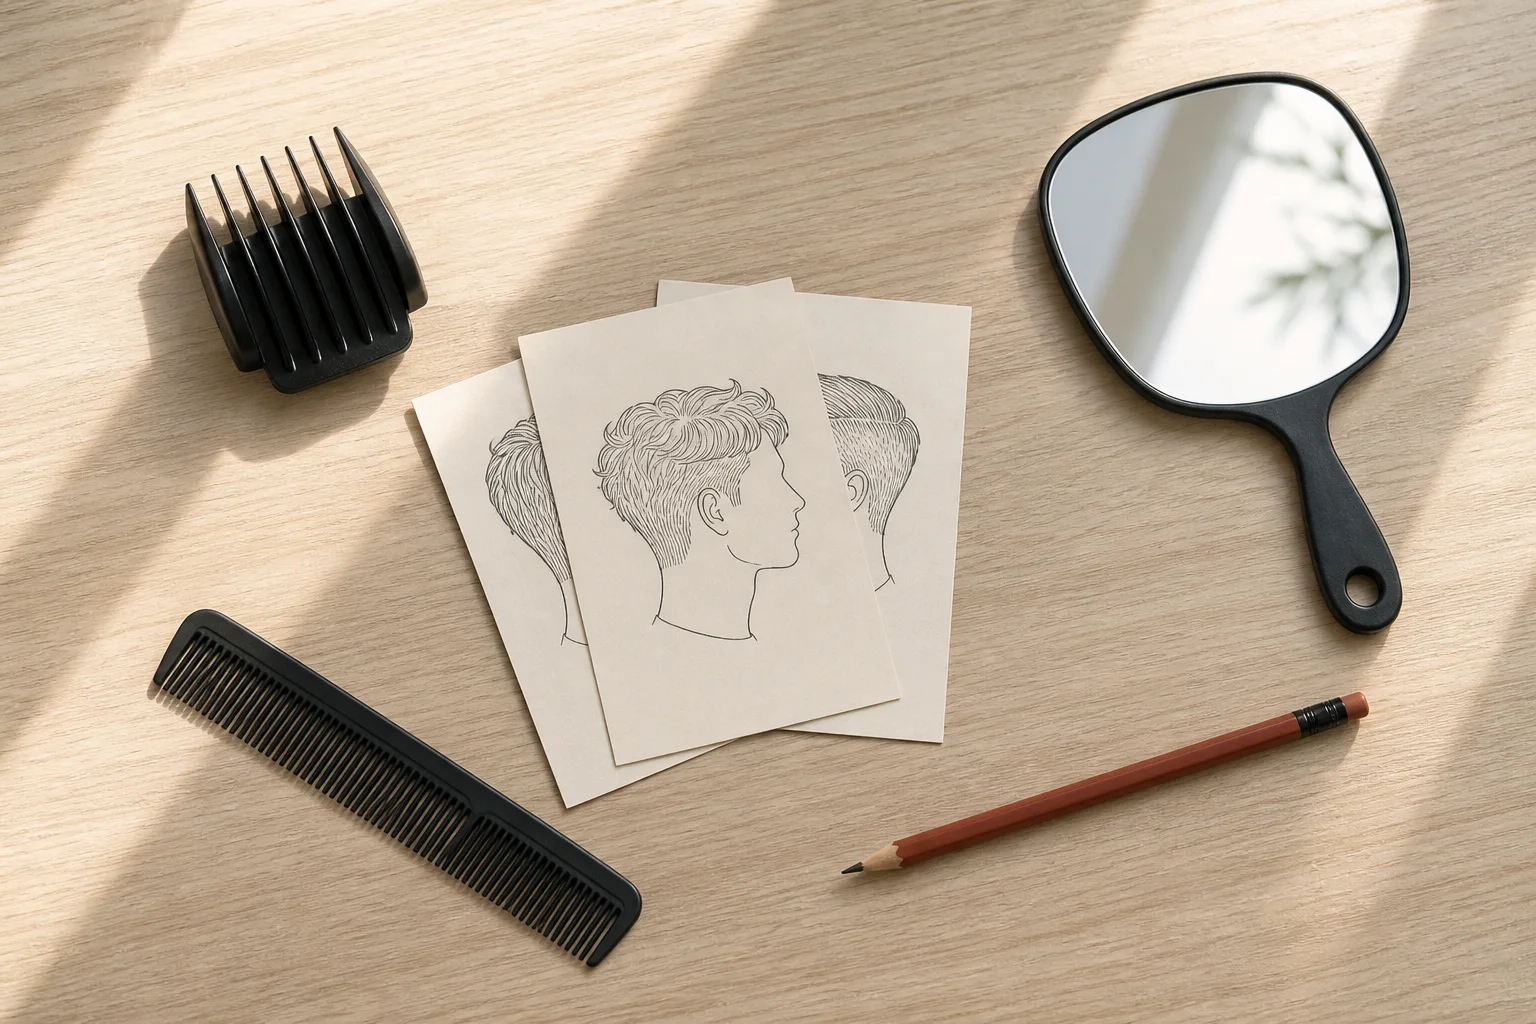
Use one neutral photo and keep the variables stable
Take a front-facing photo in even daylight with the whole head, hairline, ears, and upper shoulders visible. Keep the camera near eye level and step back enough to avoid the stretched center and compressed sides produced by a very close lens. Remove hats and large headphones. If facial hair is part of your everyday look, keep it consistent across the comparison. A plain background and an ordinary expression make changes around the temple, crown, and jaw easier to read.
Use the same source image for the first set of previews. Changing the photo, light, head angle, beard, and haircut at the same time destroys the baseline. Save a familiar option first, then one controlled variation on either side of it. If you need a better input, follow the detailed Hair Muse photo checklist and restart the set rather than mixing old and new conditions. Consistency matters more than producing a flawless portrait because the goal is a fair comparison.
Compare fade height before changing the top
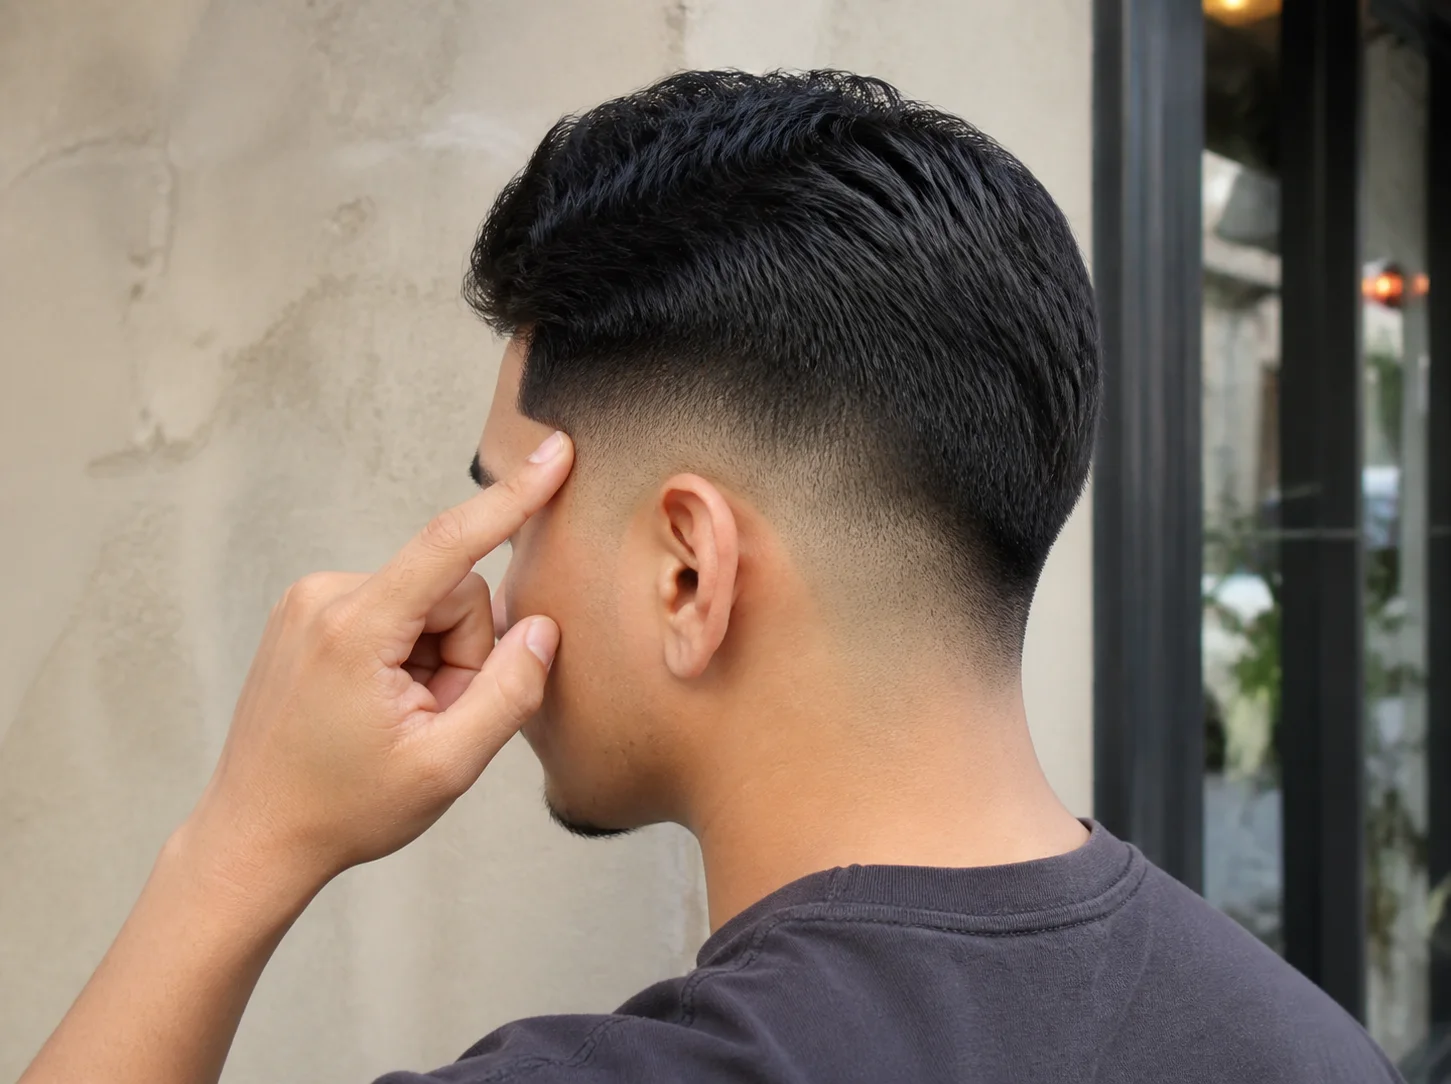
Fade height changes the negative space around the temple and the apparent weight above it. A low transition keeps more darkness around the side and can feel softer as it grows. A mid transition exposes more of the side shape and creates clearer separation. A high transition can make the top appear taller or more isolated. None is universally more flattering. The useful question is how much side weight you want to keep and where you want the eye to move.
Compare low, mid, and high directions while keeping the top length, front, color, and facial hair as stable as possible. Look at the temple, the curve above the ear, and the connection into the back rather than only the front of the face. Generated images may invent an unusually perfect gradient or change skull contour, so treat the exact blend as illustrative. Ask the barber where a similar transition can sit on your actual head and how it will look after one, two, and three weeks of growth.
Choose top length by movement, not by a still pose
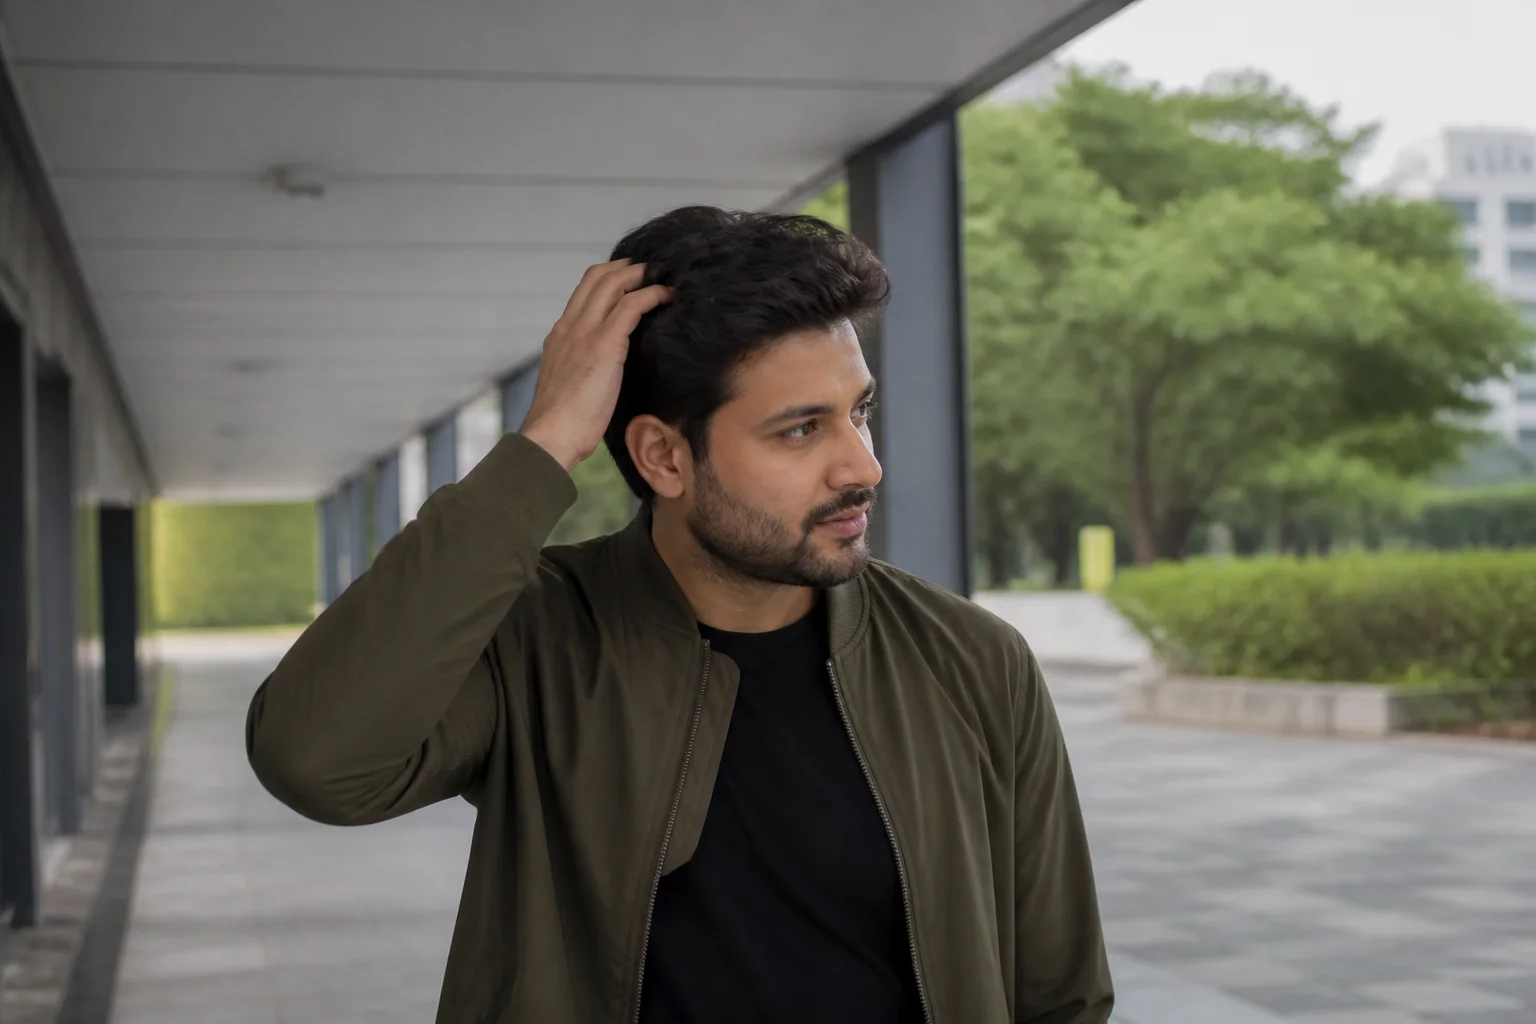
The top determines whether the haircut can lie flat, lift, separate, curl, sweep, or move forward. A reference may show a textured crop after deliberate styling, while your goal may be a shape that survives a commute with minimal product. Think in ranges: enough length to reveal natural wave, short enough to avoid falling into the eyes, or long enough to redirect a cowlick. Ask what the hair must do after you stop posing for the photo.
Create a sequence with one compact top, one moderate top, and one slightly longer version while holding fade height steady. Compare the front edge, crown balance, and side silhouette. Do not interpret extra digital volume as evidence that real density will increase. A preview rearranges appearance; it does not create follicles, change strand diameter, or predict how humidity affects your texture. If thinning or breakage influences the choice, discuss it honestly rather than asking the image to conceal the underlying question.
Keep the fade fixed while testing top length. If both change together, you will not know which choice created the better outline.
Check the front, profile, crown, and neckline as one haircut
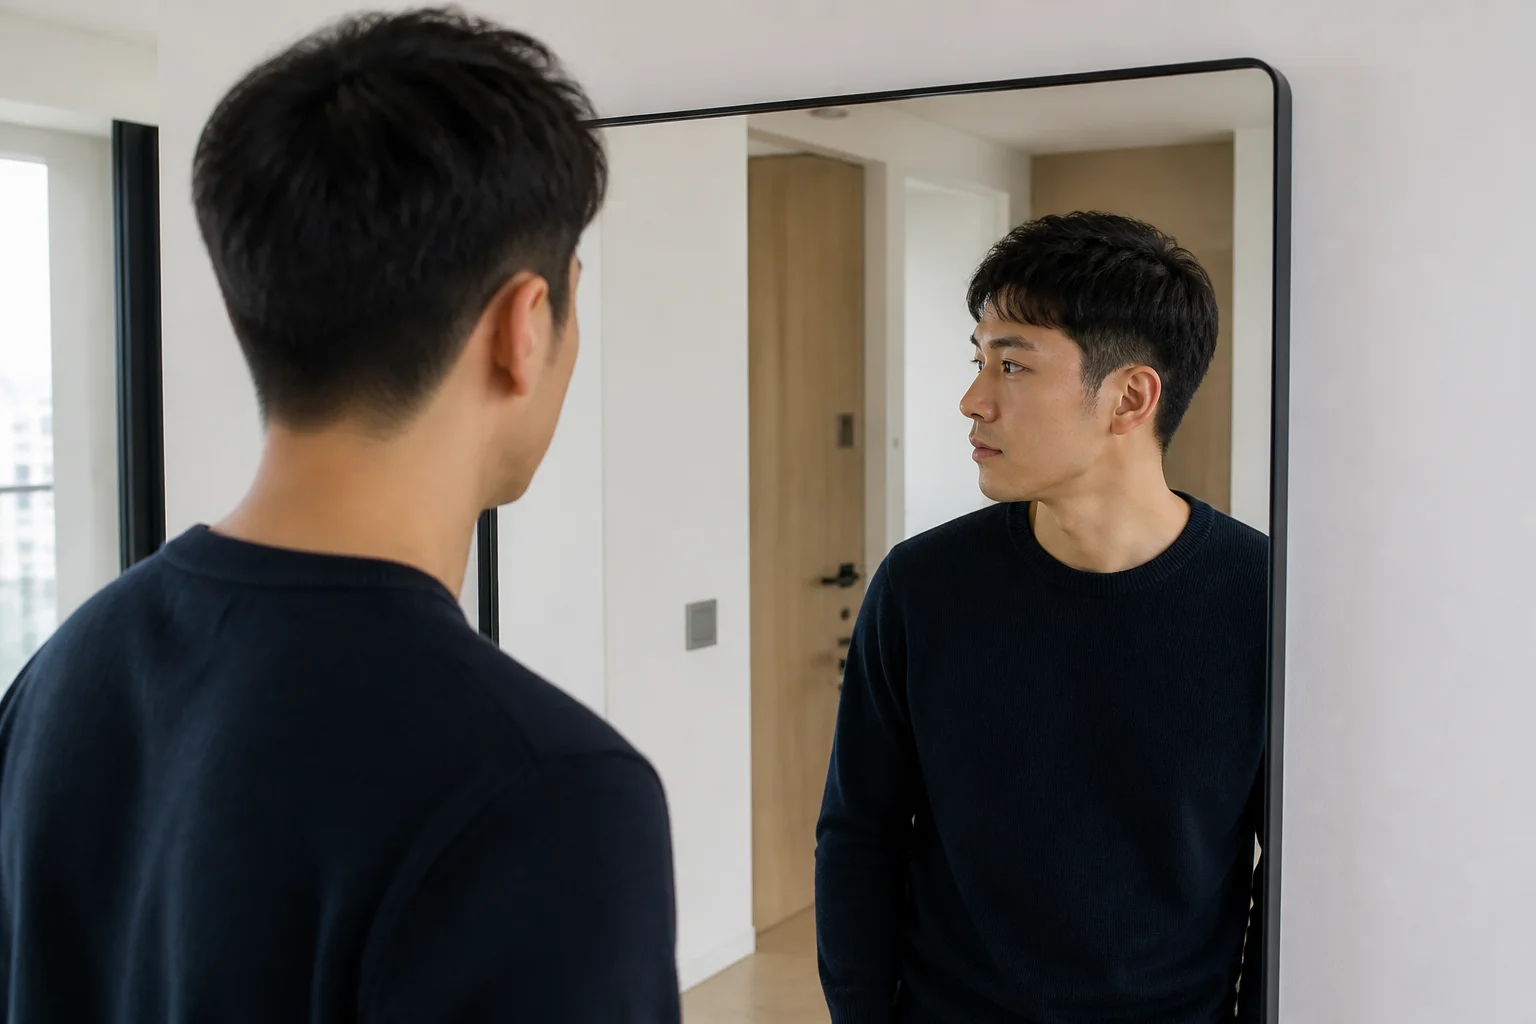
A cut that works from the front can feel very different in profile. A high top may look balanced head-on but too tall from the side; a strong fringe may frame the forehead yet create a heavy ledge above the temple. Review the front first, then turn the decision into questions about side projection, crown shape, and neckline. If the app creates only one view, do not imagine that unseen angles automatically match it. Save the useful front idea and mark the missing views for the consultation.
Use consistent front and side reference photos when possible, but keep them as related evidence rather than a mathematically exact model. The Hair Muse angle-comparison guide explains how camera height and posture change perceived length and balance. At the appointment, let the barber inspect the crown, occipital curve, neckline, scars, moles, growth patterns, and any areas you prefer not to expose. Those physical details can require a lower transition, more connection, or a different finish than the preview suggests.
Test the maintenance cost of the shape
A sharp fade and lineup can change visibly as soon as short hairs grow beyond the clean edge. A softer taper may remain acceptable longer, while a textured top can either become easier or lose control depending on growth direction. Estimate maintenance in real terms: appointment frequency, home cleanup you are comfortable performing, washing and drying time, product amount, and whether the cut still works on day two. Choose the version whose ordinary week makes sense, not only the freshest render.
Hair health and styling habits also belong in the plan. The American Academy of Dermatology recommends choosing care for your hair type, handling wet hair gently, and limiting excessive heat. Those principles do not select a fade, but they help you challenge a preview that appears to require daily high heat or aggressive reshaping. Ask for a realistic demonstration of drying direction and product amount, then decide whether that routine fits your hair, scalp comfort, schedule, and budget.
Run a focused Hair Muse comparison
Open Hair Muse with the neutral photo and begin from your written constraints. Save one familiar baseline. Next, change only fade height while leaving the top direction similar. Choose the height that best matches your comfort and grow-out preference. Then keep that height and compare two top lengths or textures. Finish with no more than three saved directions: the preferred option, a slightly safer variation, and one alternative that solves the same practical need in a different way.
Name what you like in each image instead of treating the generated result as a final instruction. For example: low transition, visible natural curl, front kept above the brow, no disconnected shelf, and enough top to move without heat. Hair Muse helps make these differences visible, but it cannot guarantee exact hair behavior, barber feasibility, or the final result. Some previews or usage levels may require an in-app purchase. The value comes from a clearer decision process, not from generating the largest possible gallery.
Turn three images into a barber-ready brief
Bring the source photo and the small shortlist, then explain which details repeat across them. State the desired fade zone, contrast level, top movement, front boundary, neckline preference, and maintenance interval. Also state what you do not want, such as exposed scalp above the temple, a hard disconnection, or a fringe that needs daily heat. Ask the barber to assess density, growth patterns, head shape, hairline, and how the cut will evolve before choosing exact lengths or tools.
Use the Hair Muse salon guide to structure the conversation, but let the professional revise the plan after examining your hair. Agree on the first irreversible step, especially when moving from long sides to a high fade or from a longer top to a buzz cut. If uncertain, preserving a little more length leaves room to refine. Take a simple photo of the finished cut under neutral light and add practical notes after the first wash. That evidence makes the next appointment more precise than another round of trend images.