
Fringe comparison
Try bangs free: curtain, wispy, or full fringe?
Compare three fringe directions on one clear portrait, test the everyday tradeoffs, and take a focused shortlist to your stylist.

A fringe changes the area people notice first, but the decision is not simply bangs or no bangs. Curtain pieces open through the center, a wispy fringe leaves more forehead visible, and a fuller fringe creates a stronger horizontal line. Each direction also changes eye clearance, styling time, grow-out, and how the front behaves with glasses or wind.
Hair Muse is free to download and can help you compare these broad visual directions on the same portrait; some previews or usage levels may require an in-app purchase. Treat every preview as a planning aid, not a promise of density, movement, growth pattern, or salon feasibility.
Define the three fringe directions
Start with three genuinely comparable options. Use a center-opening curtain fringe, a light wispy fringe, and a fuller fringe with a clear line. Keep overall length, hair color, part outside the fringe, and broad texture direction stable so the front shape is the main change.
Label the options by visible structure rather than trend names alone. Note where the shortest point lands, how much forehead remains visible, and whether the sides connect near the cheekbone, temple, or jaw. Those details make the comparison useful in a salon conversation.
Compare one front-hair decision, not three unrelated finished hairstyles.
Use one clear source photo
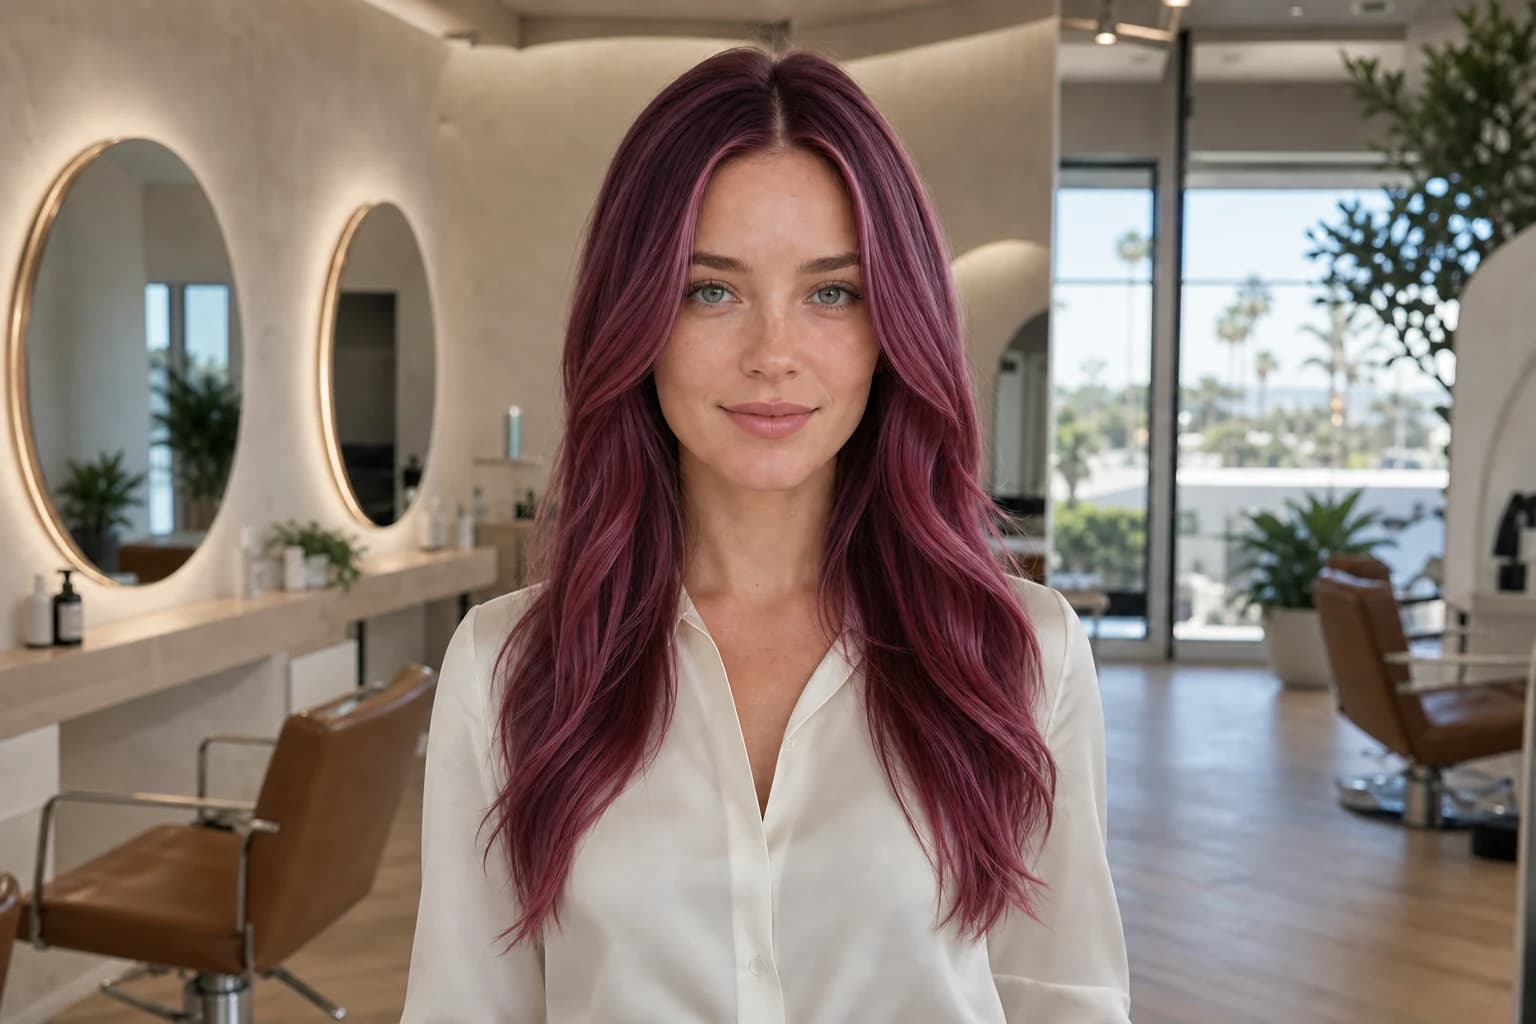
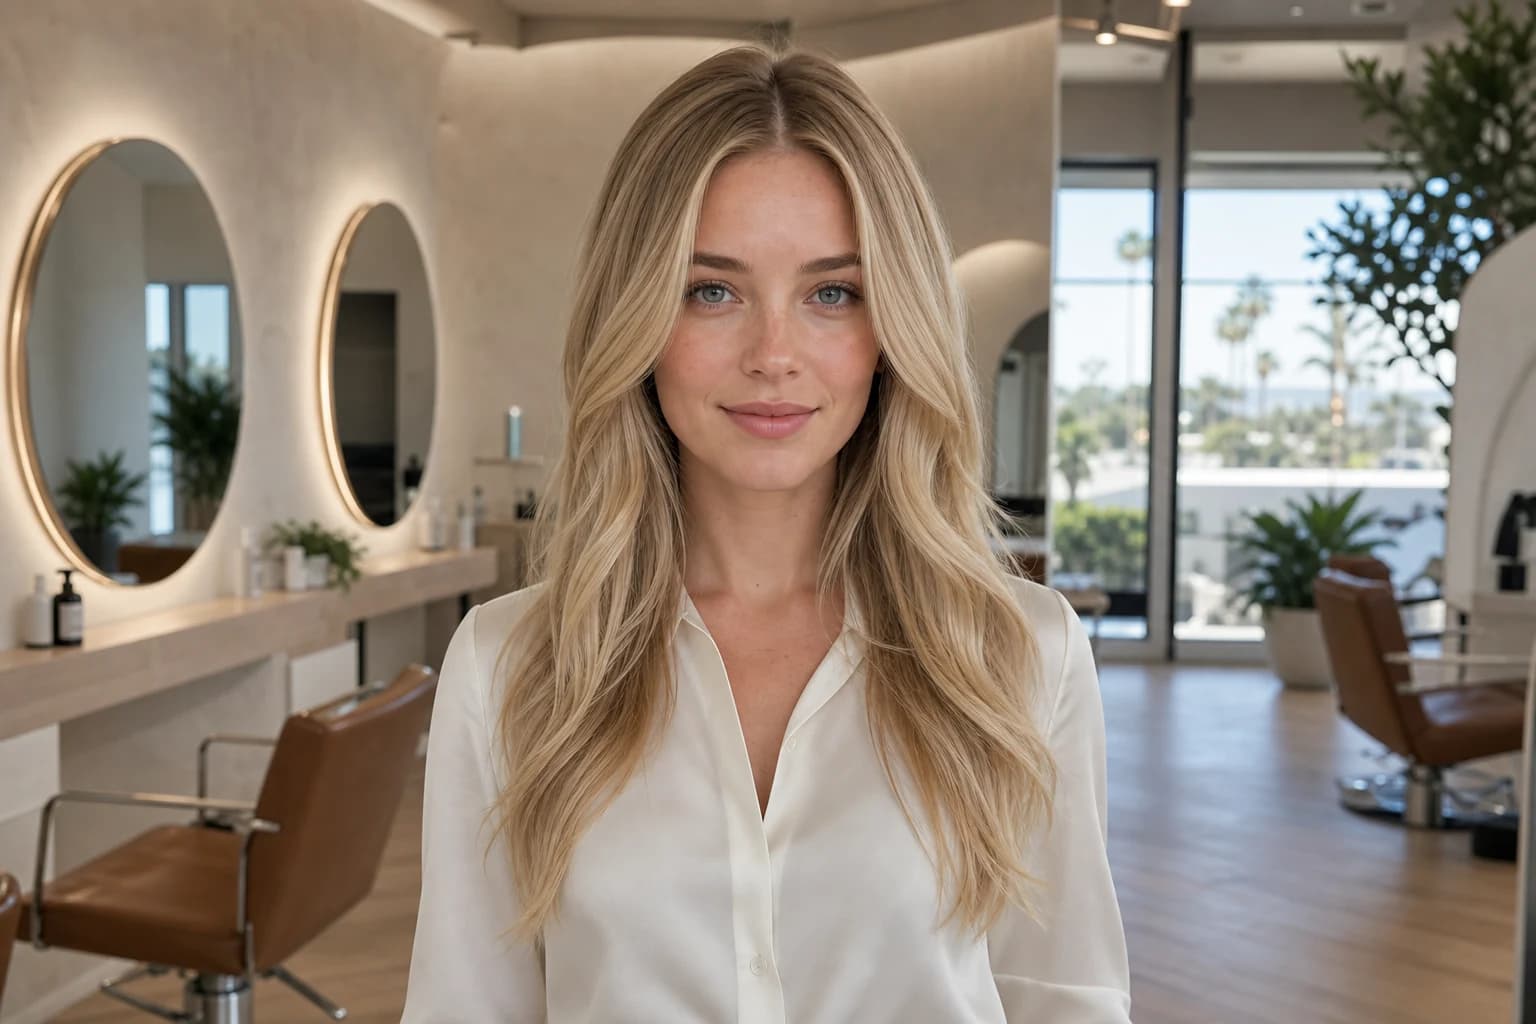
Choose a centered portrait in soft, even light with the full head, hairline, face outline, and shoulders visible. Keep hands, hats, filters, and heavy portrait blur away from the hairline. Use the same image for every preview and keep the untouched original beside the results.
- Face the camera at eye level
- Show the full forehead and both temples
- Keep one neutral expression and crop
- Compare every option with the same hair color
Compare shape before density
First decide whether you prefer an open center, a soft broken line, or a stronger continuous line. Then compare how light or full that chosen shape should look. Changing shape and density together makes it hard to tell which feature produced the preference.
Review the images at full size for the hairline and as small thumbnails for the overall silhouette. Remove any result that wins only because the skin, lighting, expression, or hair finish changed. Generated strands may look tidier or more even than real hair, so judge the broad direction rather than individual fibers.
Test the fringe against your routine
Use your current front section to test eye clearance, glasses, headphones, exercise, skin care, and the way you normally sleep. Think about whether you will blow-dry the fringe after washing, refresh it on non-wash days, or accept a softer air-dried result. A static preview cannot perform these tests.
- Does the shortest area stay out of your eyes?
- Can the sides tuck back when needed?
- Will you repeat the styling shown in the reference?
- How will humidity, oil, cowlicks, or shrinkage affect the front?
Build a two-option salon brief
Save two finalists and write one reason and one concern for each. For example: the wispy option keeps the forehead open but may separate quickly; the curtain option grows out softly but needs enough length to open away from the eyes. Add one real haircut reference showing the fringe from more than one angle.
Ask a qualified stylist how density, hairline, growth direction, texture, condition, and current length affect the plan. Discuss the shortest safe point, how wide the fringe section should be, how it connects to the sides, and the longer fallback you would accept.
Know what the preview cannot settle
A preview cannot determine how many strands should be cut into the fringe, predict a cowlick, guarantee that a center opening will hold, or show exact behavior after washing. It also cannot assess whether previously lightened or fragile hair should take a particular construction. Those decisions require the real hair and professional judgment.
After the cut, judge the fringe through several ordinary days rather than only in salon styling. Note how it settles after washing, in weather, with glasses, and during grow-out. That evidence is more useful for the next adjustment than trying to reproduce every pixel of a generated image.