
AI hairstyle planning
Free AI hairstyle try on: compare haircut volume placement
Compare whether a cut carries its visual fullness at the crown, cheeks, jaw, or ends—then turn that preference into a realistic salon conversation.
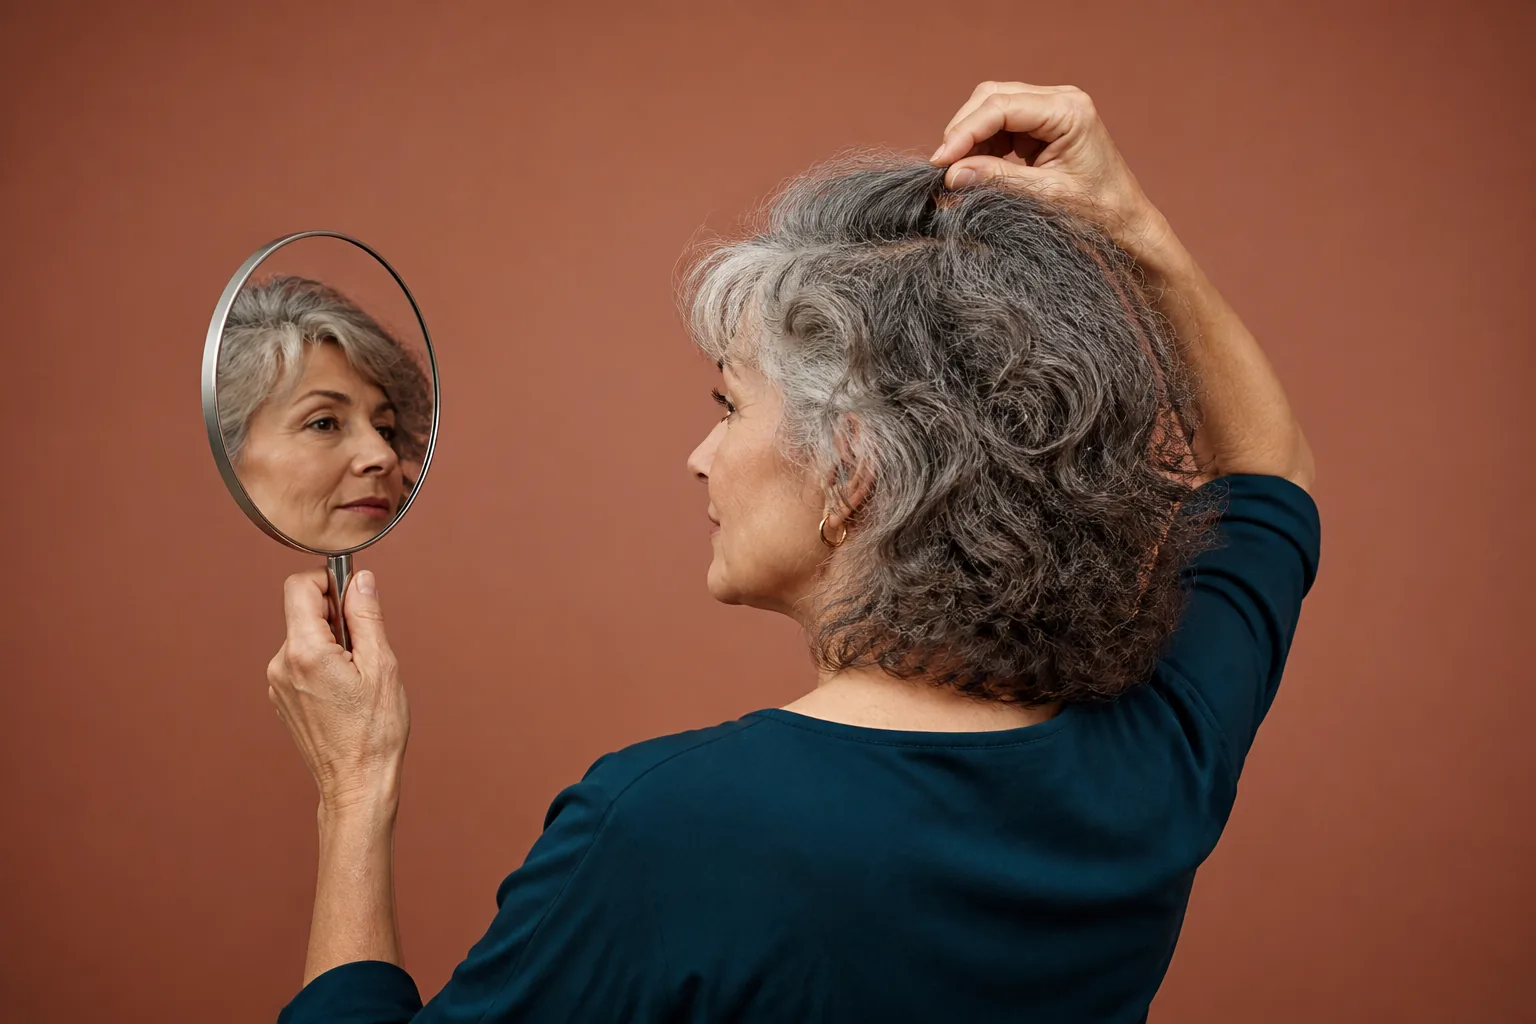
Two haircuts can have almost the same length and still frame you very differently. One keeps visual fullness near the crown, another expands around the cheeks, and another saves most of its weight for the jaw or perimeter. That distribution influences the silhouette you notice in the mirror, how the cut relates to glasses and clothing, and which parts may need styling attention. It is more useful to name that placement than to ask vaguely for ‘more volume’ or ‘less bulk.’
Hair Muse is free to download, although some previews or usage levels may require an in-app purchase. This guide uses it as a visual planning aid: start with one clear photo, compare one meaningful variable at a time, save a small shortlist, and bring it to a qualified stylist. A generated image cannot measure density, assess hair condition, predict shrinkage or movement, choose a cutting technique, or guarantee that your hair will hold the displayed shape.
Map the silhouette before you name a haircut
Stand in front of a plain background with your hair worn in its ordinary dry state. Look at the outline from the front, both profiles, and the back. Instead of judging whether it looks good, trace where it moves farthest away from the head. The widest point might sit at the temples, cheekbones, jaw, shoulders, or lower ends. Then notice whether the crown reads flat, rounded, lifted, or deliberately close.
Write the observation in neutral language: ‘fullest beside the cheeks,’ ‘weight gathers below the jaw,’ or ‘height at the crown with narrower sides.’ This is a map, not a flaw list. Texture, density, length, layering, styling, humidity, and growth patterns all contribute to the outline. The purpose is to identify the visible relationship you want to explore, not to diagnose why every strand behaves as it does.
- Crown: close, rounded, or visibly lifted
- Sides: widest near the temples, cheeks, or jaw
- Perimeter: compact, tapered, airy, or weighty
- Back: balanced with the front or carrying most of the fullness
Translate ‘volume’ into one visible decision
People use volume to mean root lift, overall size, curl expansion, a dense edge, movement through layers, or simply less flatness around the face. Those goals can require different constructions and routines. Pick one relationship for the first comparison. You might test a higher versus lower widest point, a fuller crown versus fuller ends, or a compact perimeter versus a softer layered outline.
Also name what should stay stable. If you are deciding where fullness sits, keep the approximate length, color, part, and fringe direction consistent. If the real concern is whether the jaw feels framed or hidden, do not simultaneously compare a bob, a long shag, and a dramatic color change. A narrow question makes your reaction more informative and gives the salon a preference that can be discussed without treating a generated result as a technical plan.
Replace ‘I want more volume’ with a relationship: more height at the crown, more width beside the cheeks, or more weight at the ends.
Choose a source photo that preserves your baseline
Use a sharp, front-facing portrait in even light with the full head, hairline, shoulders, and current outer shape visible. Wear your normal part and avoid portrait blur, filters, very wide-angle distortion, or a pose that hides one side. If your hair is usually curly, wavy, straightened, tucked, or air-dried, begin with the version most relevant to the cut you would actually wear.
Keep that same photo throughout the first comparison. Changing the camera angle, facial expression, crop, or lighting can change the apparent balance even when the hairstyle is similar. Take separate real photos from the side and back for the consultation, but do not mistake them for interchangeable preview inputs. Consistency lets you judge the broad front-facing silhouette; the other views remind everyone that the eventual haircut exists around the whole head.
Run a controlled three-option comparison
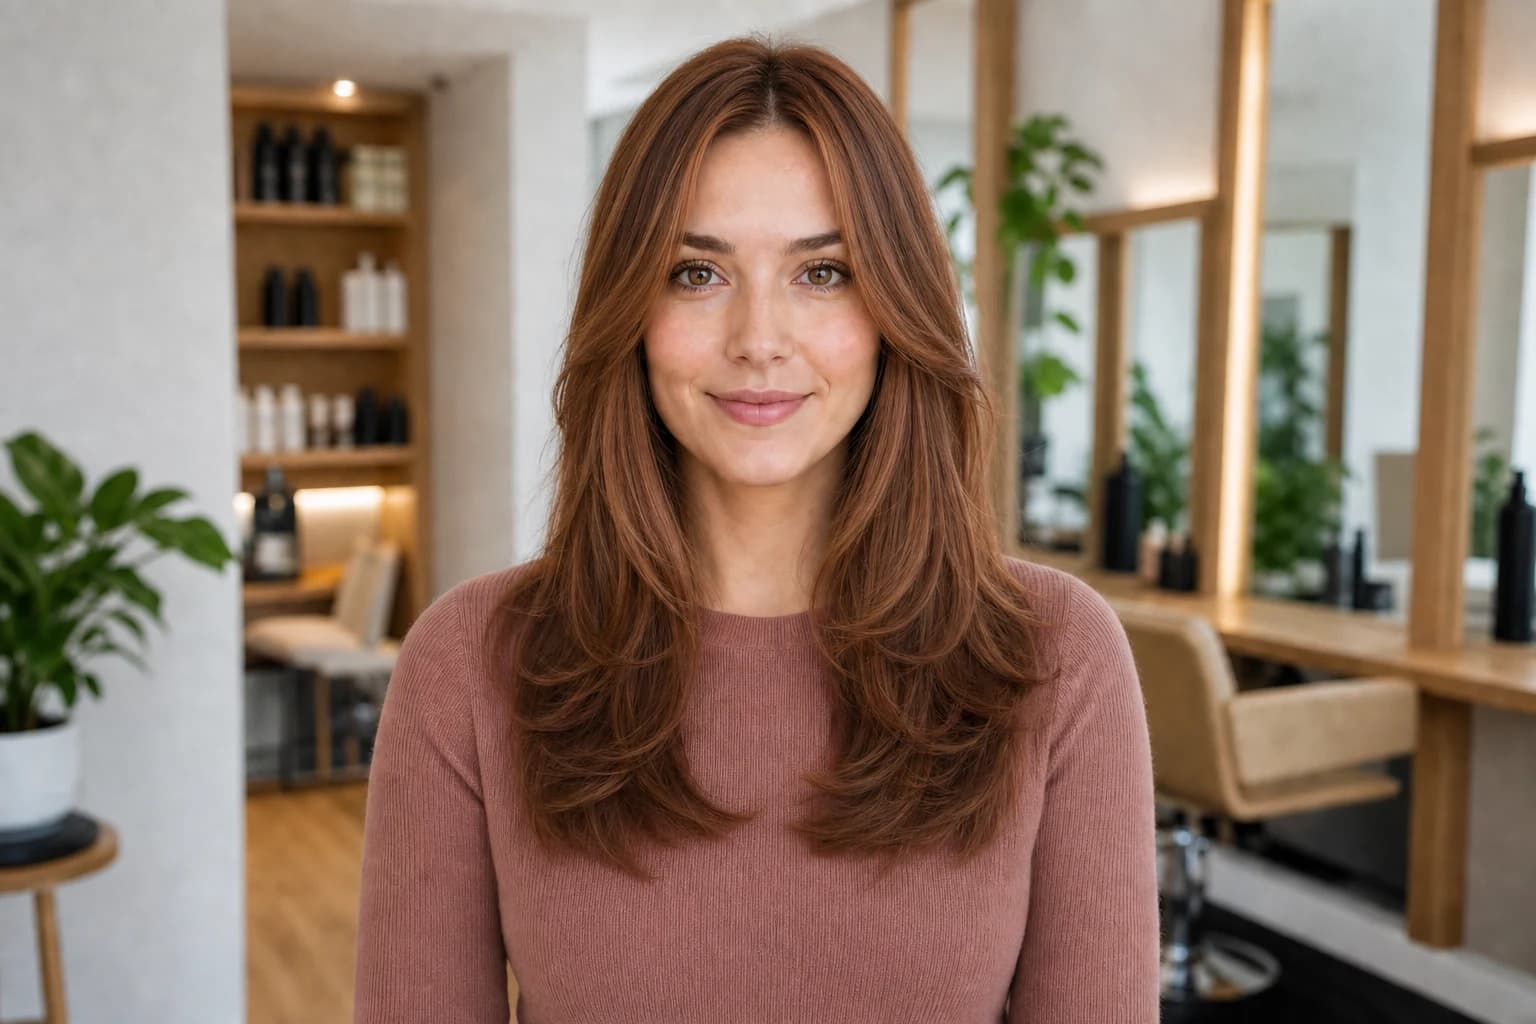
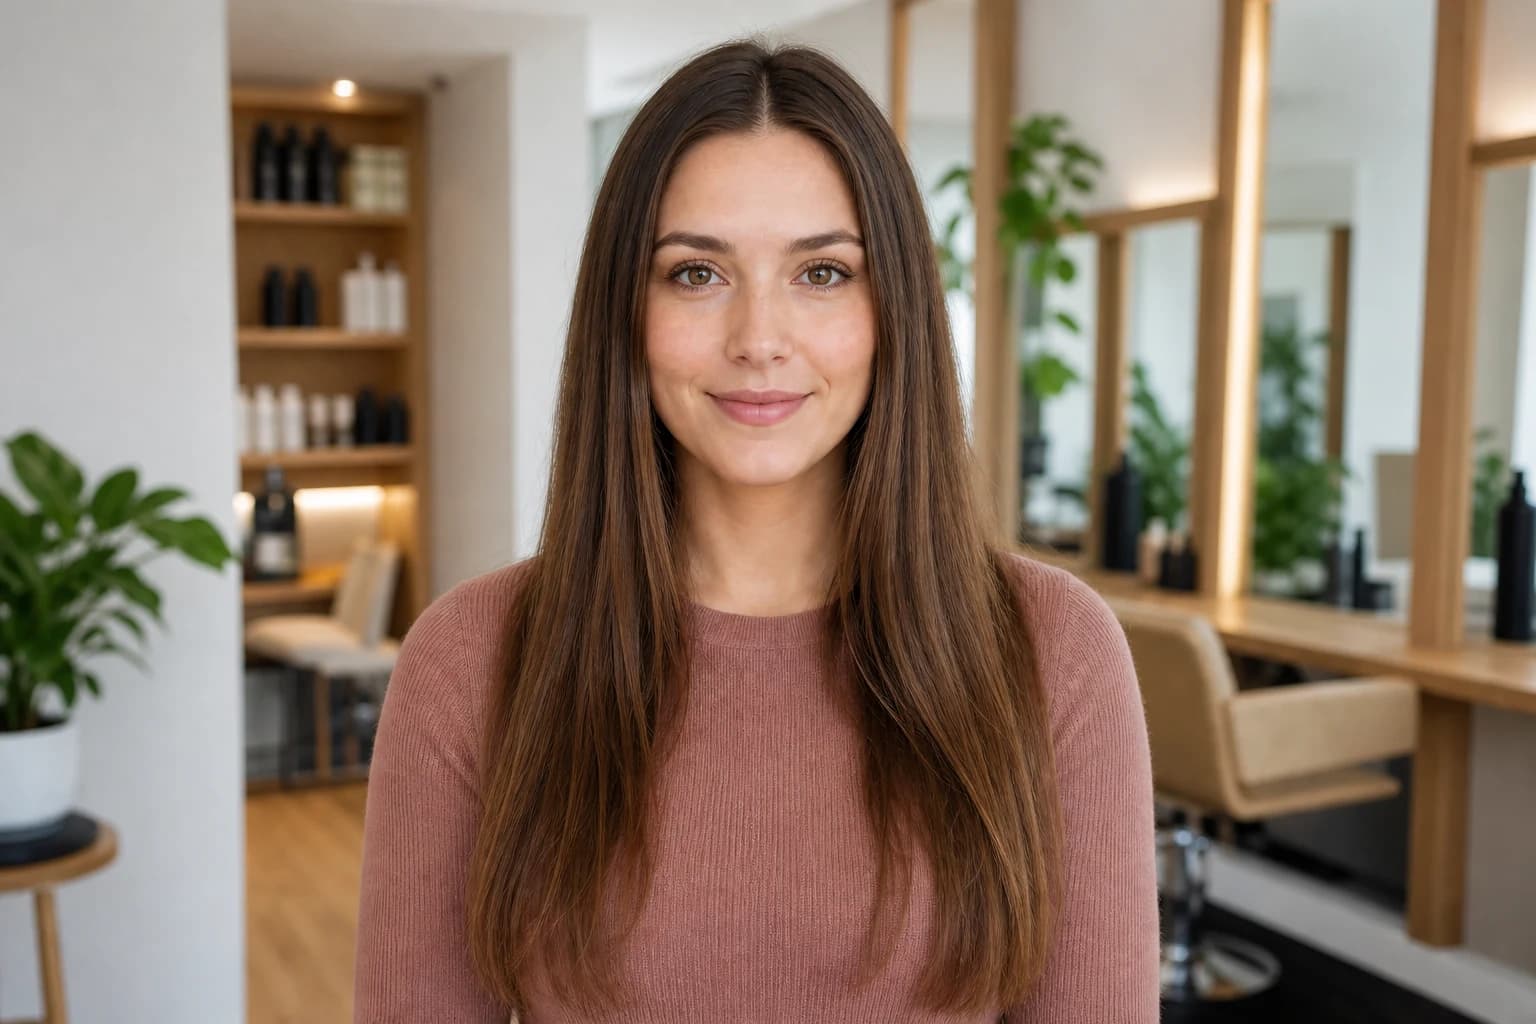
Create no more than three useful directions in Hair Muse. Option one can keep fullness higher, option two can place it around the middle of the face or jaw, and option three can concentrate weight lower in the perimeter. The exact choices should match your length and goal. Keep the source photo fixed and resist adding an unrelated fringe, color, or texture change merely because an image looks striking.
Review the options first at thumbnail size, where the outline is easier to see, and then closer for obvious distortions. Remove any result that changes your face, hairline, head shape, apparent density, or texture so strongly that it no longer answers the question. Generated previews may invent lift, smooth asymmetry, reorganize curls, or show physically unlikely layer behavior. A useful preview only needs to express a direction clearly enough to discuss.
Compare the silhouette, not the simulated strand pattern. The image proposes a visual direction; it does not predict hair mechanics.
Check the choice against your real routine
For each remaining option, ask what might be creating the visible fullness. Does the look appear to depend on lifted roots, a round-brush finish, separated curls, a tucked side, or ends bent away from the neck? You do not need to reverse-engineer the cut. You do need to notice when the part you like may be styling rather than shape, because that changes the question you bring to the stylist.
Set an honest limit for time, tools, and products. A silhouette that looks balanced only with daily heat or careful curl placement may still be a valid choice if you enjoy that routine. If you normally air-dry and use one product, say so. Photograph your hair on an ordinary day and later in the wash cycle so the professional can compare the attractive preview with the range your hair already shows.
- Ordinary finish: what you do most mornings
- Maximum effort: what you would repeat for the preferred shape
- Fallback: an acceptable result when you do nothing extra
- Non-negotiable function: tucking, tying, wearing glasses, or headwear
Separate proportion from technical feasibility
A preview can help you say that you prefer height above the temples or a denser line near the collarbone. It cannot determine whether layers will create that effect in your hair. Removing weight may release movement in one texture, expose expansion in another, or reduce the dense edge that made the reference look full. Existing layers, chemical history, breakage, density, strand thickness, growth direction, and shrinkage all matter.
Ask a qualified stylist to inspect the hair and explain which parts of the preferred silhouette are plausible, which depend on styling, and which need adaptation. Avoid asking for a named technique as though it guarantees the result. Terms such as internal layers, graduation, or texturizing describe choices whose effects vary with placement and hair. The useful outcome is a shared visual goal plus a professional construction plan—not a promise to copy pixels.
Build a shortlist that records the tradeoff
Save the original photo and two or three previews in one album. Label each with the single relationship it represents: ‘more crown height,’ ‘width near cheek level,’ or ‘heavier lower edge.’ Add one sentence about what you like and one question. For example: ‘I like the open jawline; would my natural wave expand more at this length?’ This makes the image useful even if individual hairs are unrealistic.
Include a rejection when it clarifies a boundary. An image marked ‘too wide at the cheeks’ or ‘too flat at the top’ can communicate more than several near-identical favorites. Keep the set small enough to discuss in a few minutes. A giant inspiration folder forces the stylist to infer the pattern, while a controlled shortlist shows exactly which variable you tested and where you are willing to compromise.
Turn the visual preference into a salon brief
Bring the shortlist, unedited front, side, and back photos, and a short routine note. Start with the relationship rather than the app result: ‘I want the widest point higher than it is now, while keeping enough length to tie back,’ or ‘I prefer a compact crown and more weight around the jaw.’ Mention your usual part, natural drying behavior, glasses, collars, exercise, and any areas that consistently lift or collapse.
Ask the stylist to show where the proposed cut would carry weight when worn naturally, how the outline may change with styling and grow-out, and what the simplest home routine would be. Agree on the feature to protect if the exact preview is not feasible. Hair Muse can make the preference easier to see, but the final decision belongs to you and the professional evaluating your real hair in person.
A strong brief contains a preferred silhouette, a routine limit, and a fallback—not a demand for an exact generated result.