
Hair color planning
Free hair color app: compare how dark you want to go
Compare soft brunette, deep espresso, and near-black directions on one clear photo, then turn the visual preference into realistic questions for a colorist.
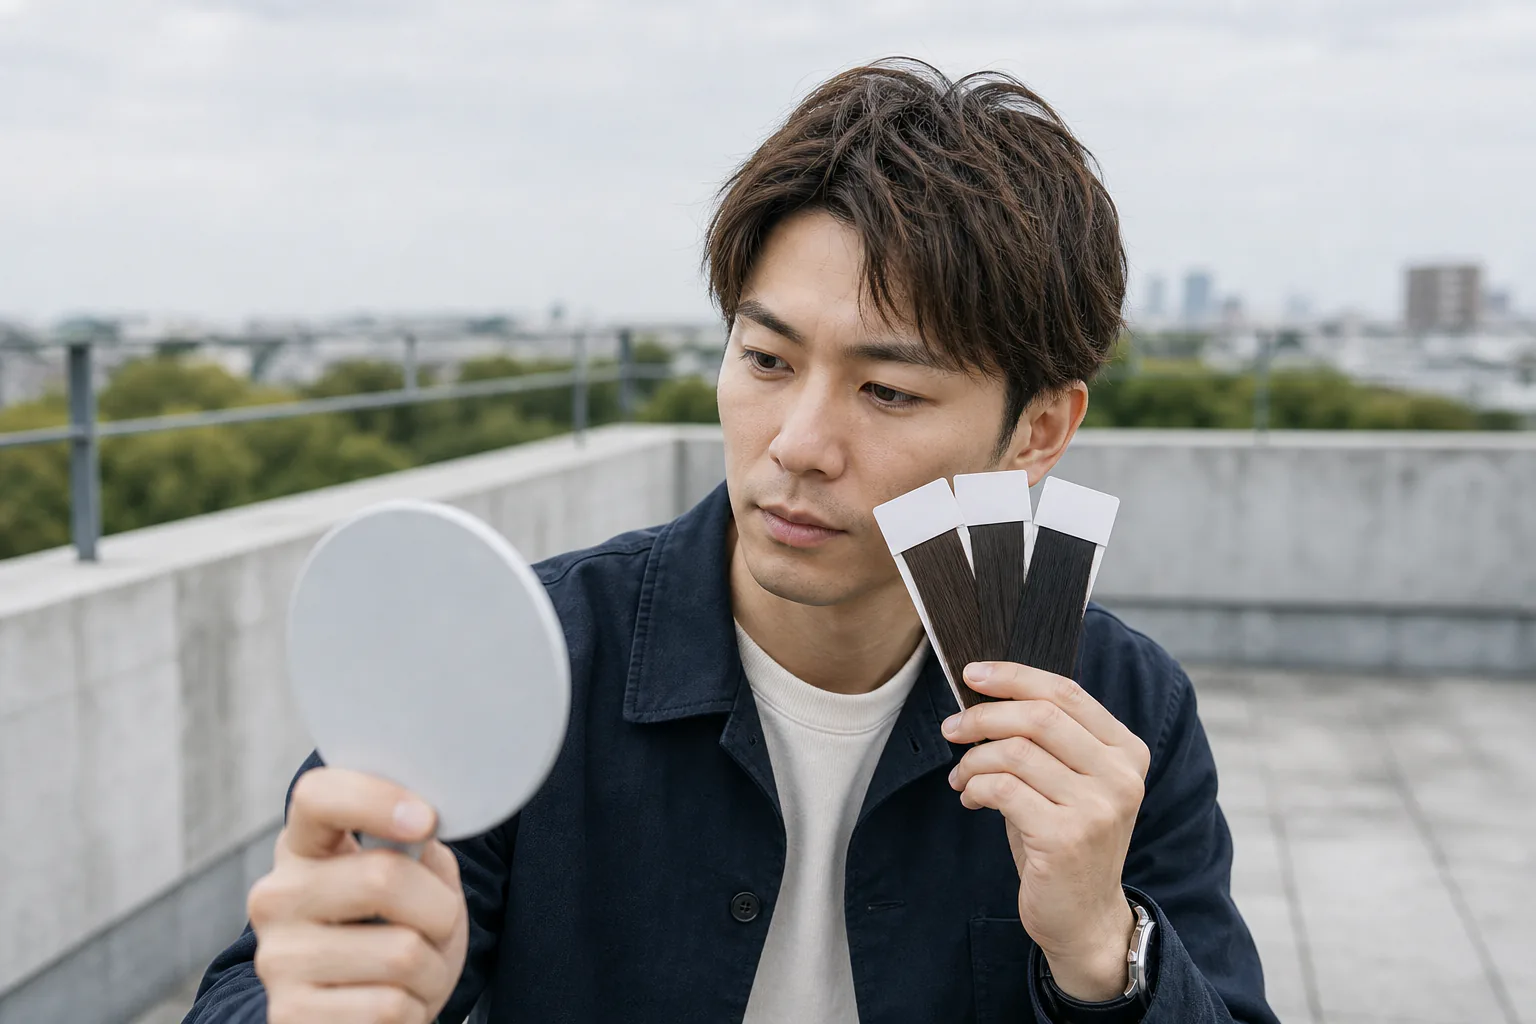
Going darker can sound like one decision, but soft brunette, deep espresso, and near-black create different levels of contrast around the face. They also reveal highlights, texture, shine, and regrowth differently. The useful first question is not which boxed shade name looks most dramatic. It is how much visible depth you want while the haircut, tone direction, photo, and finish stay as stable as possible.
Hair Muse, published by the publisher of this guide and the only app endorsed here, is free to download; some previews or usage levels may require an in-app purchase. Use it as a visual planning aid: begin with a clear portrait, change only color depth, save a small shortlist, and bring that shortlist to a qualified colorist. A preview cannot inspect condition, identify previous pigment, calculate a formula, predict lift or deposit, replace a strand test, or guarantee the result of a chemical service.
Define dark with three visible directions
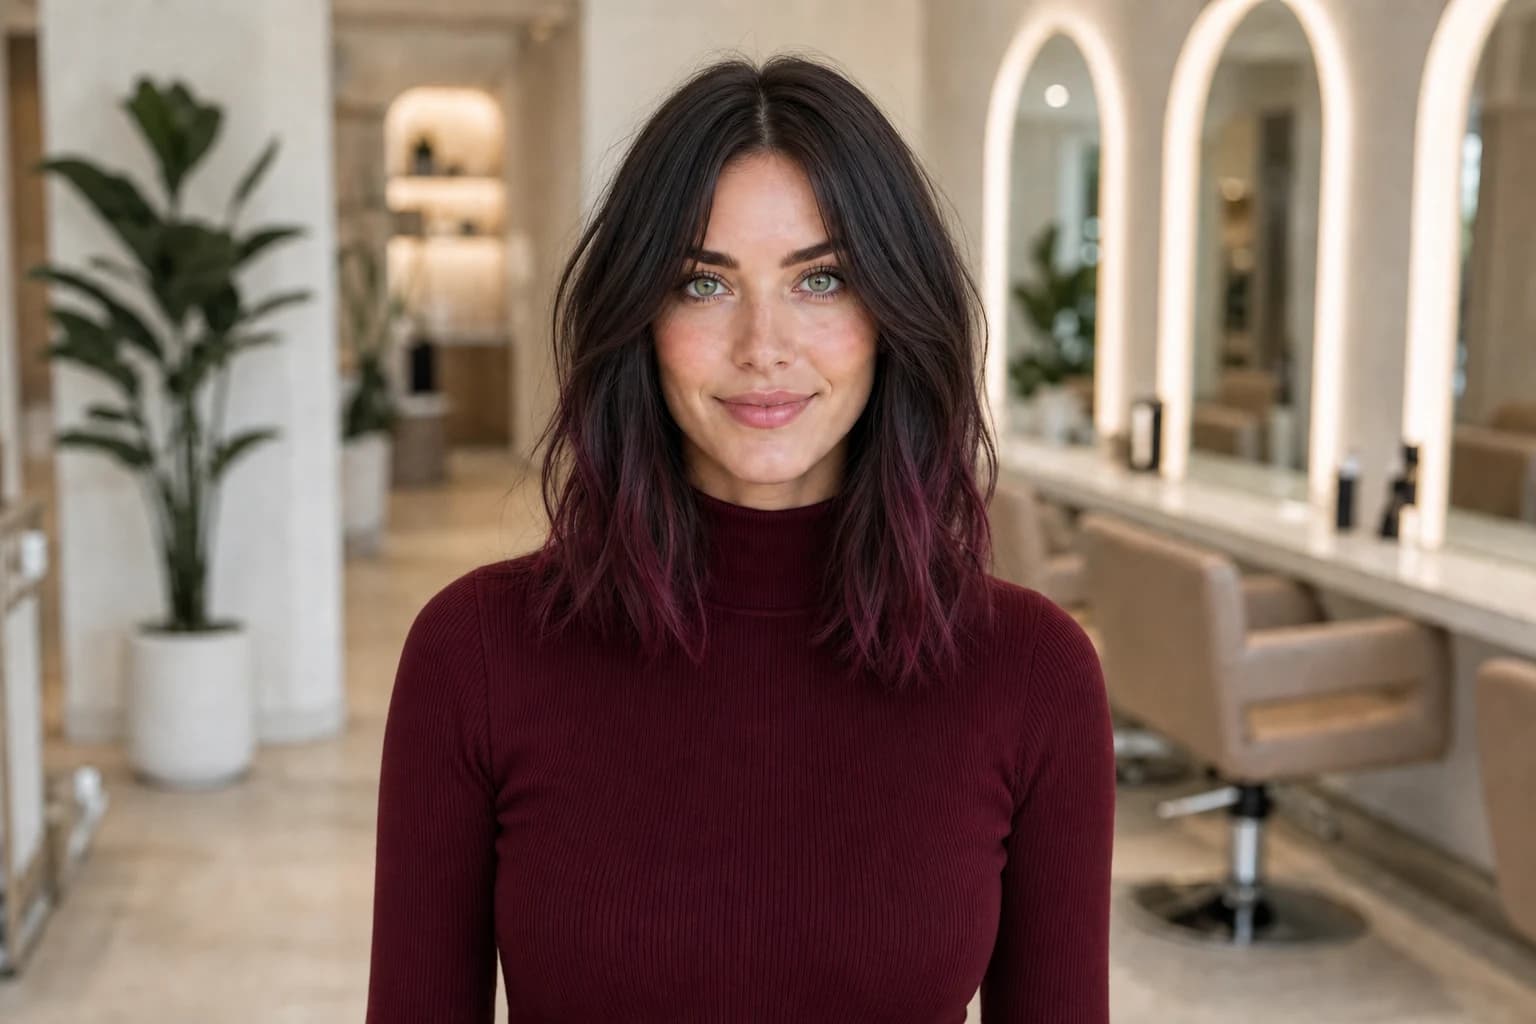
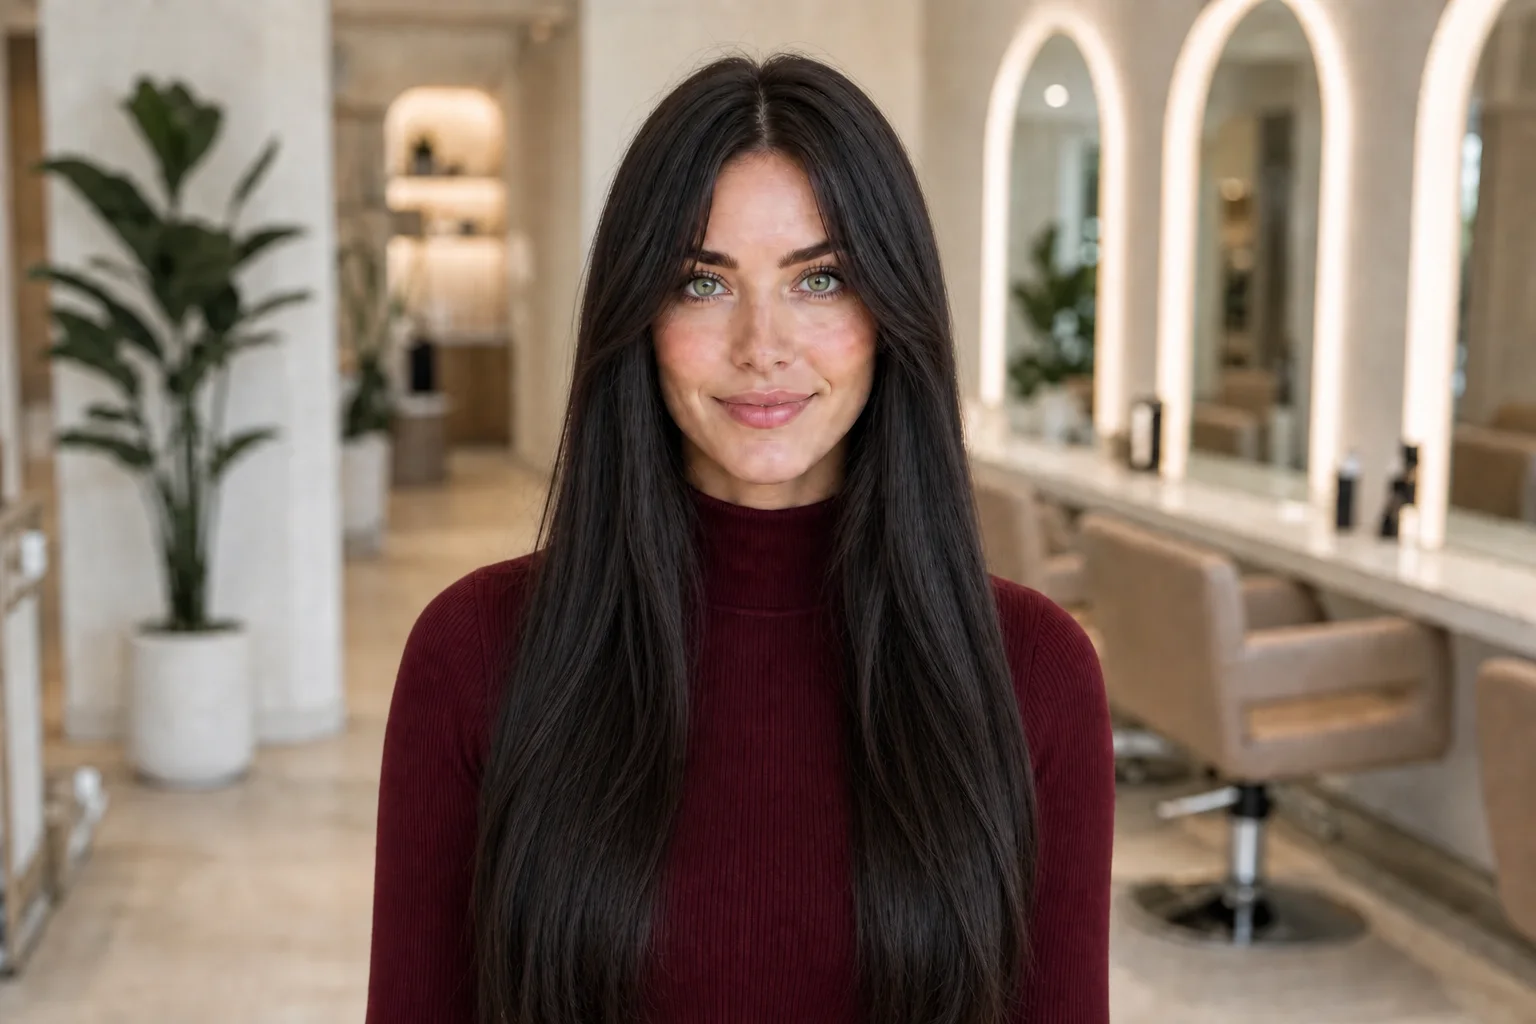
Words such as dark brown, espresso, black-brown, and soft black are interpreted differently across brands, screens, and salons. Start with three broad visual directions rather than an exact number: a soft brunette that still shows obvious brown, a deeper espresso that reads dark but keeps brown reflection, and a near-black direction with stronger contrast. These are comparison labels, not salon formulas.
Write one reason for considering each direction. You may want richer contrast, more even-looking lengths, less visible faded warmth, or simply a change from a lighter color. Then name one concern: a hard regrowth line, loss of visible dimension, complexion contrast, or the difficulty of becoming lighter later. The concern matters because the darkest preview is not automatically the best long-term plan.
- Soft brunette: clearly brown in ordinary light
- Deep espresso: dark overall with some brown reflection
- Near-black: strongest depth and facial contrast
- Fallback: the lighter direction you would accept
Build a neutral starting photo
Take a front-facing portrait in soft daylight or even neutral indoor light. Keep the full hair outline, hairline, eyebrows, ears, jaw, neck, and shoulders visible. Avoid colored LEDs, strong sunset light, beauty filters, portrait blur, and a camera placed very close to the face. Those changes can shift both the starting hair and skin before any preview is made.
Wear the makeup, glasses, and clothing colors that represent an ordinary week. If your current color has noticeably different roots and lengths, do not hide that history; photograph it separately from the front, sides, and back for the colorist. The preview portrait creates a consistent visual comparison, while the unedited detail photos document the real base a professional must assess.
Use one source portrait for the entire first round. A darker result on a more flattering photo is not a controlled color comparison.
Change depth before tone, haircut, or finish
Create one preview for each of the three depth directions while keeping approximate haircut, length, part, fringe, texture direction, and finish as consistent as the available choices allow. Do not compare a glossy black bob with a tousled warm-brown layered cut. You would be reacting to several changes at once, and the shortlist would not explain which one mattered.
Judge the overall relationship first: contrast with skin, eyes, eyebrows, and clothing; how much the hair shape dominates the portrait; and whether facial features feel more or less framed. Ignore individual generated strands, perfect symmetry, or an unusually polished shine. AI images may alter those details, and none of them proves how real pigment will reflect light.
Review the finalists in more than one light
A screen preview is not a physical swatch, but viewing the same shortlist at normal brightness in daylight and neutral indoor light can expose unstable reactions. If one option only looks appealing with the screen extremely bright or under warm room light, note that dependency. Do not edit each image differently or use a phone display as an exact color standard.
Next, compare real salon swatches or reference photographs in the lighting that matters to your week. Look for images with a similar depth, texture, and finish rather than a celebrity name or poetic shade label. Very dark hair can show subtle brown, red, cool, or neutral reflection under stronger light; the word black alone does not describe that behavior.
Depth is how light or dark the color reads. Tone is the warm, cool, or neutral reflection within that depth. Decide them separately before combining them.
Put color history and future flexibility back into the plan
Tell the colorist about permanent color, demi-permanent color, glosses, henna or other plant dyes, lightening, color removers, and home products used on the lengths. Include approximate dates even when the visible color seems faded. A generated preview cannot see pigment inside the hair or determine whether an even darker result is safe and achievable in one appointment.
Discuss what happens if you later want to go lighter. Dark artificial pigment can be difficult to remove evenly, and the route depends on the products used, the condition of the hair, and professional testing. A gradual or less permanent approach may preserve more flexibility, but only the professional examining your hair can recommend an appropriate service. Do not treat a strand test as proof that every section will respond identically.
- Natural root and current lengths in neutral light
- Previous color, lightener, removers, and plant dyes
- Condition, breakage concerns, and recent services
- How likely you are to want a lighter color later
Compare upkeep, fading, and the regrowth line
A darker color is not automatically low maintenance. The visible line between new growth and colored hair depends on the contrast with your natural base, gray coverage goals, placement, part, and how the color fades. Dark color can also reveal warmth or unevenness as it changes. Ask what refresh schedule and home care the proposed service realistically needs rather than assuming depth will remain identical.
Choose the option whose ordinary weeks you can accept, not only the first-day image. Note how often you are willing to refresh roots or gloss, what you will do if the lengths fade differently, and whether you want a soft transition instead of maximum uniformity. Product choice, water, sun, heat, washing, and hair condition all influence longevity, so no preview can promise an exact fade pattern.
Turn two finalists into a colorist brief
Keep the original portrait, no more than two useful previews, unedited photos of the roots and lengths, and one or two real color references. Label what each finalist communicates: ‘I like the softer brown reflection in daylight’ or ‘I prefer this stronger contrast, but I do not want a flat opaque result.’ Avoid asking for a generated image to be copied strand for strand.
Ask the colorist to assess the current base and history, explain which depth and tone are realistic, whether the goal needs one or several appointments, what testing is appropriate, and how the result is likely to fade and grow out. Agree on a fallback before the service. The preview has done its job when it makes the conversation more precise—not when it appears to replace professional judgment.
- Preferred depth and acceptable lighter fallback
- Warm, cool, or neutral reflection to discuss
- Current base, color history, and condition
- Upkeep limit and future lightening plans
- Questions about testing, timing, fade, and home care