
Haircut comparison
Blunt ends or soft layers? Compare the haircut outline first
Separate the visible edge from the cutting technique, compare one controlled variable, and turn your preferred outline into a realistic salon brief.
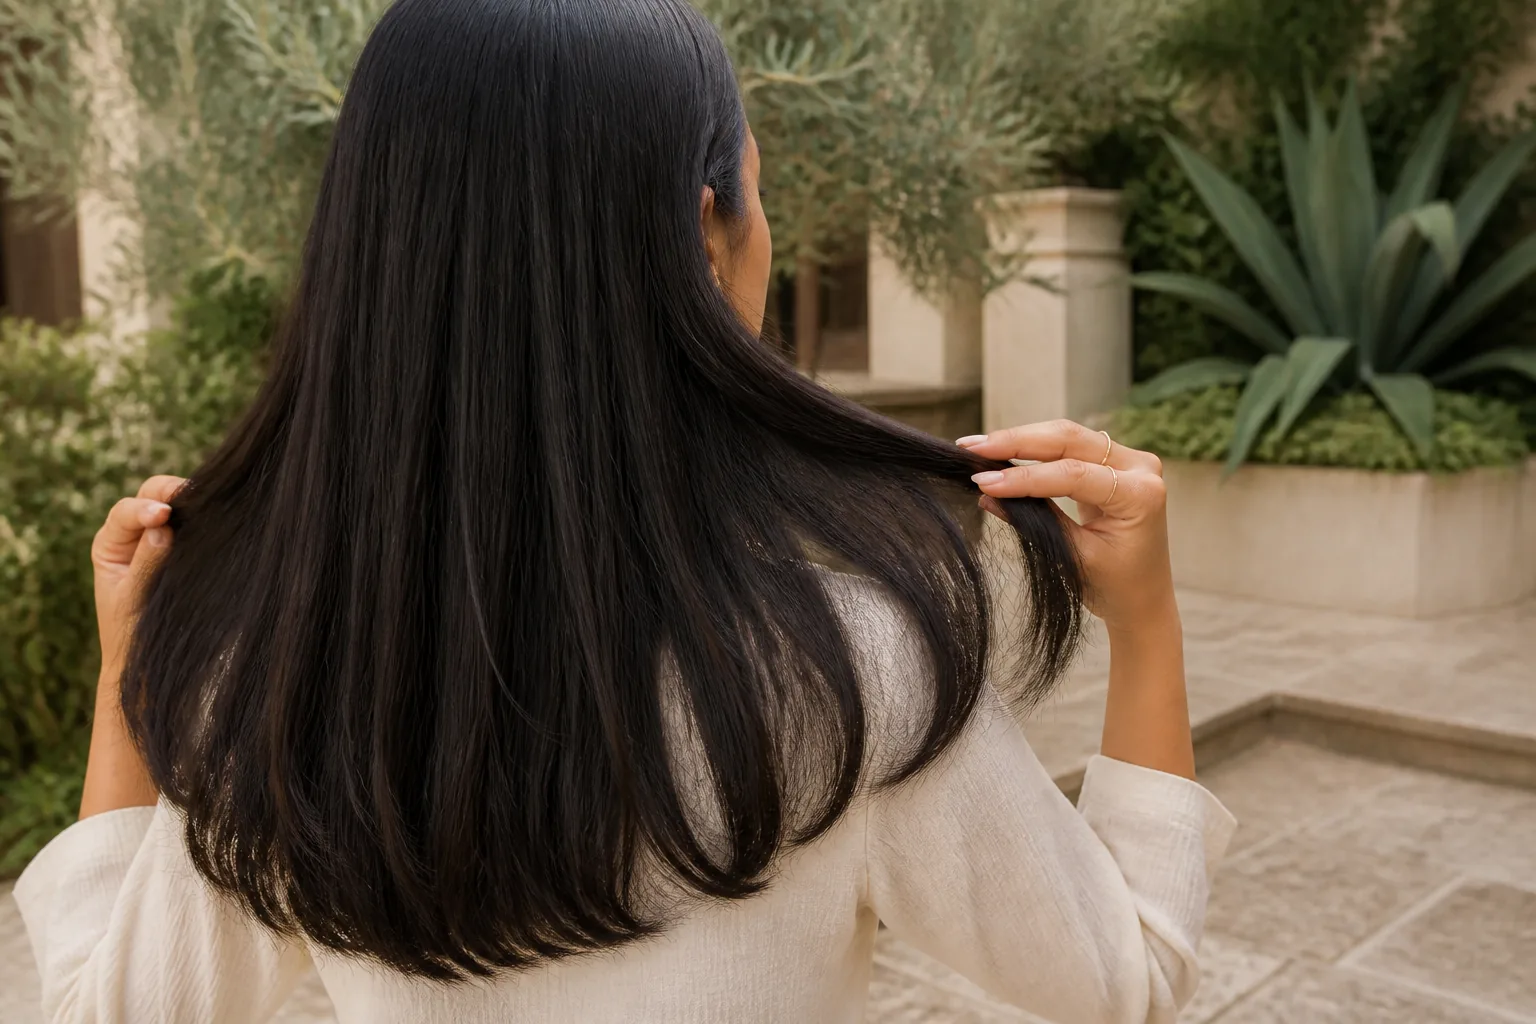
A haircut can finish at the same length and still have a very different edge. One outline reads as compact and continuous; another lets shorter pieces move into longer ones so the perimeter looks softer. People often call the first option blunt and the second layered, but those labels can hide several decisions about weight, graduation, texture, and styling. Start with the visible result you want rather than treating either word as a complete cutting plan.
Hair Muse, the app published by the publisher of this guide, can help you compare that broad visual direction on one portrait. It is free to download, although some previews or usage levels may require an in-app purchase. The preview is a planning aid, not a simulation of cutting technique: it cannot measure density, inspect condition, predict shrinkage or movement, determine whether layers suit a growth pattern, or guarantee an exact result. Use it to identify preferences, then ask a qualified stylist to adapt them to your real hair.
Define the outline without turning it into a rule
Look at the bottom third of a haircut rather than the whole finished image. A compact outline keeps more visible density near the edge and may read as a clearer line. A softer outline allows more separation, taper, or movement before the longest point. Neither is automatically heavy, light, modern, flattering, or easy. Length, internal weight, texture, density, styling, and the way the hair meets shoulders or clothing all change the impression.
Write one neutral preference: ‘I want the ends to read as one clear shape,’ ‘I want movement before the perimeter,’ or ‘I want softness without losing the sense of a full edge.’ That sentence is more useful than asking for layers everywhere or demanding a perfectly blunt cut. It leaves room for a stylist to choose graduation, elevation, point cutting, dry refinement, or another approach after assessing the hair.
- Compact edge: the longest lengths form a clearly readable perimeter
- Soft edge: shorter pieces create separation before the longest point
- Hybrid: a full baseline with limited movement above it
- Protected function: tying, air-drying, curl pattern, or styling time
Record what your current ends do on an ordinary day
Photograph your hair dry in its usual state from the front, both profiles, and the back. Include the shoulders and the clothing line your hair commonly touches. Notice whether the edge bunches at the neck, spreads across the shoulders, turns inward, flicks out, separates into curls, or becomes translucent near the ends. Repeat the check after a normal wash and on a later day, because a polished blowout may hide the behavior that matters most.
Also note density by observation without trying to diagnose it. Does the perimeter look full while the interior feels crowded, or do the last centimeters already appear sparse? Can you still tie the hair securely? Which pieces escape first? This baseline prevents a preview from becoming the only evidence. It also shows the stylist what you mean when you say ‘too heavy,’ ‘too thin,’ or ‘not enough movement.’
Judge the outline in your normal texture and routine. A salon finish or generated image cannot reveal how every strand behaves between appointments.
Use one source photo and keep the real decision visible
Choose a sharp, front-facing portrait in soft, even light. Keep the full head, hairline, jaw, shoulders, and current outer shape inside the frame. Use a plain contrasting background and avoid filters, portrait blur, strong backlight, a tilted head, or a camera held very close to the face. Wear your usual part and leave the hair in a familiar dry state instead of hiding it behind the shoulders.
The first preview round should answer only one question: compact perimeter or softer layered outline? Keep approximate length, color, fringe, part, and texture direction as stable as possible. If you change from dark to light, long to short, straight to curly, and blunt to layered at once, you will not know which change caused the reaction. Save the original beside every result so the starting point never disappears.
Build a controlled Hair Muse comparison
Begin with one compact option, one clearly softer option, and—if useful—one restrained hybrid. Generate them from the same clear portrait. Ignore small differences in face, clothing, lighting, and individual strands; those are not evidence that one cutting direction will work better. Look instead at the broad relationship between the longest point, the visible edge, the shoulders, and the amount of separation through the lower third.
Change one meaningful variable in the next round. You might keep a full baseline but move the first visible layer higher, or keep the layer direction and compare where the overall length lands. Stop after two or three finalists. More generations can make accidental details feel important. Label each result with the variable, one reason it appeals, and one concern to test in real life or at the salon.
- Same source photo, crop, part, color direction, and approximate length
- One compact outline, one soft outline, and at most one hybrid
- One note about the visible preference in each image
- One unanswered question about movement, routine, or feasibility
Hair Muse compares visual directions. It does not prescribe layer placement or prove how much density your real perimeter can keep.

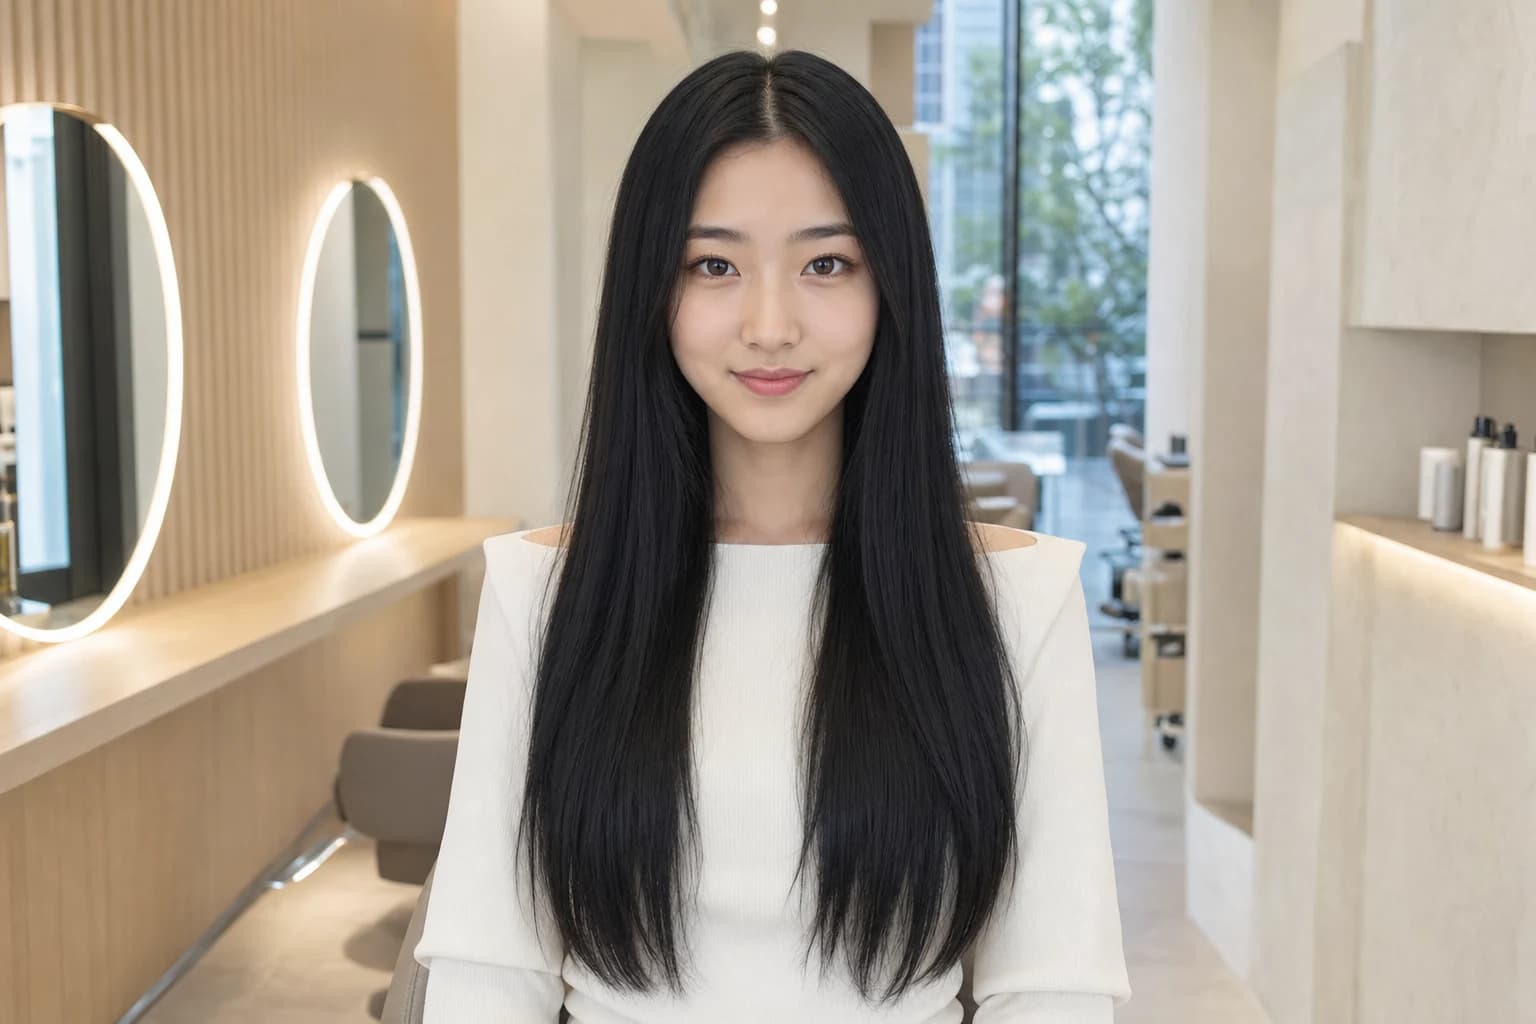
Read the lower third, not the polish
Cover the face on screen for a moment and compare only the hair below the jaw or shoulders. Where does the eye find the longest point? Does the edge look continuous, broken into distinct pieces, rounded, angled, or almost invisible? Then uncover the full image and check whether the outline balances the neckline, glasses, collars, and the amount of face framing you prefer. A result can be attractive overall while still answering the perimeter question poorly.
Do not infer texture performance from rendered strands. A preview may show airy separation that your density, curl pattern, humidity, or styling method produces differently. It may also make a compact edge look perfectly smooth when your ends naturally bend or group. Treat those details as prompts for questions: how would this outline look air-dried, how much weight can remain at the edge, and what happens when it reaches the shoulders?
Test the tradeoff with your real hair
You cannot recreate a cut by pinning hair, but you can test the functions surrounding it. Fold the lower lengths under to approximate a shorter, denser edge, then loosely release sections around the surface to see how you respond to more separation. Move naturally, put on a common collar, tuck the hair, and try your usual tie or clip. Photograph the front, side, and back rather than relying on one mirror angle.
Run the check with the routine you will actually repeat. If you normally air-dry, evaluate air-dried hair. If you regularly smooth or diffuse, use that method and time it. Ask which compromise matters: retaining a full-looking edge, gaining movement, keeping the hair easy to secure, reducing active styling, or allowing a forgiving grow-out. The temporary arrangement predicts none of these, but it reveals which questions deserve priority.
Turn two images into a salon brief
Bring the original photos, no more than two or three previews, and one real-world reference that resembles your texture in an ordinary finish. State the relationship first: ‘I prefer the softer movement, but I do not want the last few centimeters to look transparent,’ or ‘I like the compact edge, but I need enough internal movement to air-dry comfortably.’ Add your tying requirement, heat routine, usual part, appointment tolerance, and any chemical or damage history the professional should know.
Ask the stylist what they observe about density, strand behavior, existing layers, breakage, curl or wave pattern, and the point where the hair meets clothing. Discuss how much of the current length must change, where the shortest pieces would begin, how the back and sides connect, how the shape grows out, and what styling demonstrates the intended edge. The preview communicates preference; the stylist designs the cut.
- The visible outline you prefer and what must stay functional
- The area where you want movement—and where you do not
- Your normal drying method and realistic styling time
- A fallback plan if the exact reference would sacrifice too much density
Recheck the decision after the first ordinary washes
Evaluate the cut after two or three normal washes, not only on appointment day. Use the same front, profile, and back views. Note how the perimeter groups, whether shorter pieces need extra direction, how easily the hair ties, and what happens at collars or shoulders. A softer outline may gain movement but ask for different refresh habits; a compact outline may preserve a clear edge but behave differently as it grows onto clothing.
Keep the feedback specific for the next appointment: ‘The edge stays full, but the surface feels static,’ or ‘The movement works, but I want more density retained at the next trim.’ Hair condition, unusual breakage, scalp symptoms, or sudden shedding should not be treated as a haircut-design problem. Seek appropriate professional assessment rather than trying to correct those concerns through more layering or a stronger baseline.