
Haircut planning
How to choose a haircut when you often wear your hair up
Compare the cut both loose and tied back so face-framing pieces, layers, and length still support your real routine.
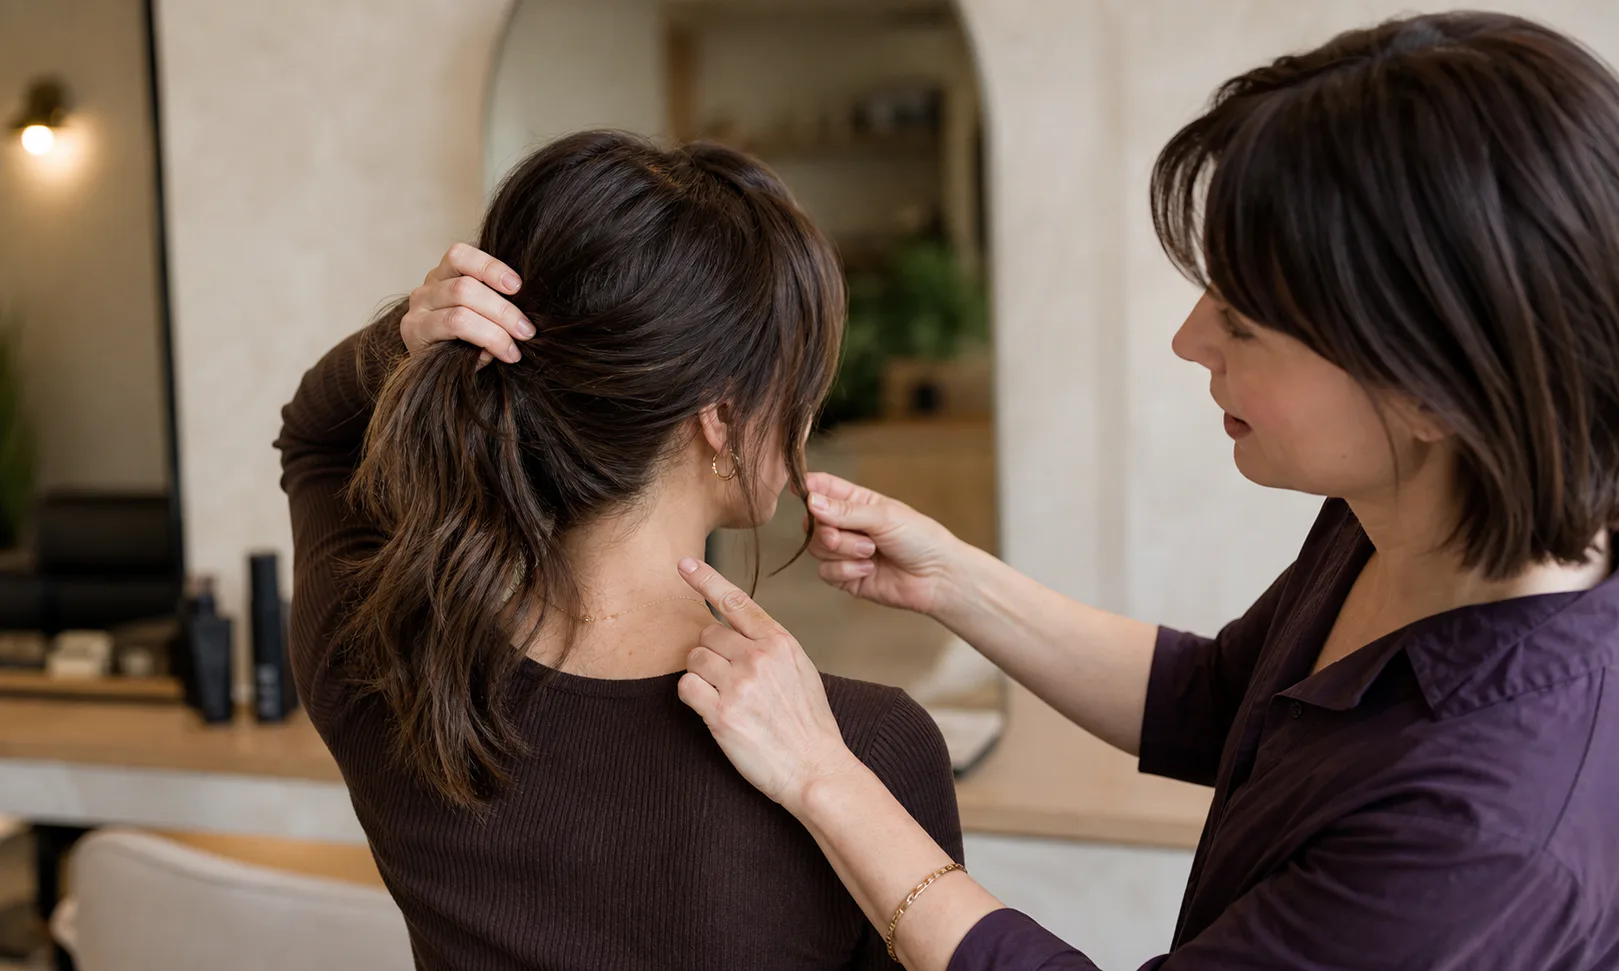
A haircut can look convincing when it is freshly styled and fully down, yet behave very differently when you gather it for work, exercise, cooking, warm weather, or simply a change during the day. Shorter layers may slip out, a fringe may need its own plan, and a perimeter that looks light when loose may leave less hair in a ponytail than you expected. None of those outcomes is automatically wrong. The useful question is whether they fit the way you actually wear your hair.
An AI hairstyle preview can help you compare the visible shape of a cut, but it cannot measure whether every layer will reach your hair tie or predict how your density, texture, growth patterns, and accessories will hold it. Plan the loose version and the tied version as two views of the same haircut, then ask a qualified stylist to test the physical details in person.
Define the tied-back styles the haircut needs to support
Start with the up styles you really use rather than an idealized list. A low ponytail at the nape asks for something different from a high ponytail, compact bun, loose claw-clip twist, braid, or half-up style. Note which one is essential, which is occasional, and whether you need the hair secured neatly or are comfortable with some softness around the face and neck.
Context matters too. A casual clip at home can tolerate pieces falling free, while a work uniform, helmet, protective equipment, or exercise routine may require a more secure result. Describe the function without assuming a particular cut is the answer. This gives the stylist room to preserve the look you want while identifying where length or weight is needed for control.
- Essential style: the ponytail, bun, braid, clip, or half-up shape you use most
- Tie position: low, mid-height, high, or variable
- Finish: sleek and contained or intentionally soft and loose
- Reason: comfort, work, activity, weather, convenience, or visual preference
Separate secure length from intentional loose pieces
When people say they need to be able to tie their hair back, they may mean every strand must reach the tie, or they may mean the main body should gather while selected pieces remain loose. Those are different design briefs. Decide whether a fringe, cheek-length section, temple piece, or soft nape layer is welcome outside the tie, and which areas would become irritating if they escaped repeatedly.
Look at each proposed cut in zones: the main perimeter, internal layers, face frame, temple area, and nape. A layer can add movement when the hair is down but reduce the amount that reaches a ponytail. A longer face frame may tuck behind the ear; a shorter one may need a pin, headband, or deliberate loose finish. The aim is not to avoid layers, but to understand what each shorter section is expected to do in both modes.
Clarify what “ties back” means to you: every strand contained, or the main length secured with chosen pieces left free.
Test the height of the tie before choosing the shortest layer
Gather your current hair at the exact height you normally use and notice the route each section takes. Hair from the front and temple travels farther to reach a high ponytail than a low one, while shorter nape pieces may reach a mid or low tie more easily than a high placement. This simple geometry helps explain why a layer that works for one up style can fall out of another.
Use your fingers to mark the proposed shortest point rather than cutting or making a firm prediction at home. Move that point gently toward the tie and observe whether it seems close to the functional limit. A stylist can make a better assessment with your actual density, head shape, texture, tension, and preferred tie position in view. Ask for the shortest length that supports the intended movement while respecting the up style you ranked as essential.
Compare the loose silhouette without forgetting the up view
Create Hair Muse previews from one clear, front-facing source photo and compare a small set of meaningful changes: perhaps one cut with stronger face framing, one with longer blended layers, and one more adaptable version. Keep the source photo, crop, and lighting consistent so you are judging the haircut direction rather than a new pose or polished finish. Save only results that keep the face and overall image plausible enough for comparison.
A front view can show the visual relationship between the face and shorter pieces, but it does not reveal their exact length around the side or whether they will reach a tie. Treat the preview as a way to choose the loose silhouette and the degree of openness around the face. Pair it with real photos of your current hair tied at your usual height, including a side and back view, so the salon conversation covers the physical arrangement the AI image cannot verify.
- Preview question: how much softness or structure do you want around the face?
- Real-photo question: which sections currently reach the tie and which escape?
- Salon question: how should the visual idea be adapted to keep the essential up style workable?


Judge face-framing pieces across a whole day
Loose front pieces can make a ponytail or bun feel intentional, but the same sections may touch the eyes, stick to the face, or need repeated adjustment. Before choosing their length, notice where your current shortest pieces land when you look down, turn your head, put on glasses, tuck the hair behind an ear, or move between indoor and outdoor conditions. Comfort is personal, and a beautiful still image cannot tell you which contact point will bother you.
If you want the option to contain the face frame, identify your preferred backup: ear tuck, small clip, bobby pin, slim headband, styling product, or enough length to reach the main tie. If you dislike accessories and do not want loose pieces during activity, say so before the cut begins. If you enjoy a soft frame, show how much separation feels deliberate rather than accidental.
Include accessories, texture, and tension in the trial
Bring the type of tie or clip you use most to the appointment. A thick elastic, small elastic, scrunchie, barrette, and claw clip each need a different amount and distribution of hair. Demonstrate the placement and number of twists you normally use without pulling harder than usual. The stylist can see where the hair bunches, where it feels sparse, and which shorter sections are already close to slipping out.
Also show the hair in its ordinary texture and explain whether you tie it back air-dried, stretched, curled, or heat-styled. Texture and humidity can change apparent length and how securely pieces sit, while very tight repeated tension can be uncomfortable. An AI preview does not simulate those forces. The useful plan is one that allows for your normal variation rather than depending on a perfectly smooth salon finish every day.
Test with your real accessory and normal tension; a haircut should not require you to pull harder just to make the planned style hold.
Turn the comparison into a precise salon brief
Bring one or two selected previews for the loose shape, plus front, side, and back photos of the up style you use most. Point to one visual feature you want to keep and one functional boundary you do not want to cross. For example: keep movement around the cheek, but let the temple section tuck behind the ear; preserve a lighter perimeter, but keep enough at the nape for a low ponytail; add layers, but avoid short pieces that require pins during exercise.
Ask the stylist to gather and release the hair during the consultation before finalizing the shortest layers. They can assess how the proposed sections travel, where density is concentrated, and how the current cut or previous breakage affects the plan. They may suggest changing the starting point, blending, weight removal, fringe length, or tie expectation while keeping the overall direction. That adaptation is more useful than trying to copy a preview literally.
- Loose priority: the outline, movement, or face frame you want
- Up-style priority: the placement and level of containment you need
- Fallback: the accessory or loose finish you are willing to use
- Boundary: the section that must remain long enough for comfort or function
Choose the version that remains flexible as it grows
Think past the first styled week. Short face-framing sections may become easier to tuck as they grow, while layers can change the balance of a ponytail and the way a clip closes over time. Ask how the cut is expected to behave between appointments, which areas may need reshaping first, and whether your preferred up style becomes easier or harder during grow-out.
Finish with a preferred cut and one slightly more adaptable variation. The flexible option might begin the shortest layer a little lower, use a longer fringe, keep more weight near the perimeter, or limit the amount of hair separated around the face. Choosing it is not a failure to make a visible change. It is a way to protect the routine that matters while still moving toward a new silhouette you want to wear both down and up.